It's been busy few months for me as I'm in the process of creating a website to serve as a storefront for my products. I'm also working in tandem to create a line of bags that will form as the brand's initial collection. I'm hoping to get everything done later this year.
In the meantime I have placed 'Under Construction' page on Ped's & Ro website. I'm starting to use the new logo on the website that will trickle down to the bag itself. Please feel free to have a look and drop a comment or two.
Ped's & Ro Leather Blog
Tuesday, July 9, 2013


Friday, March 29, 2013
Project: Dog Collar
The idea came about after our bubbly husky passed away. I wanted to make something to remember him by and what's better than a customised leather collar. While at it, I also made two collar for my rough collies.
I recycled the hardwares from their existing collar. It's heavy duty and looks very aged which is perfect for the project.
Construction is simple, aluminium rivet and few rows of stitching. To finish it up, I embossed their name on the leather.
As always, some photos of the finished project.
I recycled the hardwares from their existing collar. It's heavy duty and looks very aged which is perfect for the project.
Construction is simple, aluminium rivet and few rows of stitching. To finish it up, I embossed their name on the leather.
As always, some photos of the finished project.
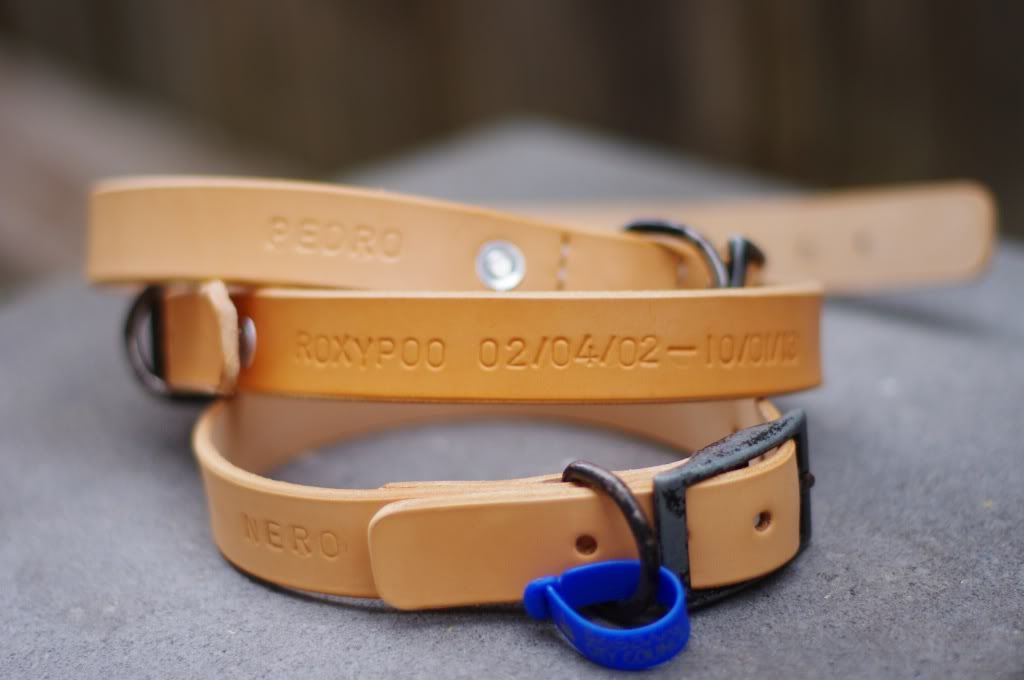 |
| Embossed name |
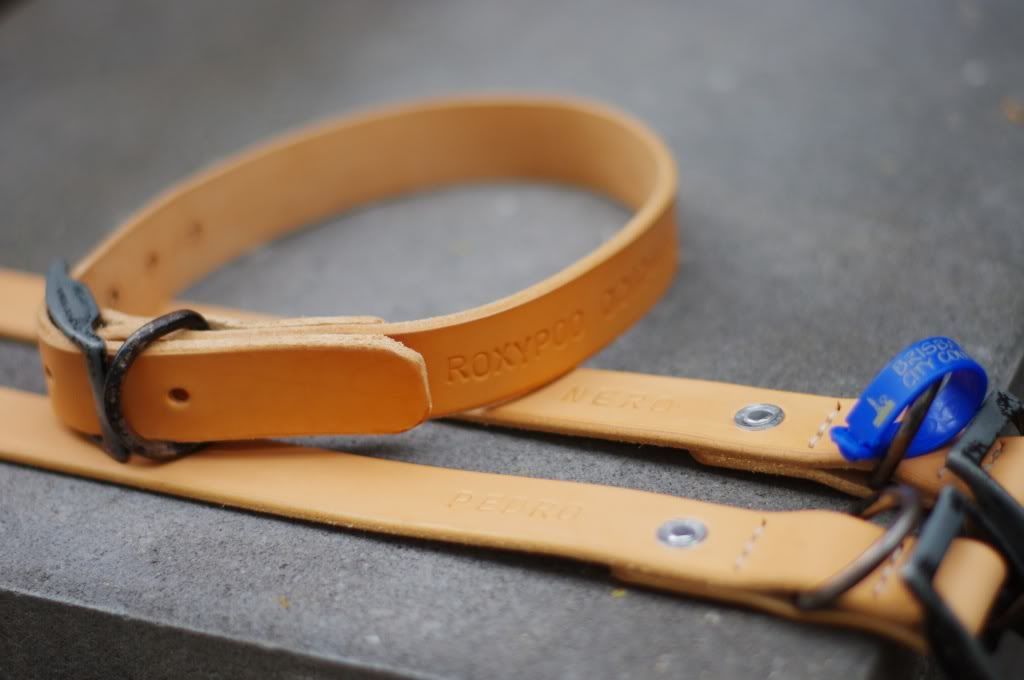 |
| The rivets and stitching |
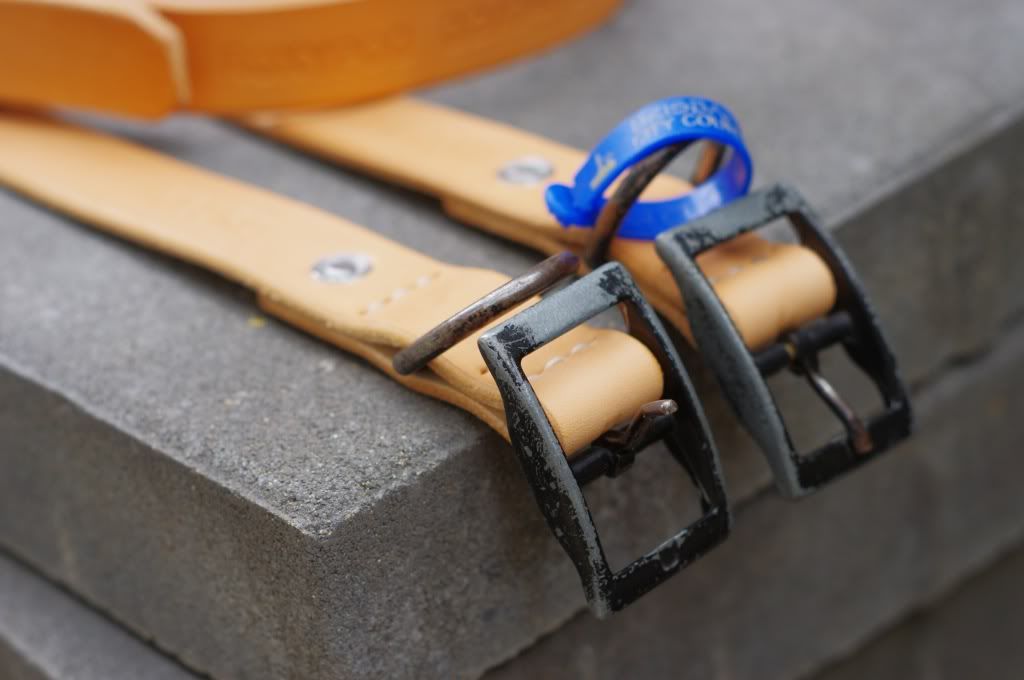 |
| Detail shot of the hardware |
Monday, March 4, 2013
Project: Leather Belt
I found myself doing some smaller projects lately, this is a great way to recycle some of the leftover leather from a bigger project as well as honing attention to detail skill.
I've always wanted to make myself a belt from a vegetable tanned leather. The opportunity arise after completing Project Messenger/Backpack. I had a scrap cut of perfect length leather suitable for belt. I wanted the belt to be clean and as simple as possible with minimal work done to the leather.
To preserve the thickness appearance I chose to skip the bevelling process, sanding and burnishing the edge smooth is more than sufficient for this purpose. Center bar buckle is chosen so the belt can be worn without keeper. Fastening is done with copper rivet and one line of stitching. Finally to complete the look and increase practicality, I smooth out and burnish the flesh side, this also gives a more uniform look with the edge.
As always, photo of the completed belt:
I've always wanted to make myself a belt from a vegetable tanned leather. The opportunity arise after completing Project Messenger/Backpack. I had a scrap cut of perfect length leather suitable for belt. I wanted the belt to be clean and as simple as possible with minimal work done to the leather.
To preserve the thickness appearance I chose to skip the bevelling process, sanding and burnishing the edge smooth is more than sufficient for this purpose. Center bar buckle is chosen so the belt can be worn without keeper. Fastening is done with copper rivet and one line of stitching. Finally to complete the look and increase practicality, I smooth out and burnish the flesh side, this also gives a more uniform look with the edge.
As always, photo of the completed belt:
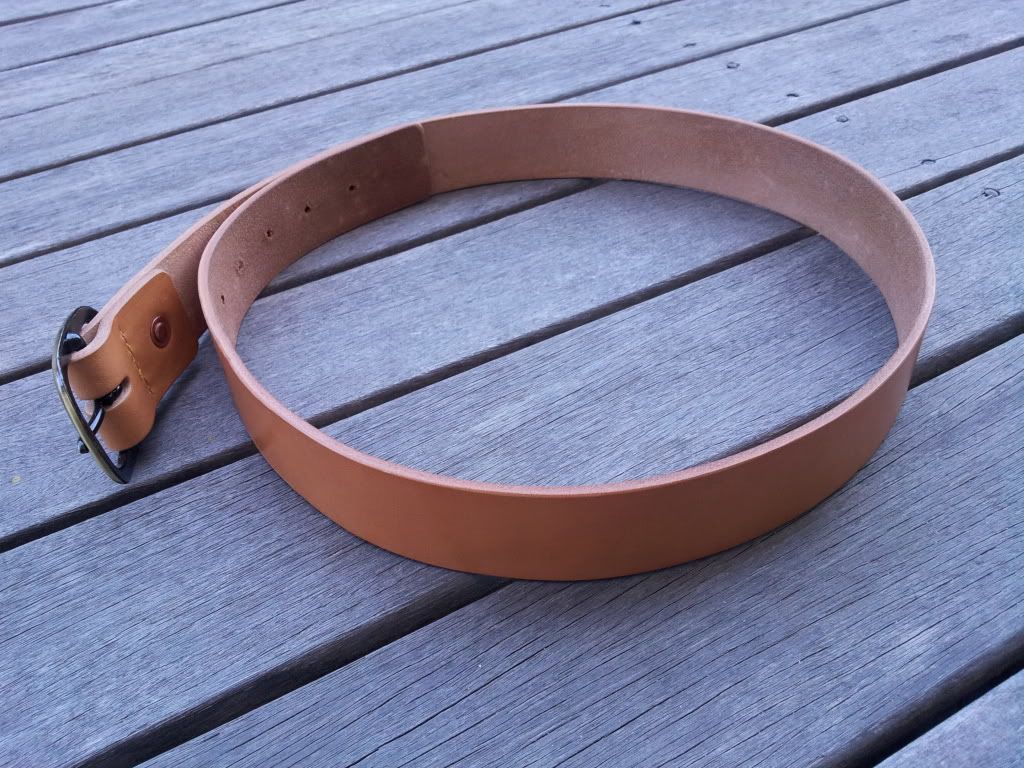 |
| The belt |
 |
| Shot of buckle fastened with stitching and copper rivet |
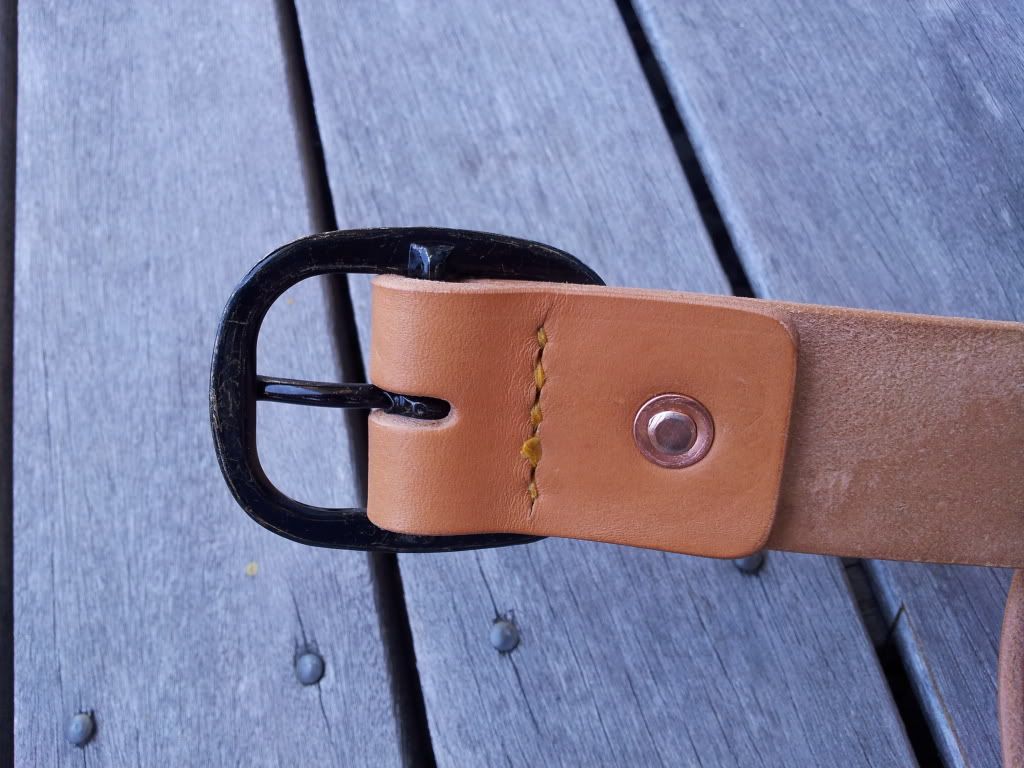 |
| Rear shot of the buckle |
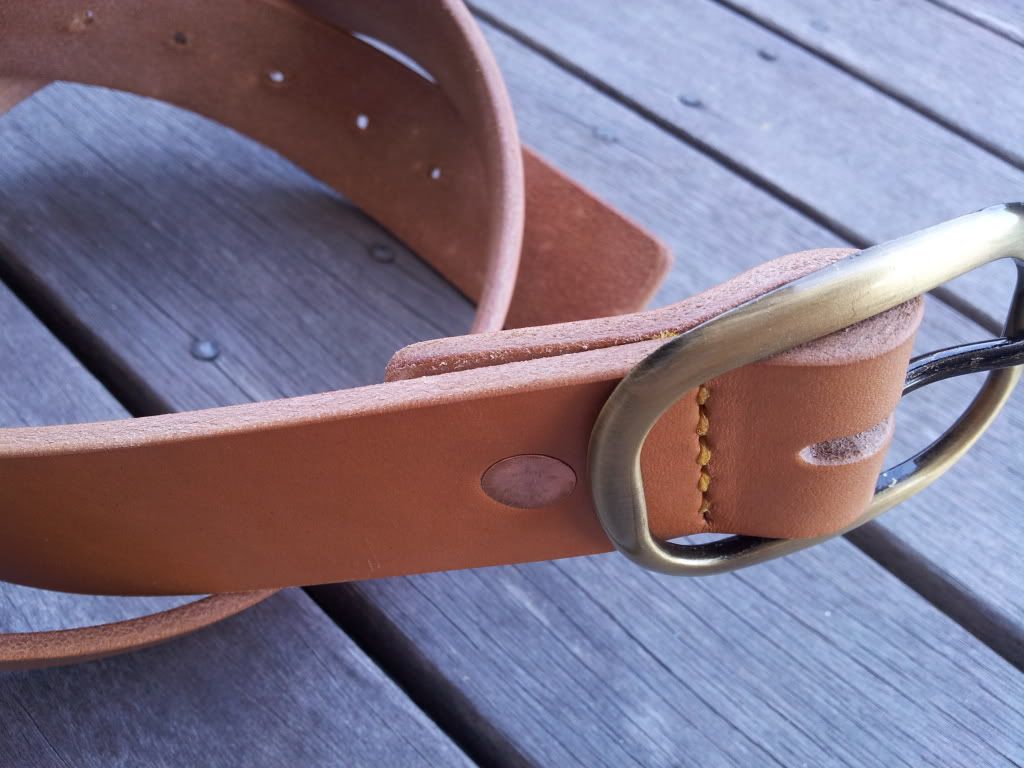 |
| Side profile of the belt |
Monday, February 25, 2013
Project: Messenger/Backpack
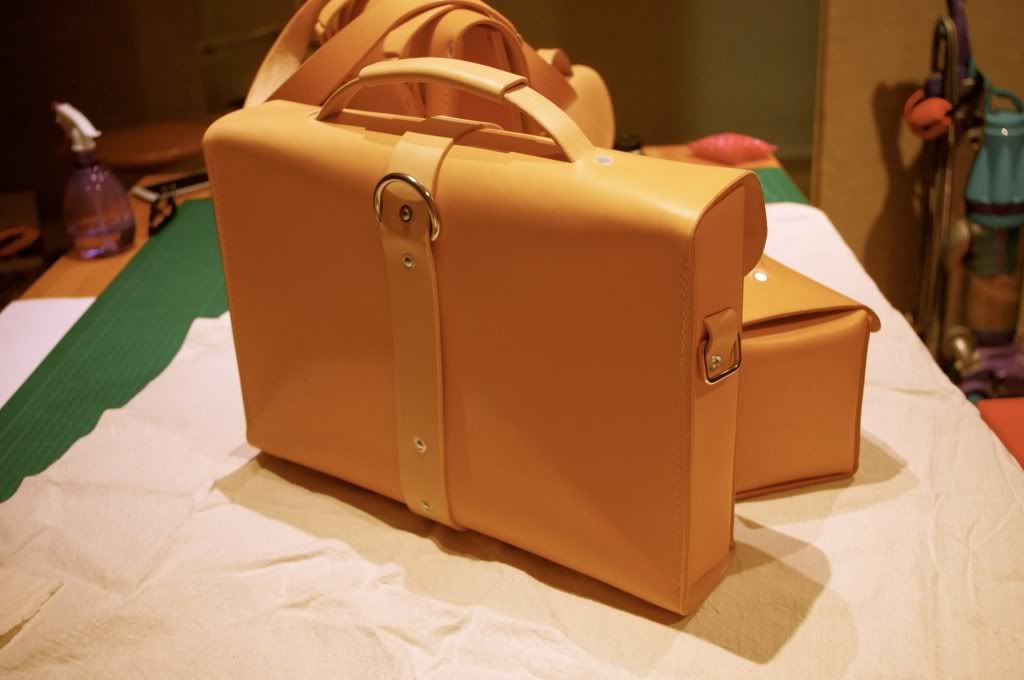
I was recently commissioned to built a messenger style bag that can be double duty as a backpack.
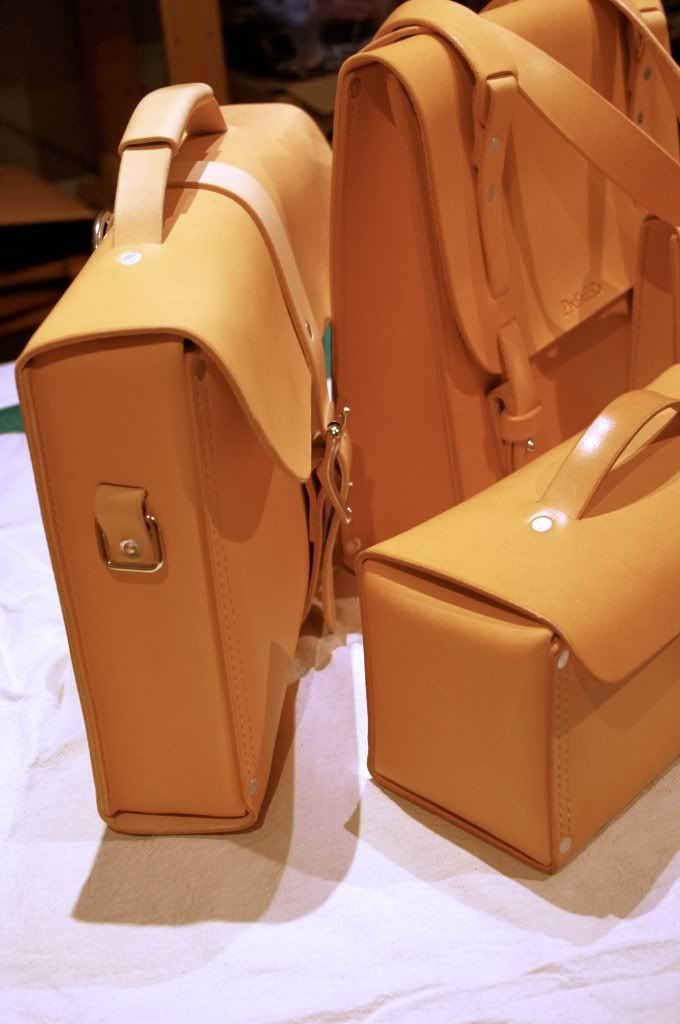
The bag is to have a center strap wrap-around with buckle closure. The strap is removable for carrying both messenger-style and backpack. To achieve this, I've used square ring on each gusset for messenger style and D-ring incorporated in the center strap for backpack.
The strap is one very long piece, looping is done with two conway buckle. For comfort, I also built two shoulder pad.
Handle is added for carrying as briefcase and finally Internal divider with two pockets and pen holder is sewn inside the bag.
As always, photo of the completed bag:
The bag is to have a center strap wrap-around with buckle closure. The strap is removable for carrying both messenger-style and backpack. To achieve this, I've used square ring on each gusset for messenger style and D-ring incorporated in the center strap for backpack.
The strap is one very long piece, looping is done with two conway buckle. For comfort, I also built two shoulder pad.
Handle is added for carrying as briefcase and finally Internal divider with two pockets and pen holder is sewn inside the bag.
As always, photo of the completed bag:
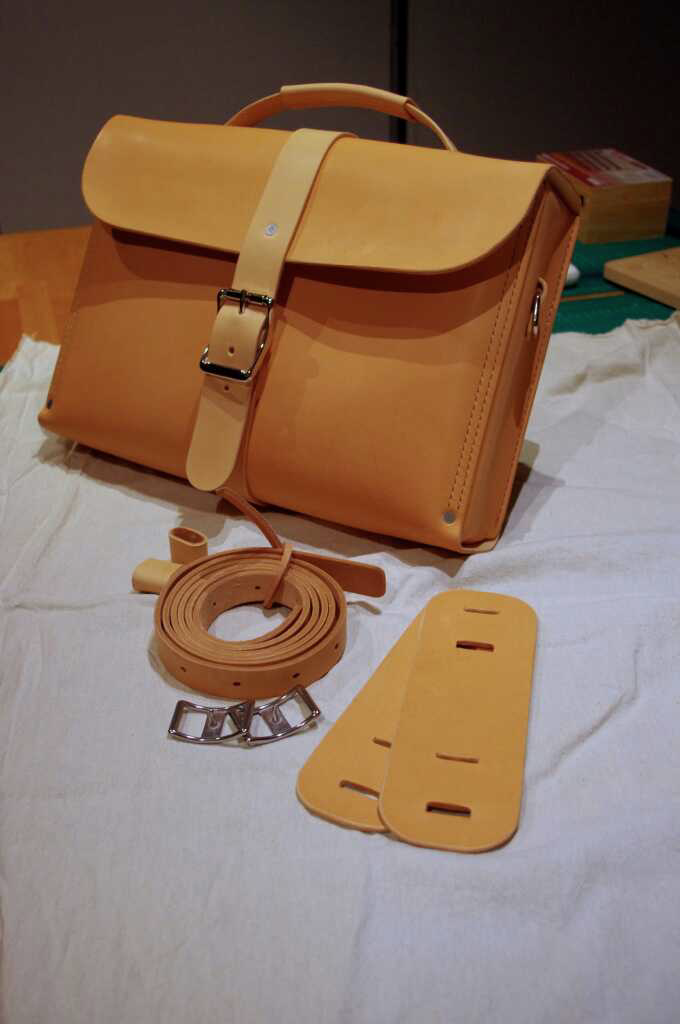 |
| The bag with the straps part |
 |
| Rear section of the bag |
 |
| Side shot |
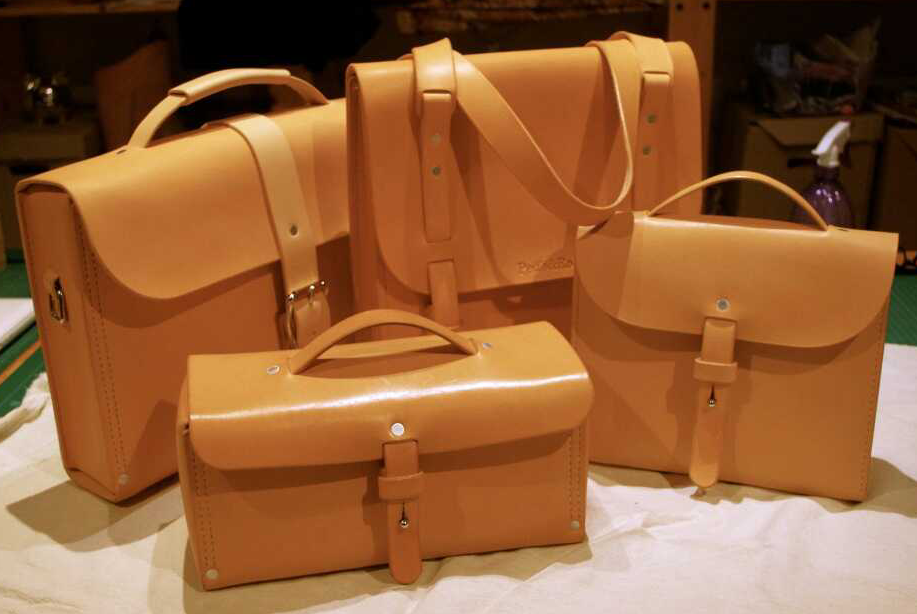 |
| Family photo :) |
Thursday, December 6, 2012
Project: Mini Tote
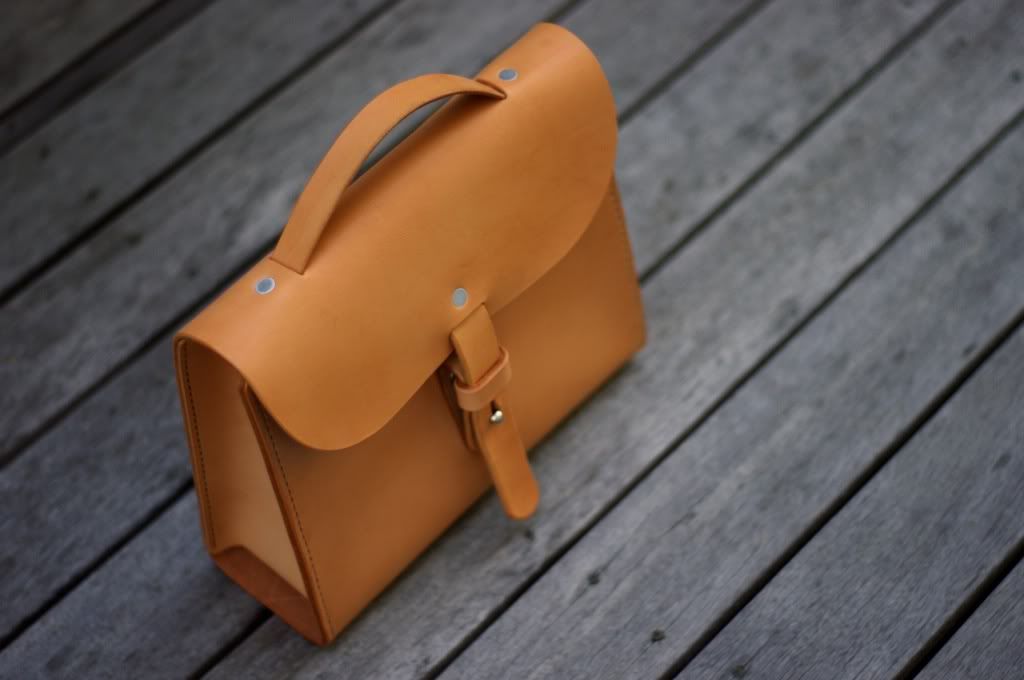
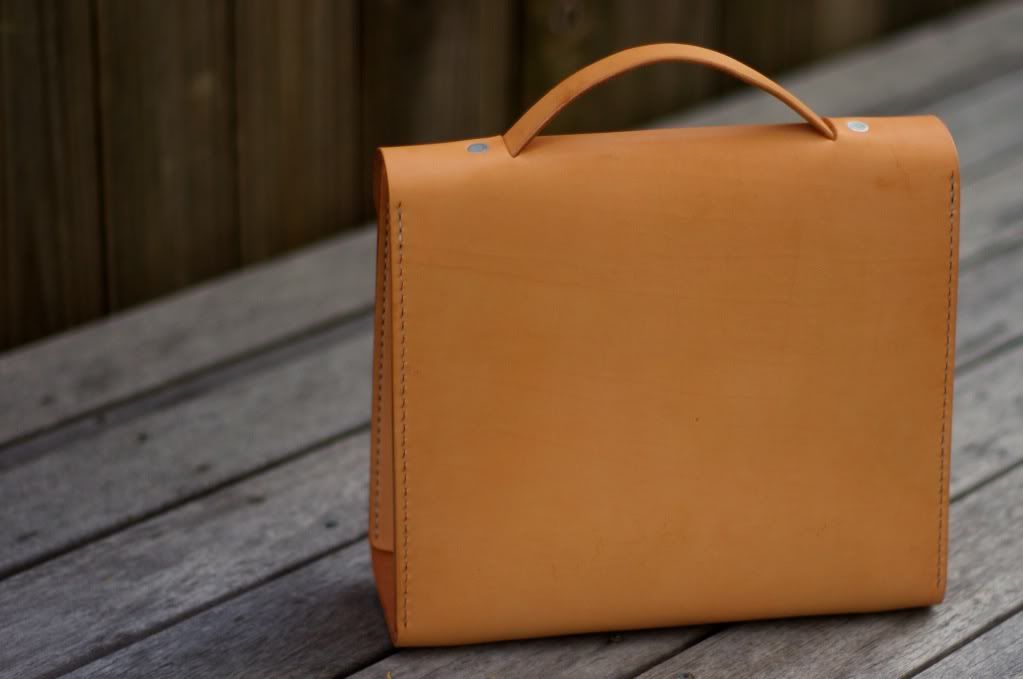
Originally I had the intention of making a backpack for my daughter, upon assembly, the size was still too large for her. I decided to turn it into a mini tote instead.
To minimise the weight, I used thinner leather measuring at 2 - 2.5mm. Construction is simpler than the original tote. Rivets is only used for the bottom portion. The handle is one piece of leather and the closure is single instead of double.
The adaptation works extremely well and looks well-proportioned. Size is just a tad smaller than the most famous tablet. It will be plenty of room to carry daily necessities.
As always photo of the completed bag.
To minimise the weight, I used thinner leather measuring at 2 - 2.5mm. Construction is simpler than the original tote. Rivets is only used for the bottom portion. The handle is one piece of leather and the closure is single instead of double.
The adaptation works extremely well and looks well-proportioned. Size is just a tad smaller than the most famous tablet. It will be plenty of room to carry daily necessities.
As always photo of the completed bag.
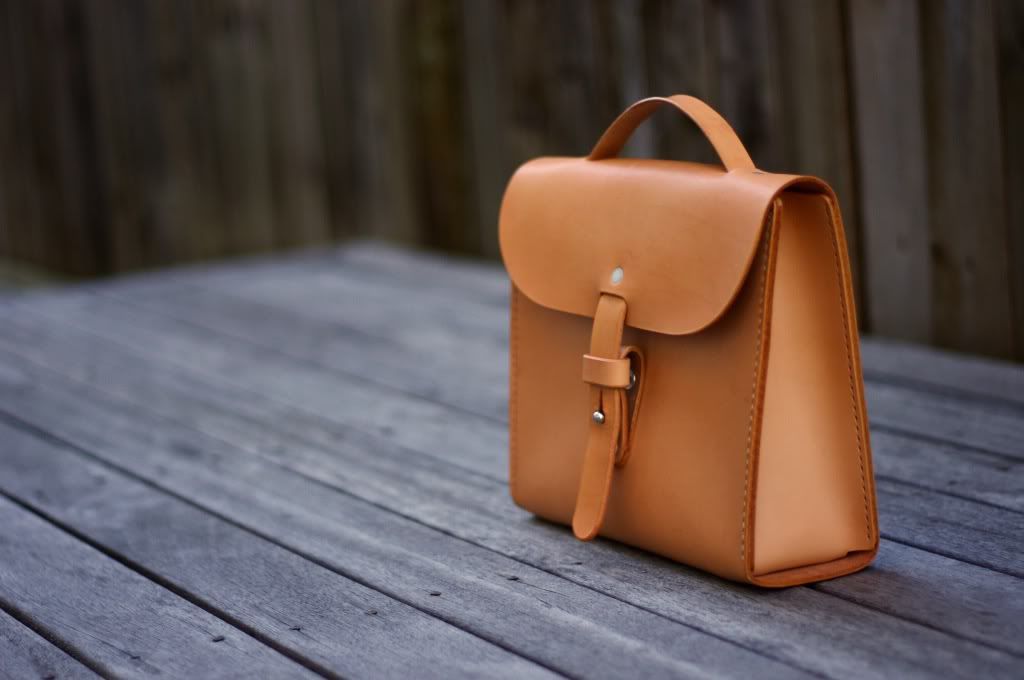 | |||
| Side Shot |
 |
| Top Shot |
 |
| Back Shot |
Thursday, September 6, 2012
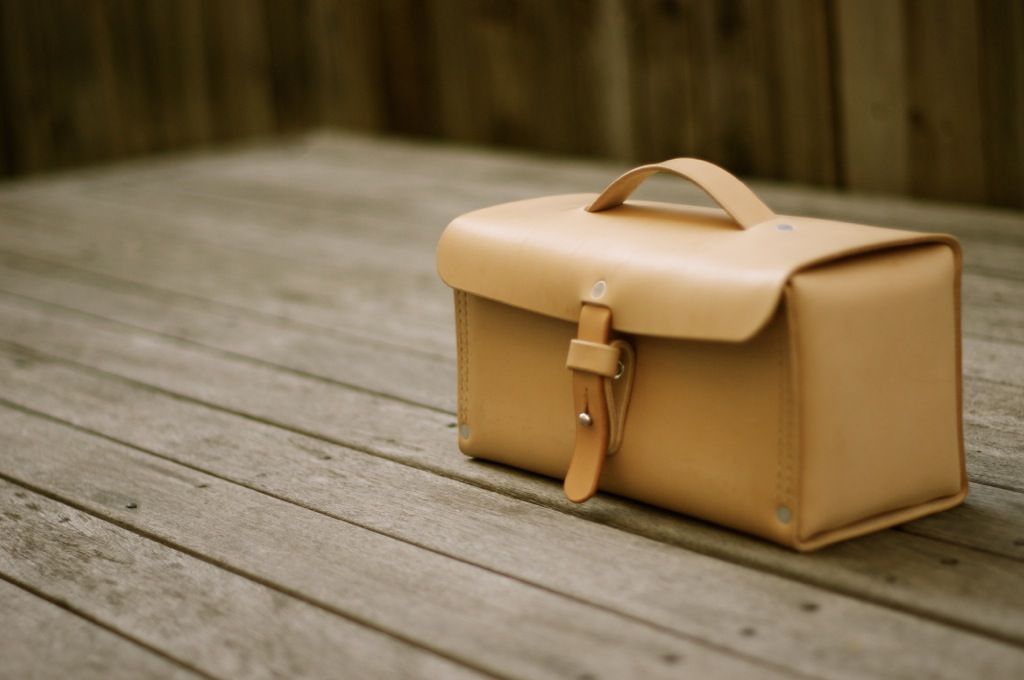
Project: Tool Bag design No.2
I have been thinking for a while of redesigning the 'Tool-Box' bag I made a while back. I really like the form of the bag, it has enough space to bring essentials for office dweller, i.e: Your lunch, keys, sun-glasses and other loose items. It's also very compact and forgiving to other commuter on the bus or train.
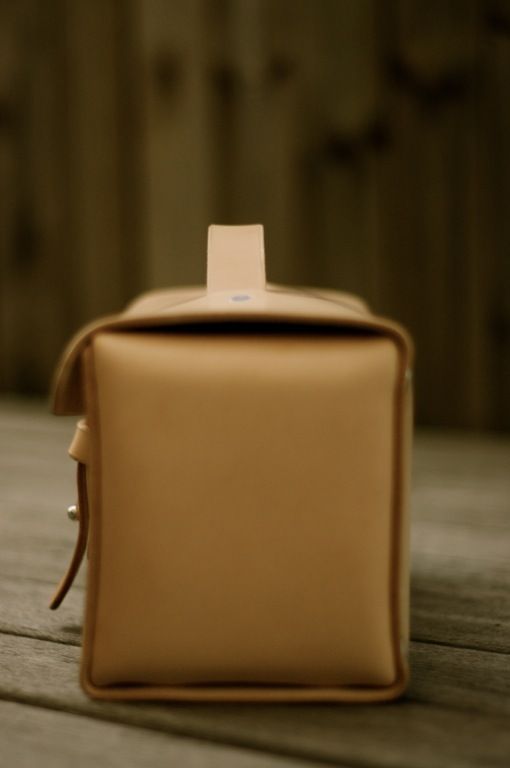
I had that chance last week. First up is to re-jig the sizing, I want the bag to have a slightly different ratio, this will (in my opinion) gives the bag a more appealing form factor, this also makes the bag smaller. Second is handle and closure placement, I want both of them to be more integrated for cleaner look, this is to complement the new leather.
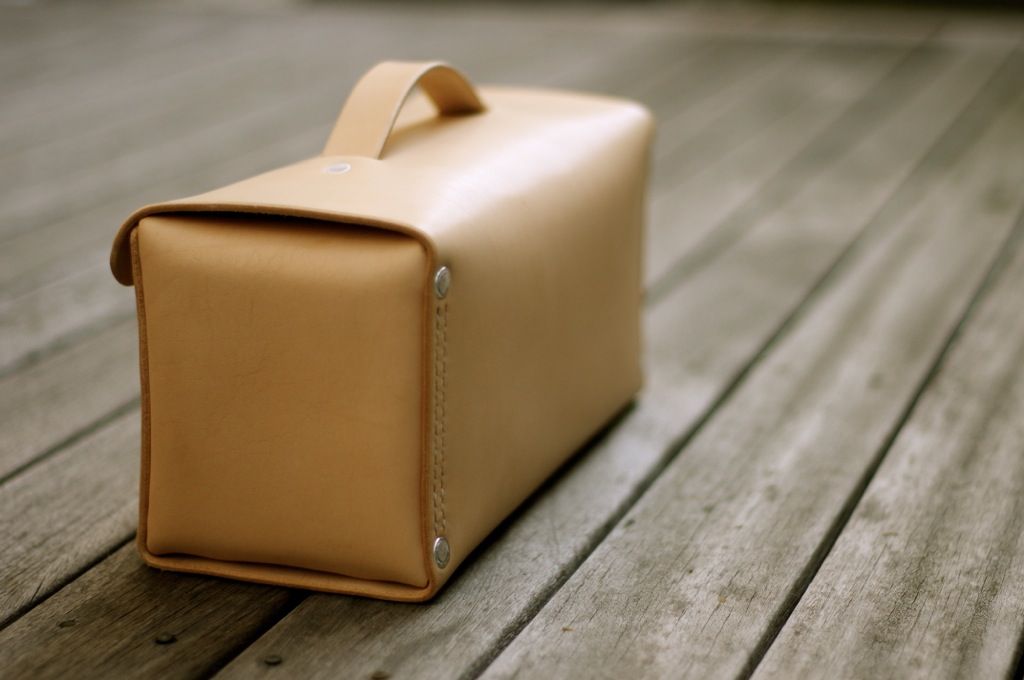
Construction method is very similar to the first model, one long piece for the body and two gusset for the sides, standard for my line of bag. I uses aluminium rivet this time, I hand brush the rivet before fastening it for that worn look. Stitching is done with standard saddle-stitch this time.
There is no shoulder strap or wrap around strap this time. I wanted a clean and simple bag.
As always, some photo of the finished product.
I had that chance last week. First up is to re-jig the sizing, I want the bag to have a slightly different ratio, this will (in my opinion) gives the bag a more appealing form factor, this also makes the bag smaller. Second is handle and closure placement, I want both of them to be more integrated for cleaner look, this is to complement the new leather.
Construction method is very similar to the first model, one long piece for the body and two gusset for the sides, standard for my line of bag. I uses aluminium rivet this time, I hand brush the rivet before fastening it for that worn look. Stitching is done with standard saddle-stitch this time.
There is no shoulder strap or wrap around strap this time. I wanted a clean and simple bag.
As always, some photo of the finished product.
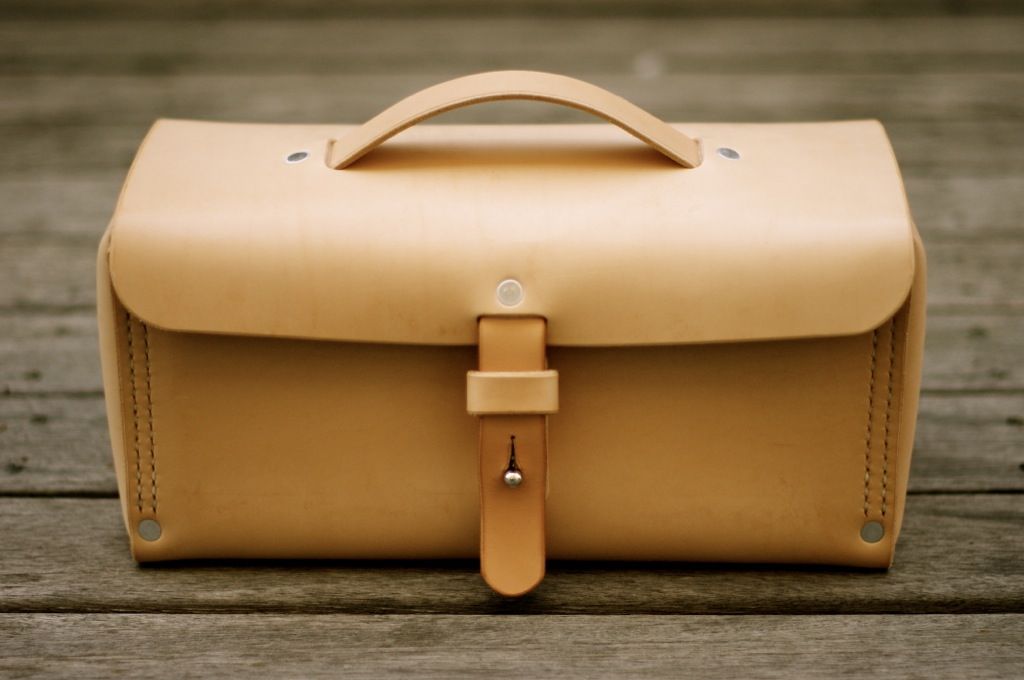 |
| Front |
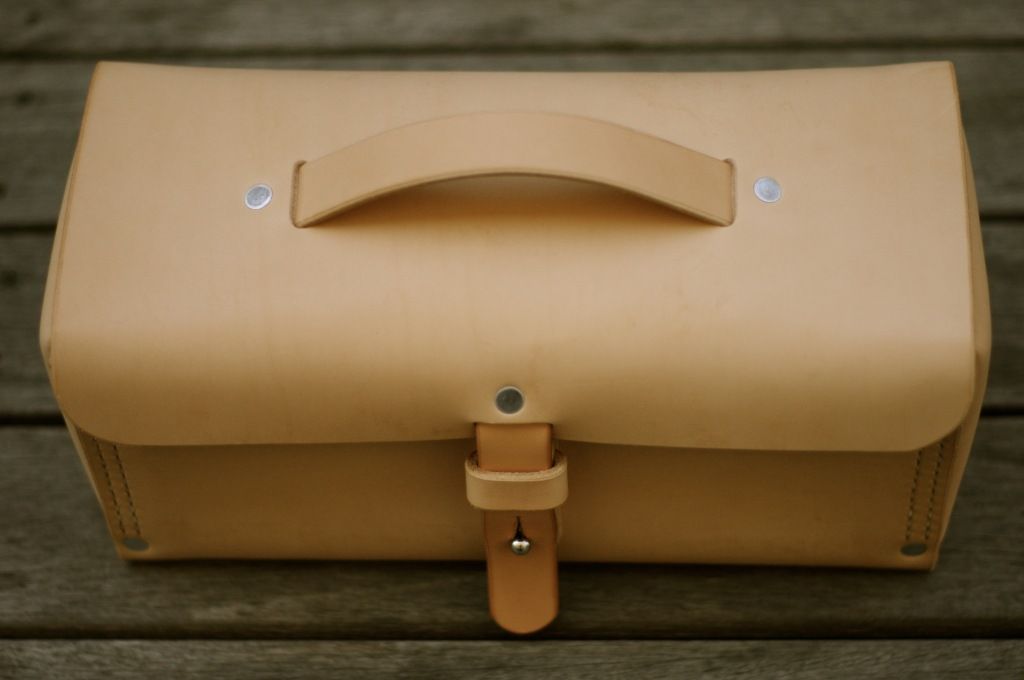 |
| Top |
 |
| Side Profile |
 |
| Side |
 |
| Back |
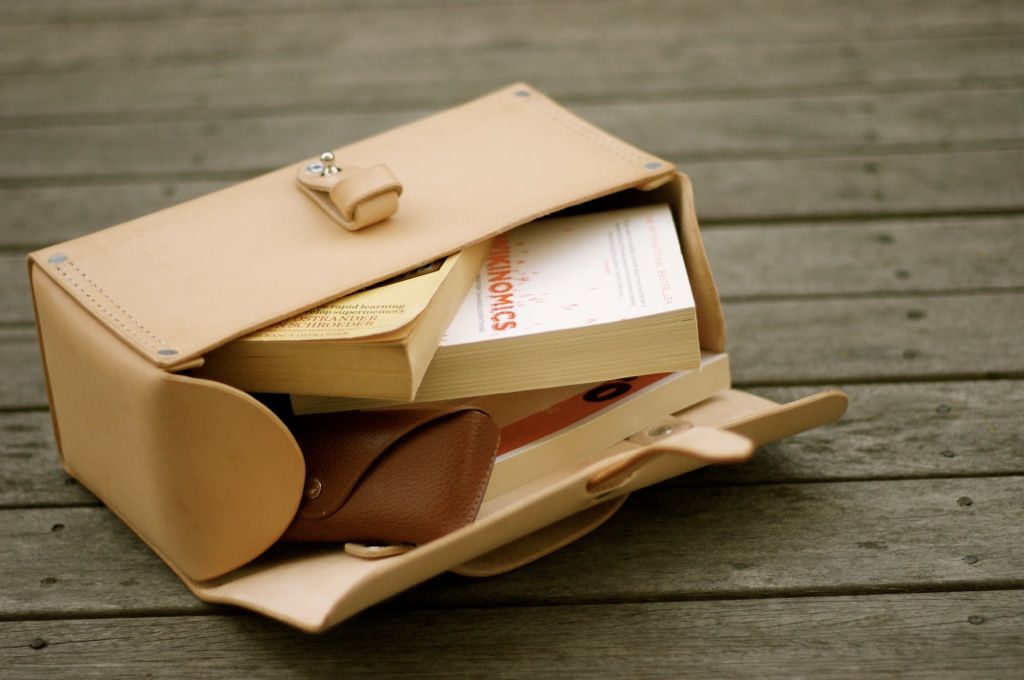 |
| Inside |
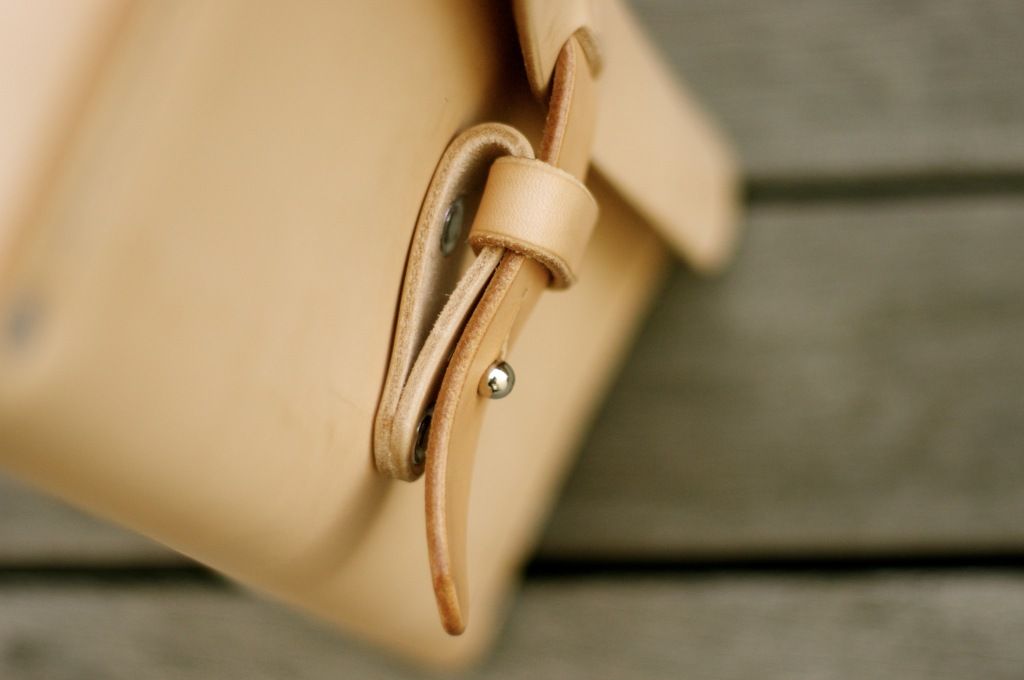 |
| Closure details |
Sunday, September 2, 2012
Leather Button
I've been playing with few different ideas for making closure for the bag. One of them is a leather button. In order for the button to work, the button need to be sturdy enough. One way of achieving this is via a method called 'cuir-bouilli' or boiled leather.
There isn't an exact procedure how to achieve the desirable end product, this is because every vegetable-tanned leather has different tanning composition. By boiling the leather, some or all part of the leather will be polymerised.
The method that I used was first soaking the leather into cold water then pour a boiling water into the leather surface without soaking it. I was hoping to fully polymerise the leather surface only and somewhat half polymerise the inside of the leather.
Few observation:
1. The hot water did what it supposed to do, polymerising the leather
2. There is shrinkage but was less that I expected. The shrinkage occurred on the surface that touch the hot water hence the curve upward shape.
3. The color has changed to dark brown permanently
4. Final result is brittle, can be torn with hands.
I need to experiment or fine-tune the boiling method to prevent the cracking at the end. It's been a fun experiment.
As always, some photos of the experiment:
There isn't an exact procedure how to achieve the desirable end product, this is because every vegetable-tanned leather has different tanning composition. By boiling the leather, some or all part of the leather will be polymerised.
The method that I used was first soaking the leather into cold water then pour a boiling water into the leather surface without soaking it. I was hoping to fully polymerise the leather surface only and somewhat half polymerise the inside of the leather.
Few observation:
1. The hot water did what it supposed to do, polymerising the leather
2. There is shrinkage but was less that I expected. The shrinkage occurred on the surface that touch the hot water hence the curve upward shape.
3. The color has changed to dark brown permanently
4. Final result is brittle, can be torn with hands.
I need to experiment or fine-tune the boiling method to prevent the cracking at the end. It's been a fun experiment.
As always, some photos of the experiment:
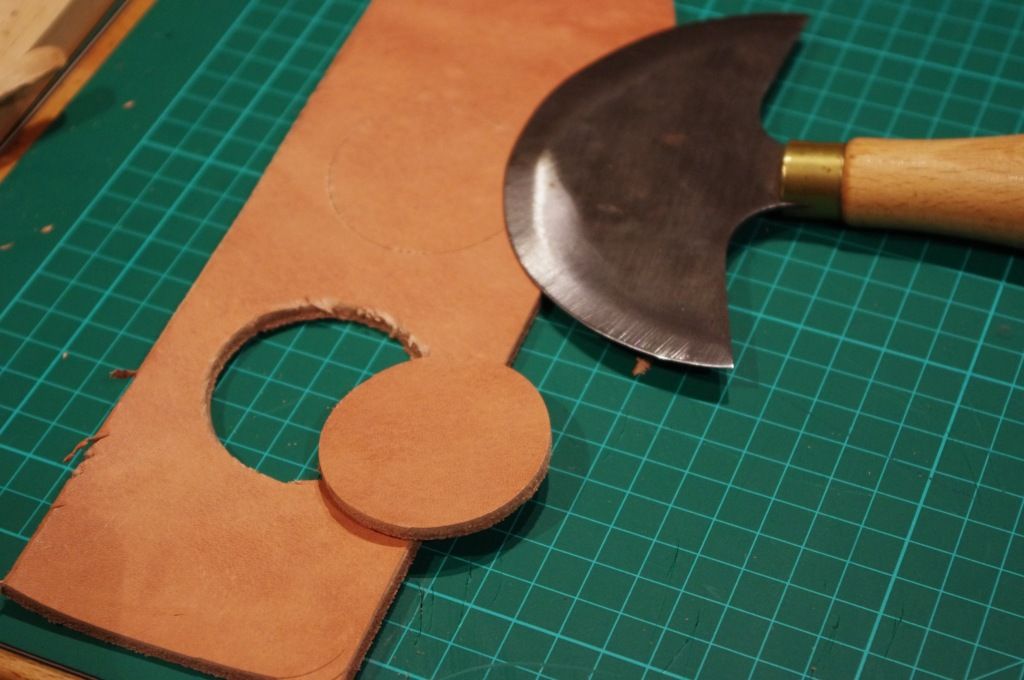 |
| Cutting the leather into circular shape |
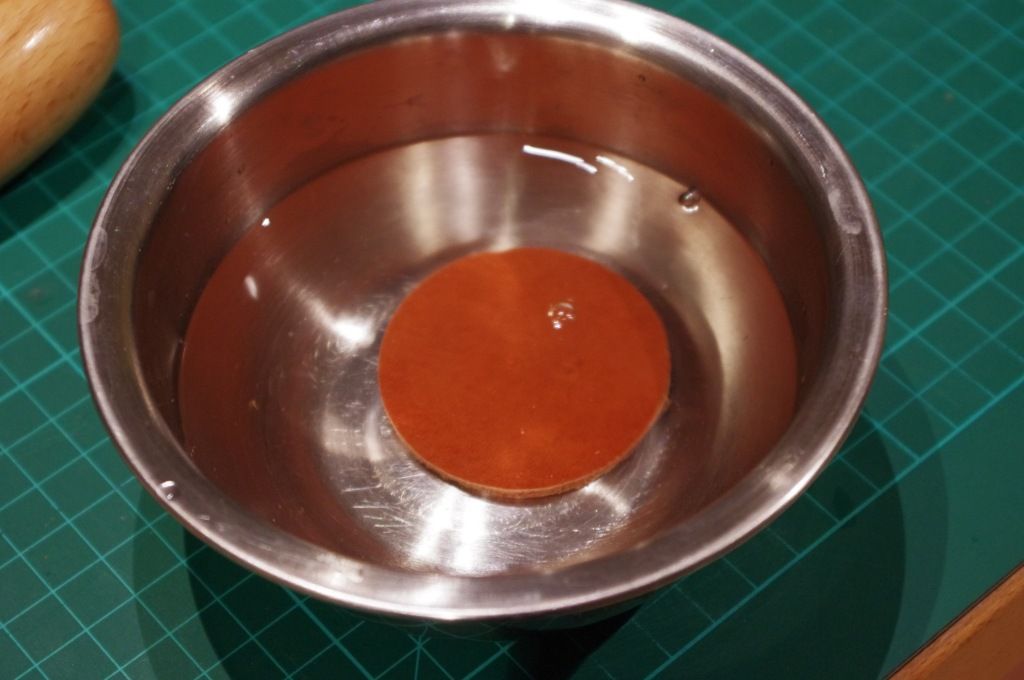 |
| Soaked completely in cold water |
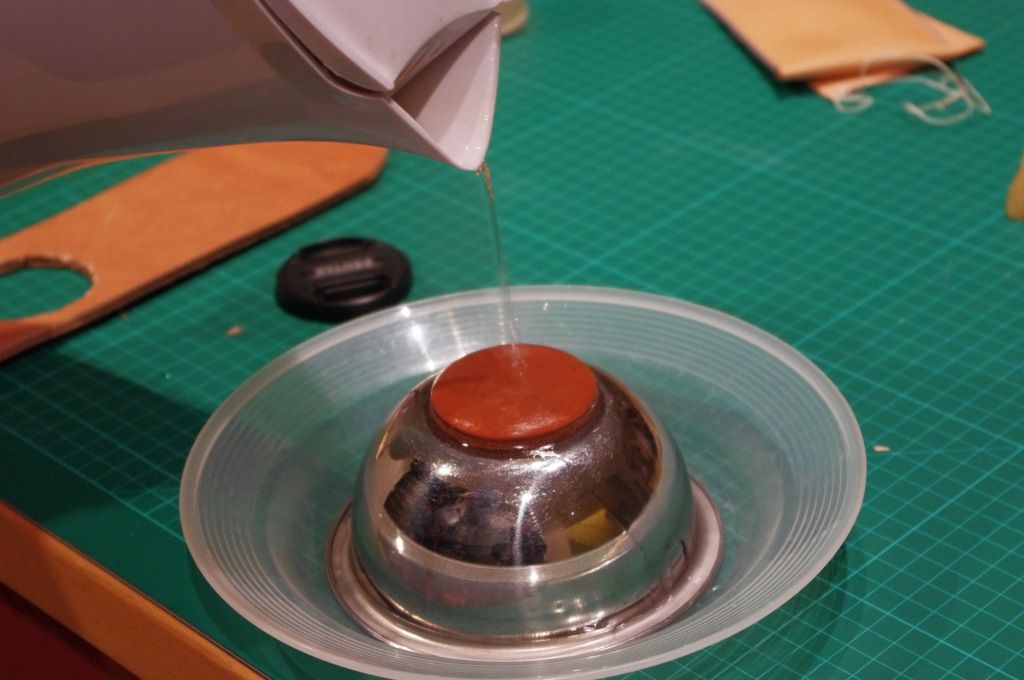 |
| Pouring boiling water into the leather surface |
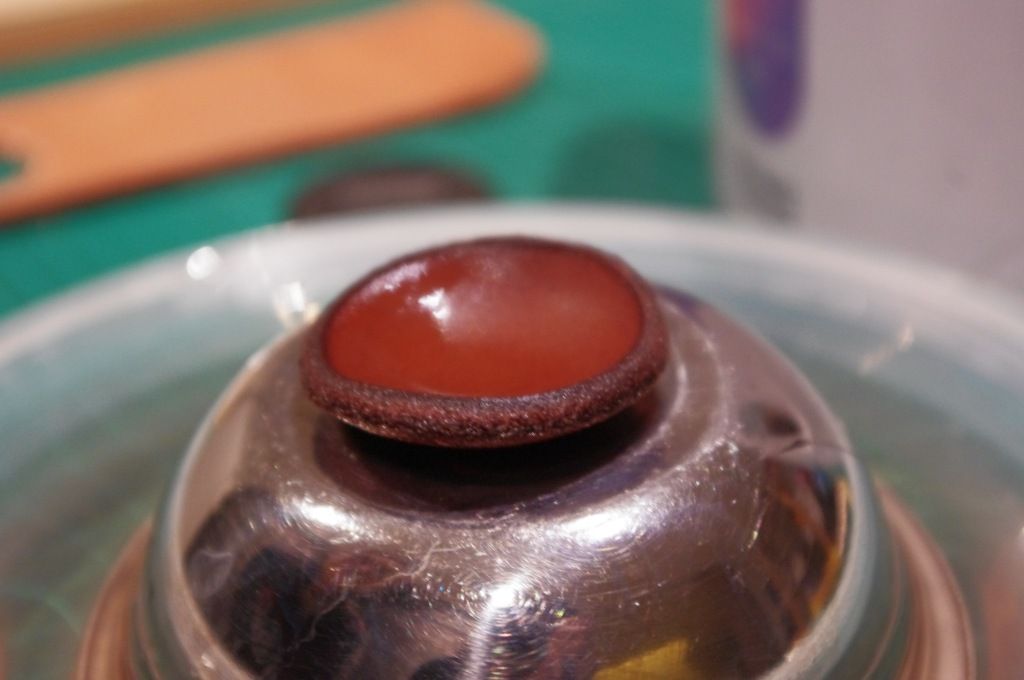 |
| After effect, notice the curve |
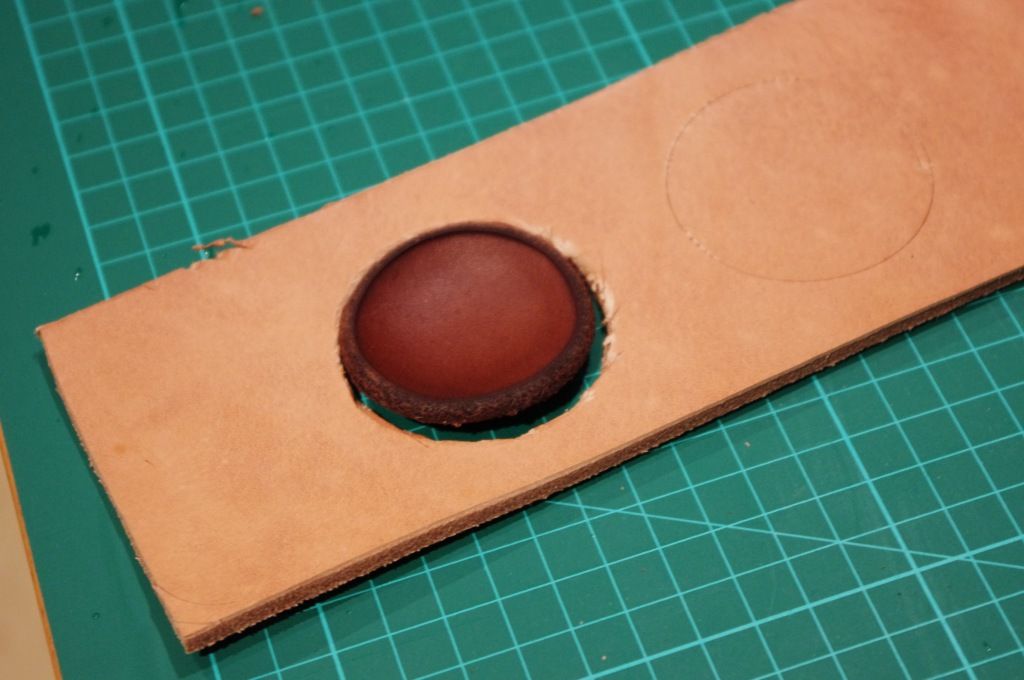 |
| Some shrinkage. Also notice the color |
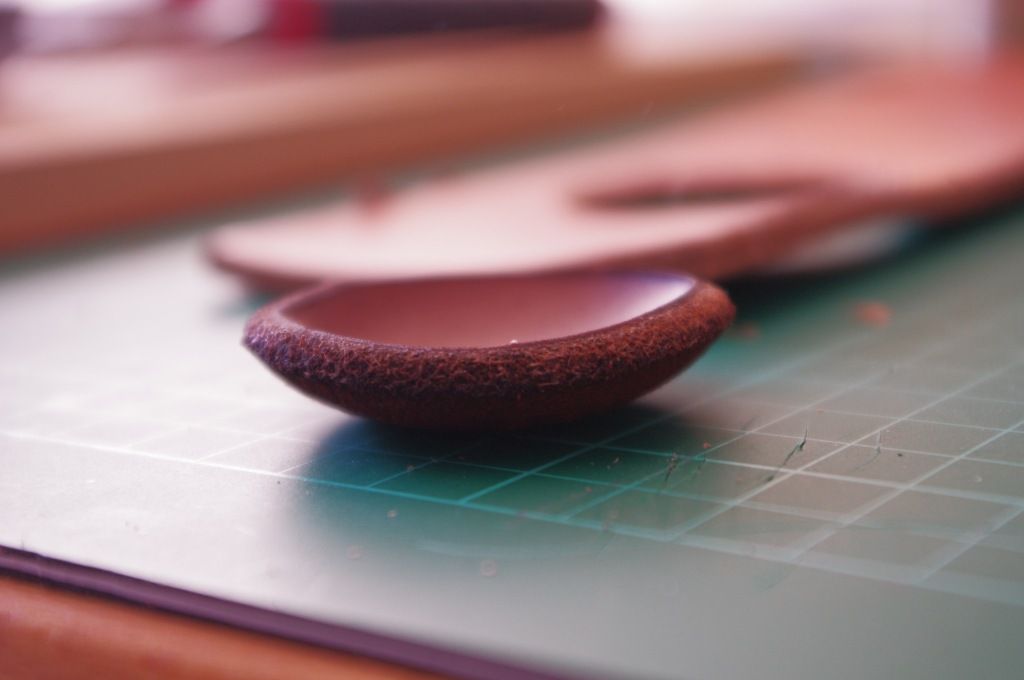 |
| Fully dried |
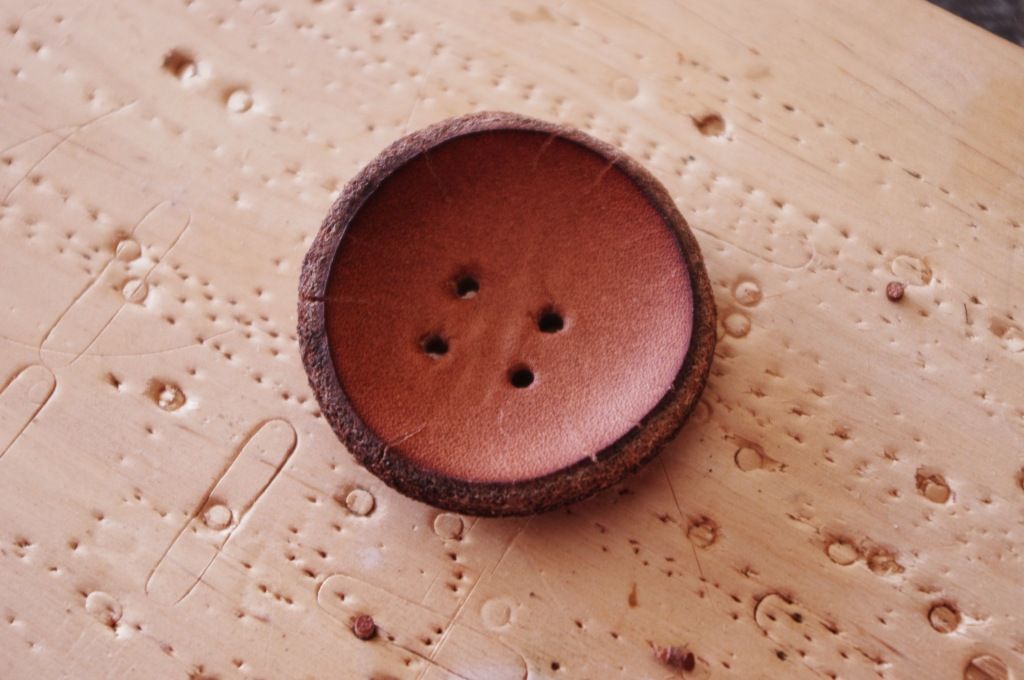 |
| Hole punched. Notice the cracking on the edge |
Subscribe to:
Posts (Atom)