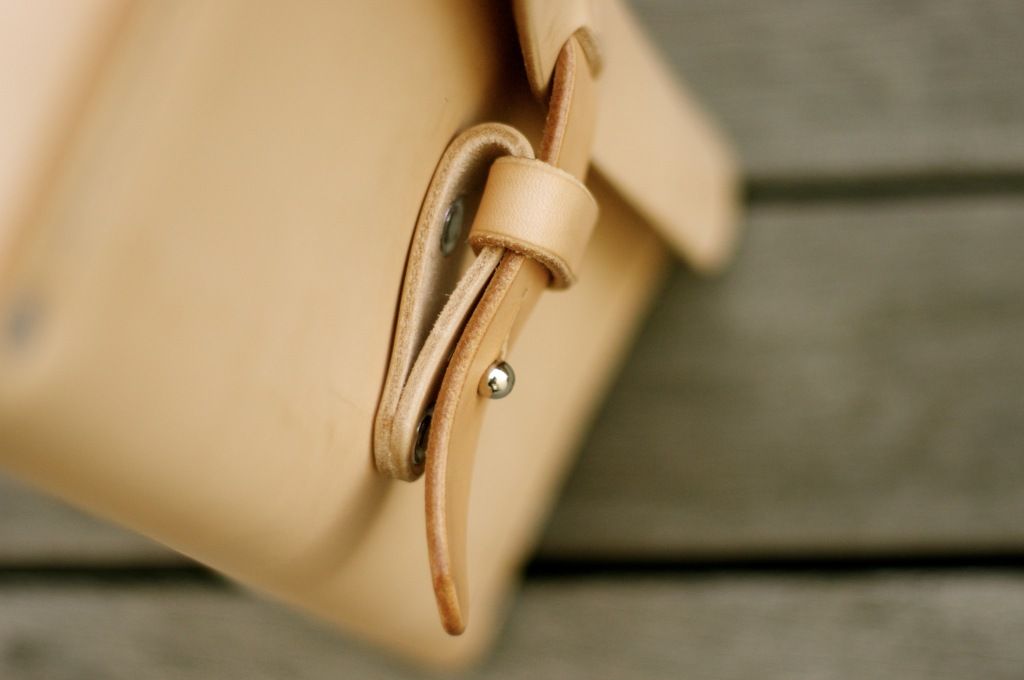
I've been playing with few different ideas for making closure for the bag. One of them is a leather button. In order for the button to work, the button need to be sturdy enough. One way of achieving this is via a method called 'cuir-bouilli' or boiled leather.
There isn't an exact procedure how to achieve the desirable end product, this is because every vegetable-tanned leather has different tanning composition. By boiling the leather, some or all part of the leather will be polymerised.
The method that I used was first soaking the leather into cold water then pour a boiling water into the leather surface without soaking it. I was hoping to fully polymerise the leather surface only and somewhat half polymerise the inside of the leather.
Few observation:
1. The hot water did what it supposed to do, polymerising the leather
2. There is shrinkage but was less that I expected. The shrinkage occurred on the surface that touch the hot water hence the curve upward shape.
3. The color has changed to dark brown permanently
4. Final result is brittle, can be torn with hands.
I need to experiment or fine-tune the boiling method to prevent the cracking at the end. It's been a fun experiment.
As always, some photos of the experiment:
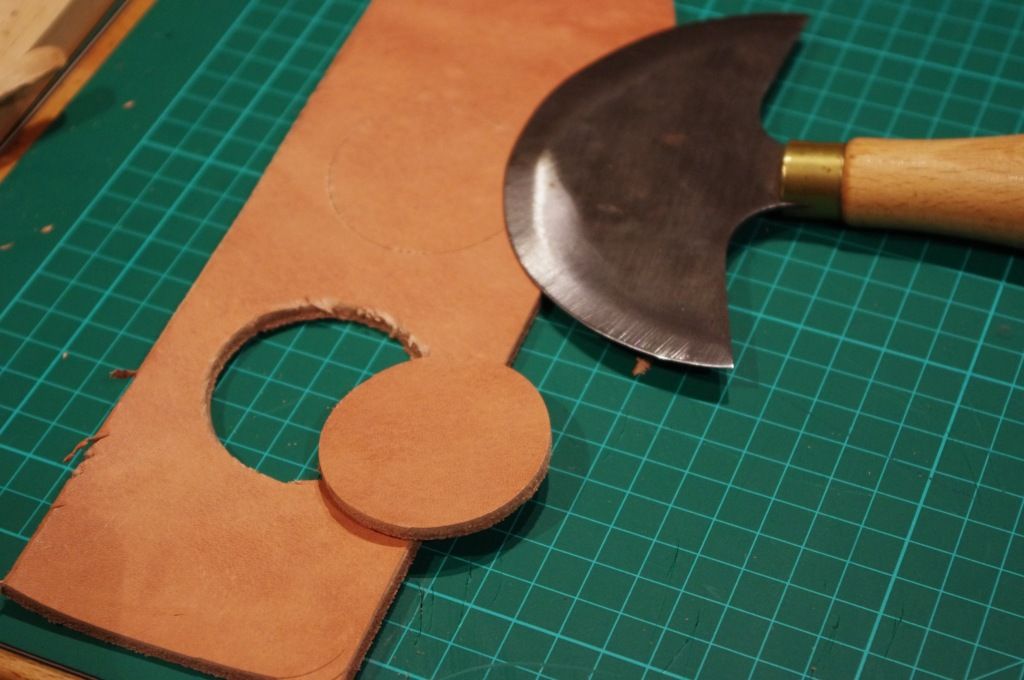 |
| Cutting the leather into circular shape |
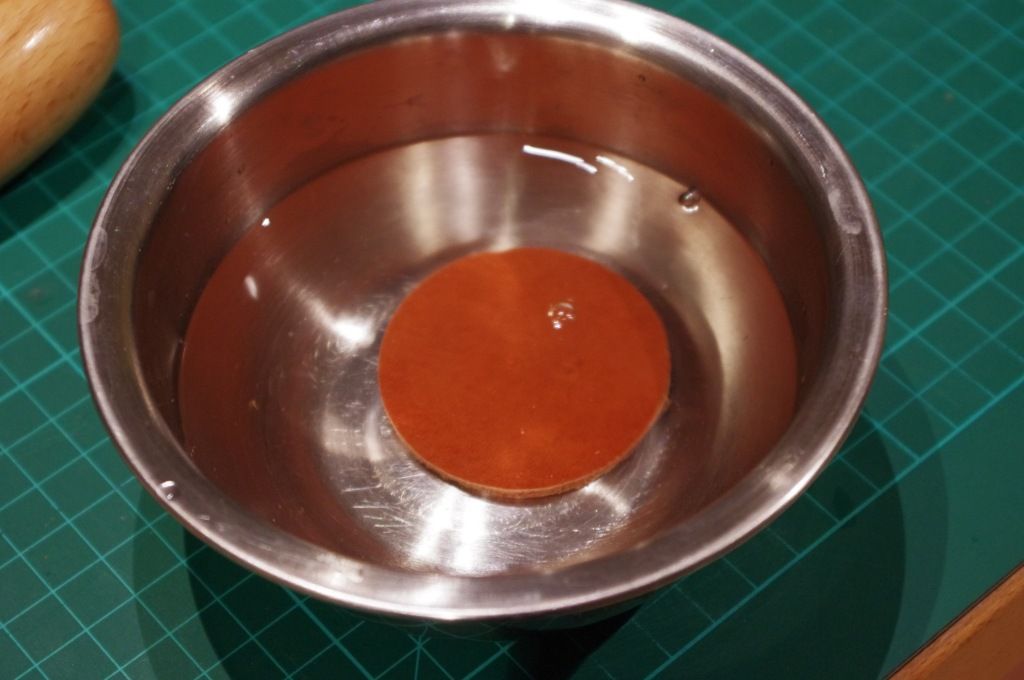 |
| Soaked completely in cold water |
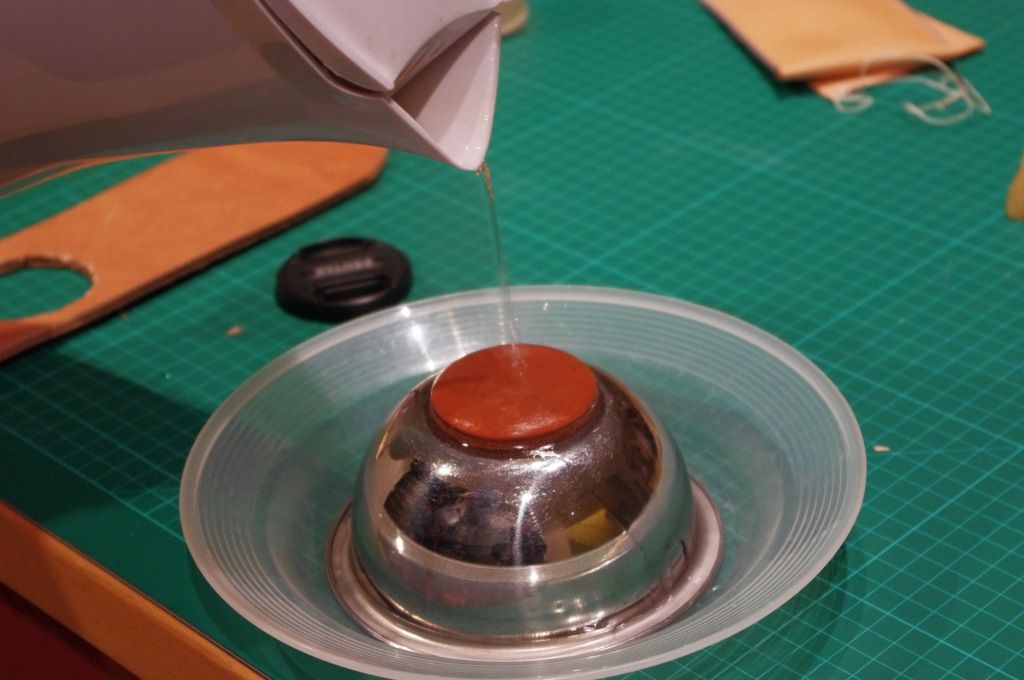 |
| Pouring boiling water into the leather surface |
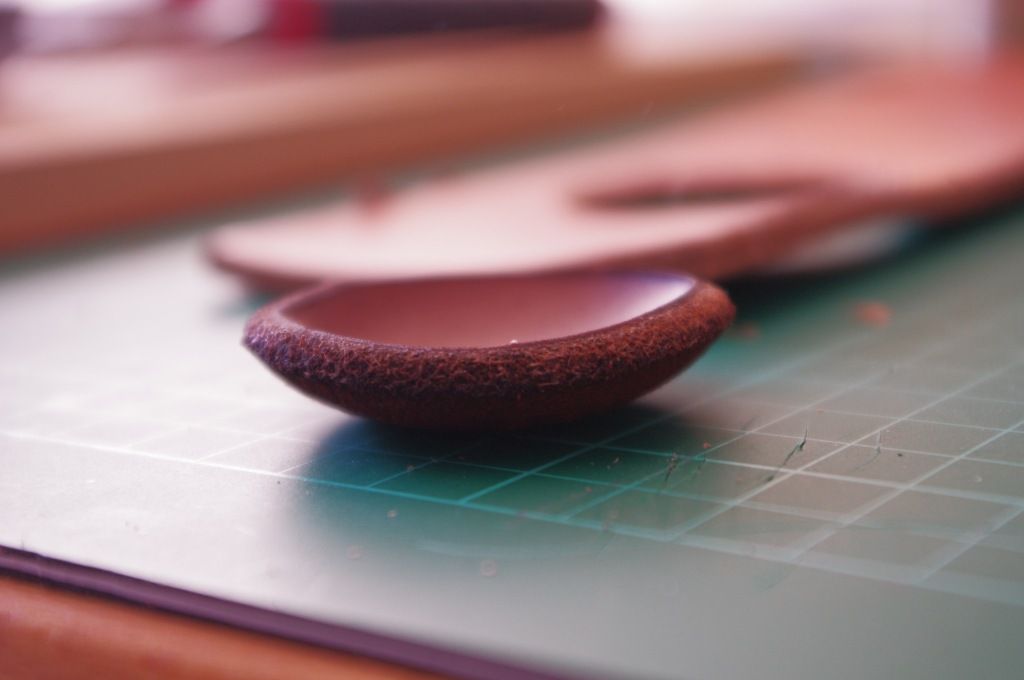
 |
| After effect, notice the curve |
 |
| Some shrinkage. Also notice the color |
 |
| Fully dried |
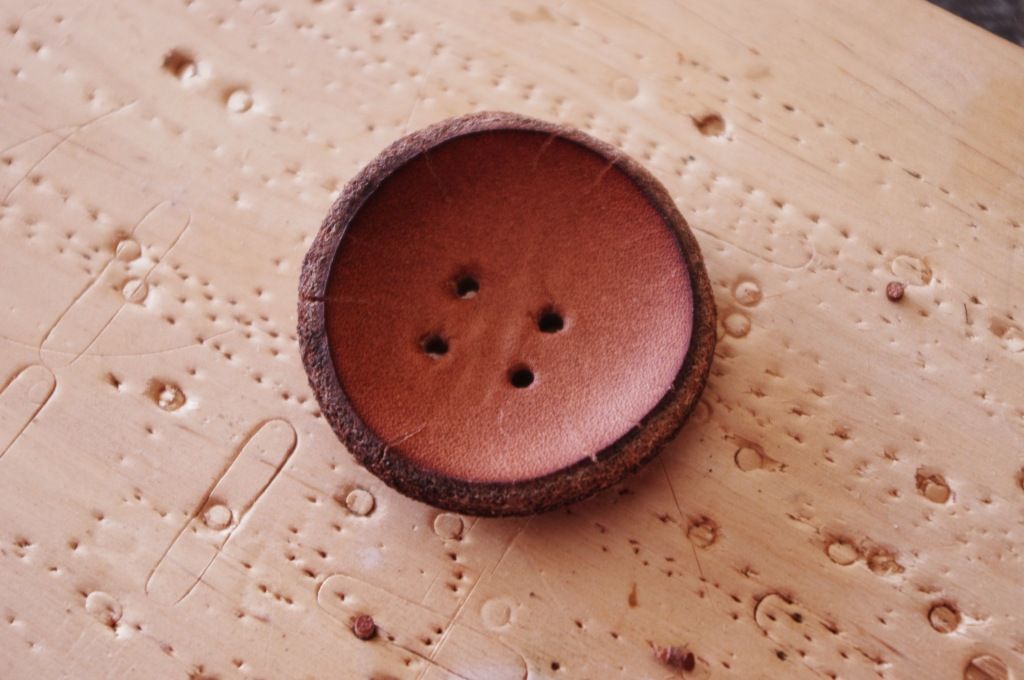 |
| Hole punched. Notice the cracking on the edge |