Ped's & Ro Leather Blog

Ped's & Ro Leather Blog

Thursday, December 6, 2012

Project: Mini Tote

Originally I had the intention of making a backpack for my daughter, upon assembly, the size was still too large for her. I decided to turn it into a mini tote instead.

To minimise the weight, I used thinner leather measuring at 2 - 2.5mm. Construction is simpler than the original tote. Rivets is only used for the bottom portion. The handle is one piece of leather and the closure is single instead of double. 

The adaptation works extremely well and looks well-proportioned. Size is just a tad smaller than the most famous tablet. It will be plenty of room to carry daily necessities.

As always photo of the completed bag.

Side Shot


Top Shot


Back Shot

Thursday, September 6, 2012

Project: Tool Bag design No.2

I have been thinking for a while of redesigning the 'Tool-Box' bag I made a while back. I really like the form of the bag, it has enough space to bring essentials for office dweller, i.e: Your lunch, keys, sun-glasses and other loose items. It's also very compact and forgiving to other commuter on the bus or train.

I had that chance last week. First up is to re-jig the sizing, I want the bag to have a slightly different ratio, this will (in my opinion) gives the bag a more appealing form factor, this also makes the bag smaller. Second is handle and closure placement, I want both of them to be more integrated for cleaner look, this is to complement the new leather.

Construction method is very similar to the first model, one long piece for the body and two gusset for the sides, standard for my line of bag. I uses aluminium rivet this time, I hand brush the rivet before fastening it for that worn look. Stitching is done with standard saddle-stitch this time.

There is no shoulder strap or wrap around strap this time. I wanted a clean and simple bag.

As always, some photo of the finished product.

Front


Top


Side Profile


Side


Back


Inside


Closure details

Sunday, September 2, 2012

Leather Button

I've been playing with few different ideas for making closure for the bag. One of them is a leather button. In order for the button to work, the button need to be sturdy enough. One way of achieving this is via a method called 'cuir-bouilli' or boiled leather.

There isn't an exact procedure how to achieve the desirable end product, this is because every vegetable-tanned leather has different tanning composition. By boiling the leather, some or all part of the leather will be polymerised.

The method that I used was first soaking the leather into cold water then pour a boiling water into the leather surface without soaking it. I was hoping to fully polymerise the leather surface only and somewhat half polymerise the inside of the leather.

Few observation:
1. The hot water did what it supposed to do, polymerising the leather
2. There is shrinkage but was less that I expected. The shrinkage occurred on the surface that touch the hot water hence the curve upward shape.
3. The color has changed to dark brown permanently
4. Final result is brittle, can be torn with hands.

I need to experiment or fine-tune the boiling method to prevent the cracking at the end. It's been a fun experiment.

As always, some photos of the experiment:

Cutting the leather into circular shape


Soaked completely in cold water


Pouring boiling water into the leather surface


After effect, notice the curve


Some shrinkage. Also notice the color
Fully dried


Hole punched. Notice the cracking on the edge

Friday, August 3, 2012

Tote Bag design No.2...

It has taken me a while to finalise the design for the second tote bag. This is a commissioned piece for a good friend and I want to make sure the standard is high. I made a prototype beforehand to test how the shape and function will work out. I initially encountered some problem with handle placement but was resolved for the end product. 

As per my other design, the approach is minimalist and functional. The main body consists of one large panel that made the front, bottom, back and flap and two gusset panels for the sides.  The pieces is secured by using aluminium rivets and a single stitching line on each corners.

The handle is made of three different pieces. This is to accentuate the bag and also introducing some signature on my line of bags. The leather pieces for the handles has also been hand oiled and waxed, giving it a different hue from the bag's main body. It works brilliantly in term of aesthetics and function. The different colour tone gives the bag a multidimensional look and the width of the main handle works well when carrying the bag on the shoulder.

It's a well balance bag that looks sturdy and soft at the same time. It's also the first time I used the new Scandinavian leather. It's an absolutely beautiful leather to work with which shows at the finished product. I envisioned many derivative from this versatile design. Stay tuned.

As always, some photos of the finished product.

Tote bag design no. 2        


Side profile


Side profile


Back handle


Handles details


Open


Inside Shot


Family Shot


Saturday, July 14, 2012

Tutorial: Removing 'Quick-set' Rivet

In this section I would like to show how to remove Quick-set/rapid/double-cap rivet. As the rivet is fairly soft, it's actually quite possible to remove them once they are set. This method wouldn't work with solid rivet.

The tools needed is fairly simple:

1) A flat headed screw-driver, with blunt edges
2) A Plier
3) A Pincher tool

Here's the photo to illustrate the steps:

Already fastened rivet securing two leather pieces


Insert flat headed screw-driver to create space


Side view of the screw-driver in action


Space created for the plier to do its job


Bend the rivet head with a plier


Side view of the bend rivet


Bending completed


Pincher is ready to do its job


Position the pincher around the rivet


Ensure no leather is on the way


Rivet head removed


Job done!


Rivet pieces


Close-up


It's a fairly simple process to remove the rivet, it's also one of the reason why this type of rivet is my second preference for fastening leather.

Thursday, July 5, 2012

New Leather...

I have always admired the way Scandinavian design and produce a product. Their minimalist approach is so refreshing yet functional. It speaks high quality in many ways. 

Vegetable-tanned hides coming from Scandinavian tannery is no different. They are regarded as one of the best leather you can get your hands on, partly due to the colder climate (less insect and parasites).

This was confirmed during my visit to Sweden few years back, I discovered one of such tannery. I went to a major department store (PUB) that stocks their own line of bag. I must say, the leather is nothing like I have ever seen, exceptionally smooth, distinct grain growth, super clean and smell really good too.
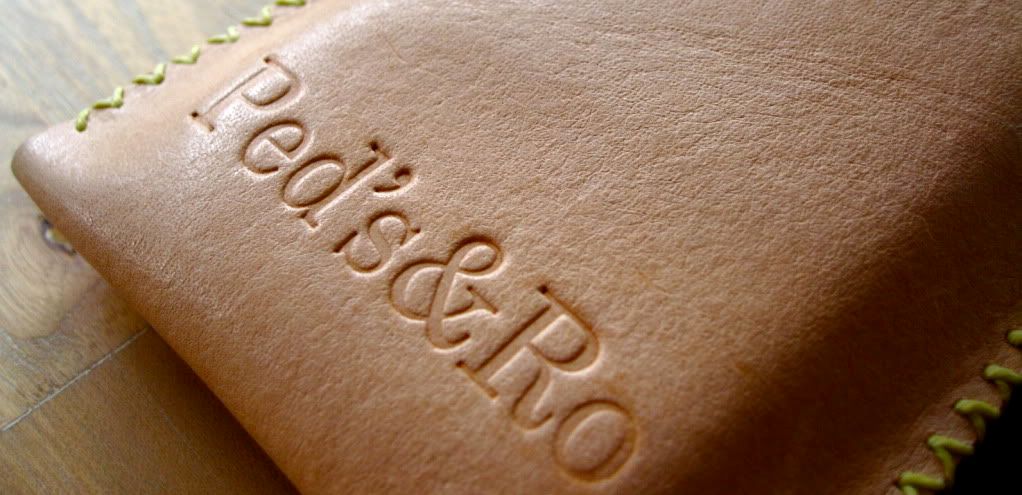
This tannery is none other than Tarnsjo Garveri.
On another note, their in-store concept is very unique as well. Client is able to view the leather, hardware and even see their product being made. Something that I would definitely entertain in the future.
I have since sent them a request to send me some sample with a view to purchase hides. I do realise though that procuring hides from them this way is going to be an expensive excersize due to the shipping cost.

Fast forward few years, I received a flyer on the mail from one of the biggest leather supply in the world. On the front page it was selling a Premium European leather. The description on the website mentioned Scandinavian hides, I was sold at this stage. This could be my ticket to Scandinavian leather at a reasonable price. I ordered two hides to see how this compare to the Tarnsjo leather. They quite different in character, Tarnsjo has more pronounced grain and different smell, whereas the Tandy one is very very smooth and soft (you can definitely see the grain growth). Pliability is almost the same (exceptional for hide this thick). They even share similar smell, with Tarnsjo being more neutral. I classify both leather in the same class, PREMIUM. I couldn't tell if the leathers come from the same tannery, but I'm not complaining.

How does the leather compare to the locally sourced one? The one that is tanned locally has different characteristic. They reflect Australian outback a lot, rough, rugged and honest. It's a lot stiffer which in turns harder to tool but is less delicate. I wouldn't put them in the same class as the one from European tannery one since there's a lot of inconsistency in quality of the hides (first ordered hide is really good, plenty of smooth, blemish free area. Second and third hide is average). Also, the European one is 'Bend' cut which is back and butt area (the best part), this is all you need for making a project, even-though you get less for your money. Whereas locally source one is a side cut.

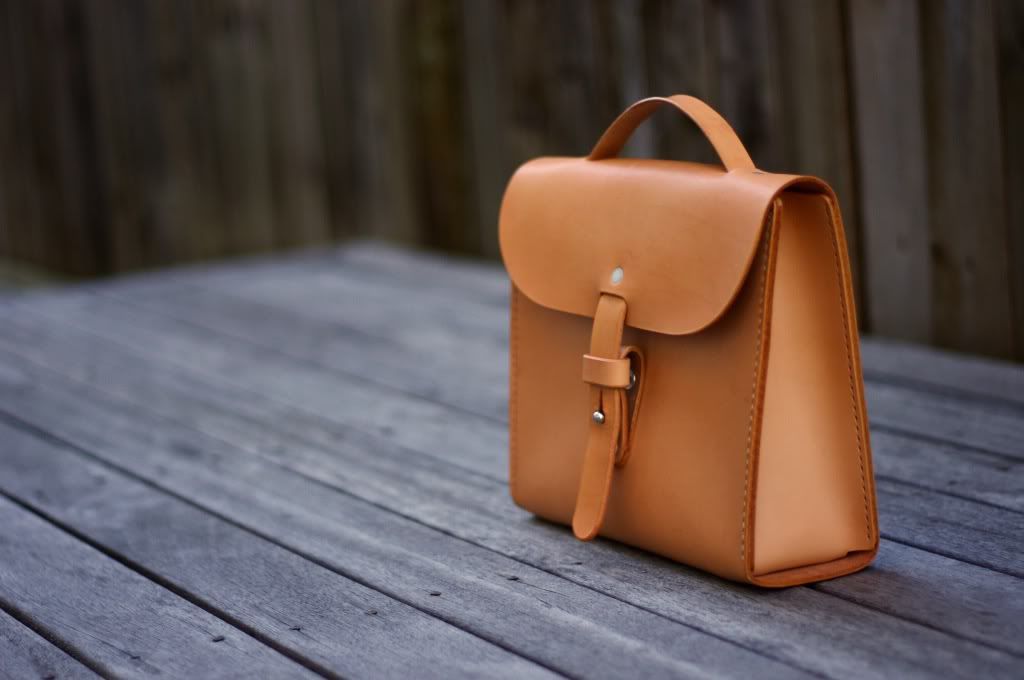
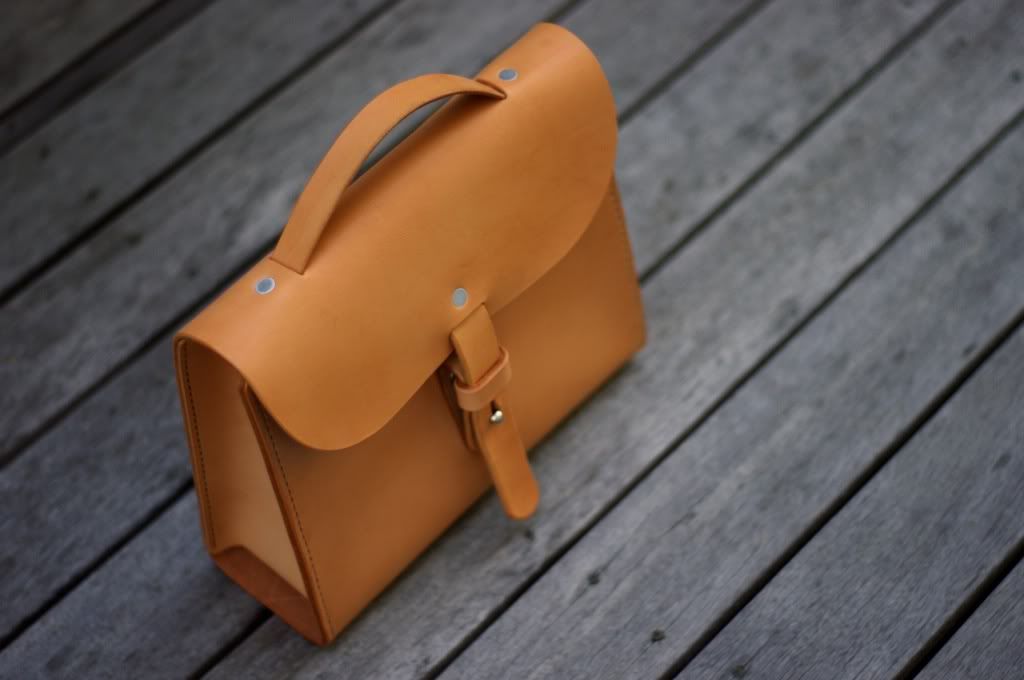
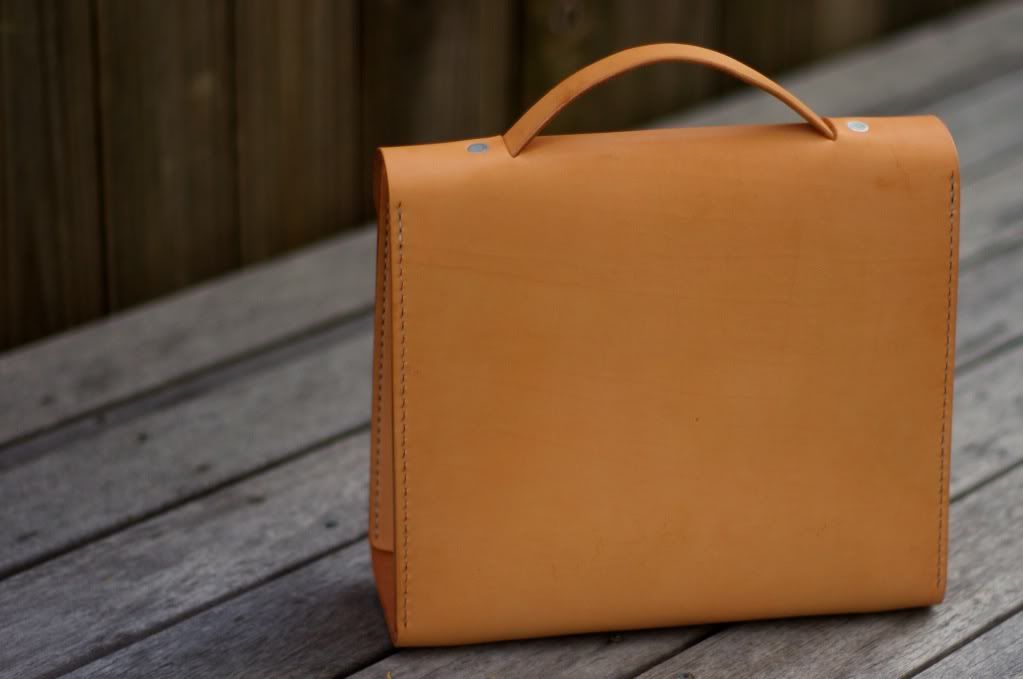
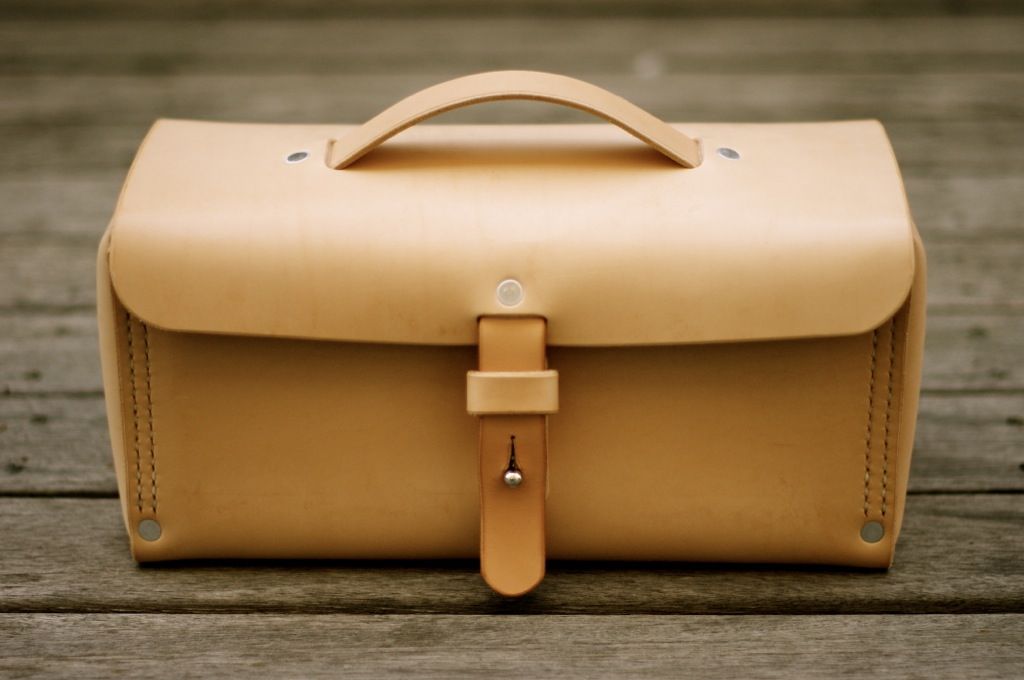
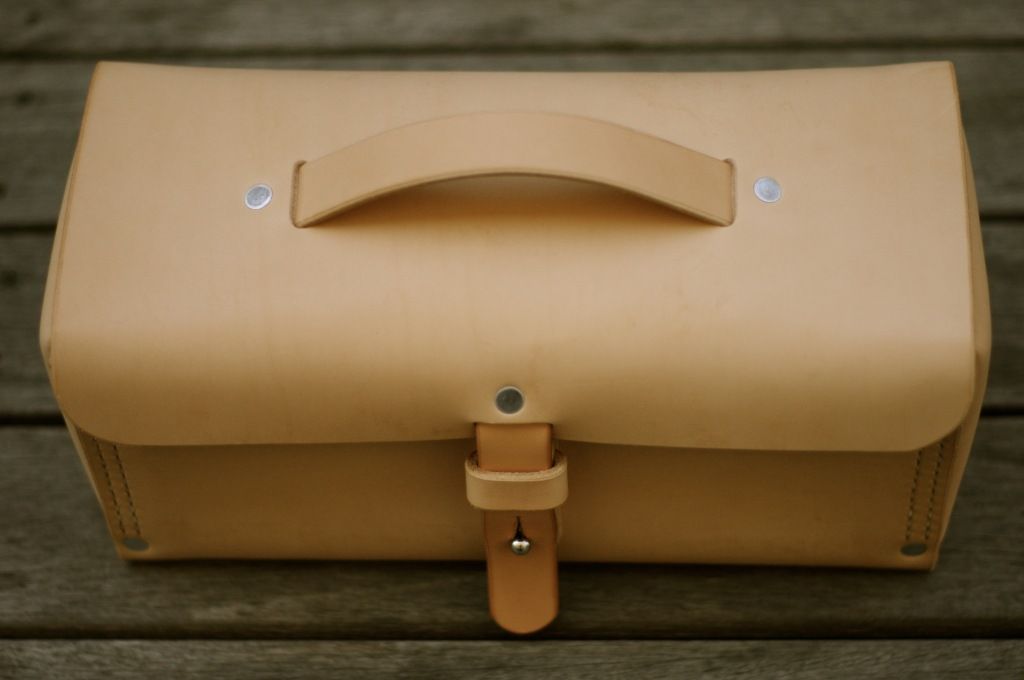
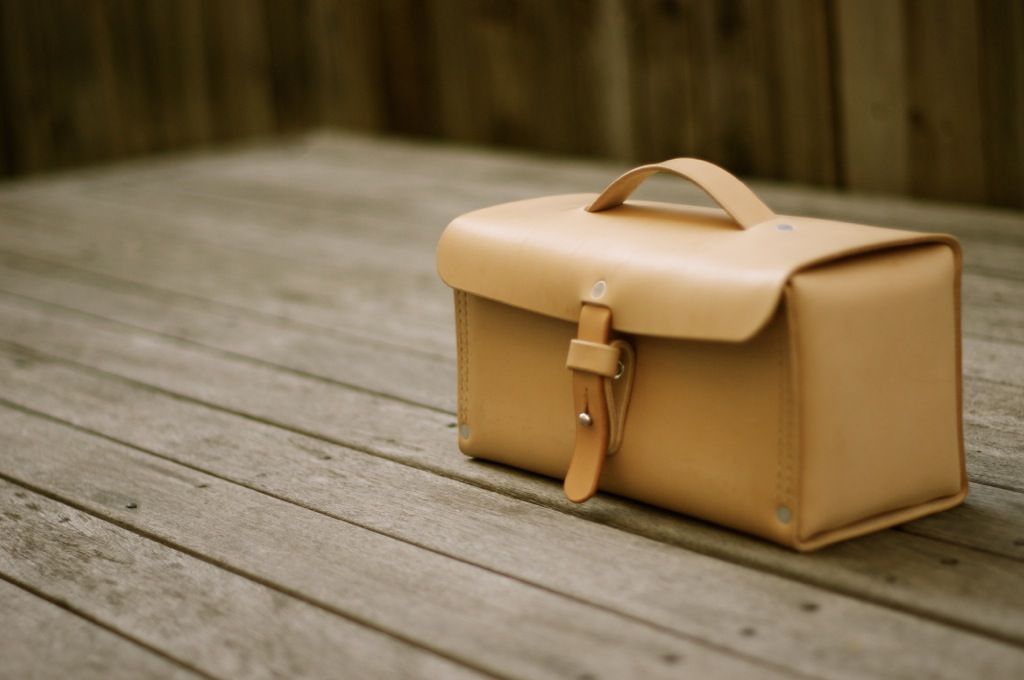
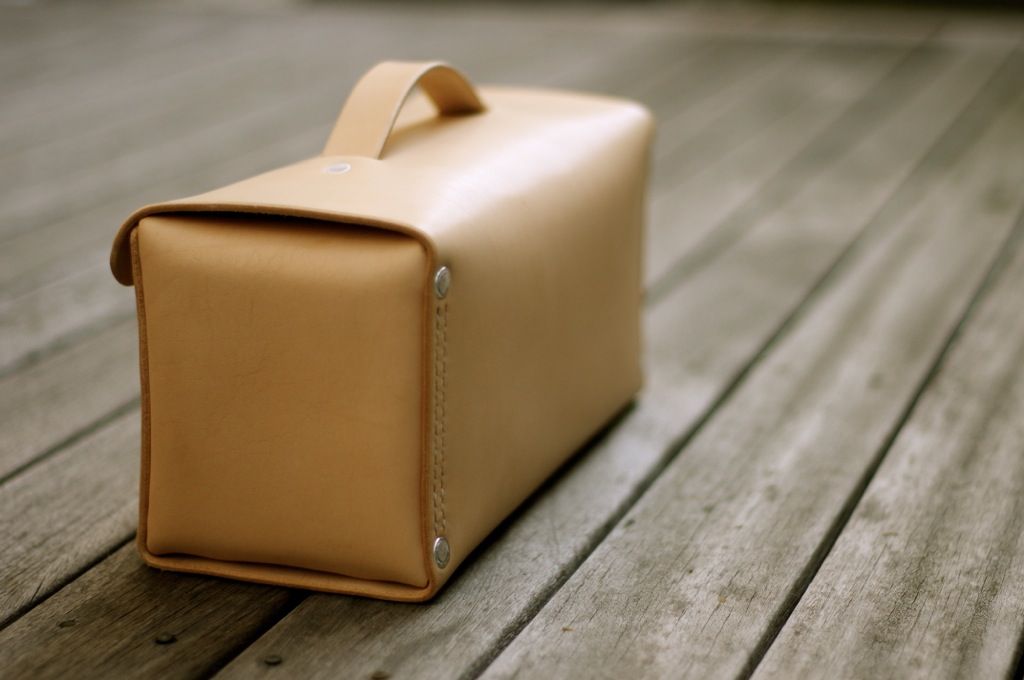
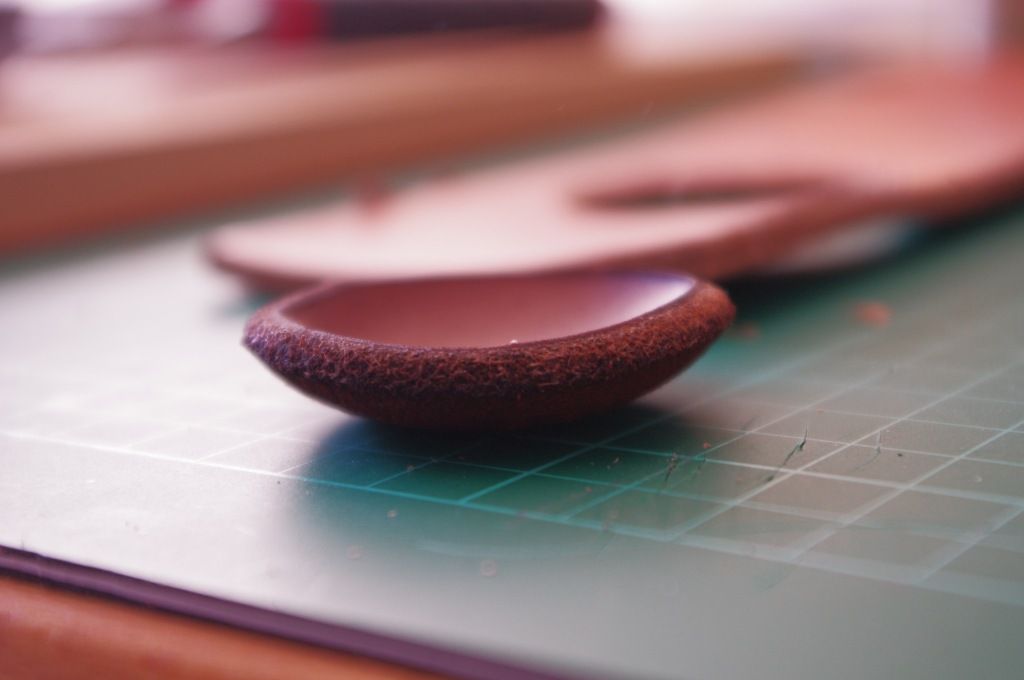
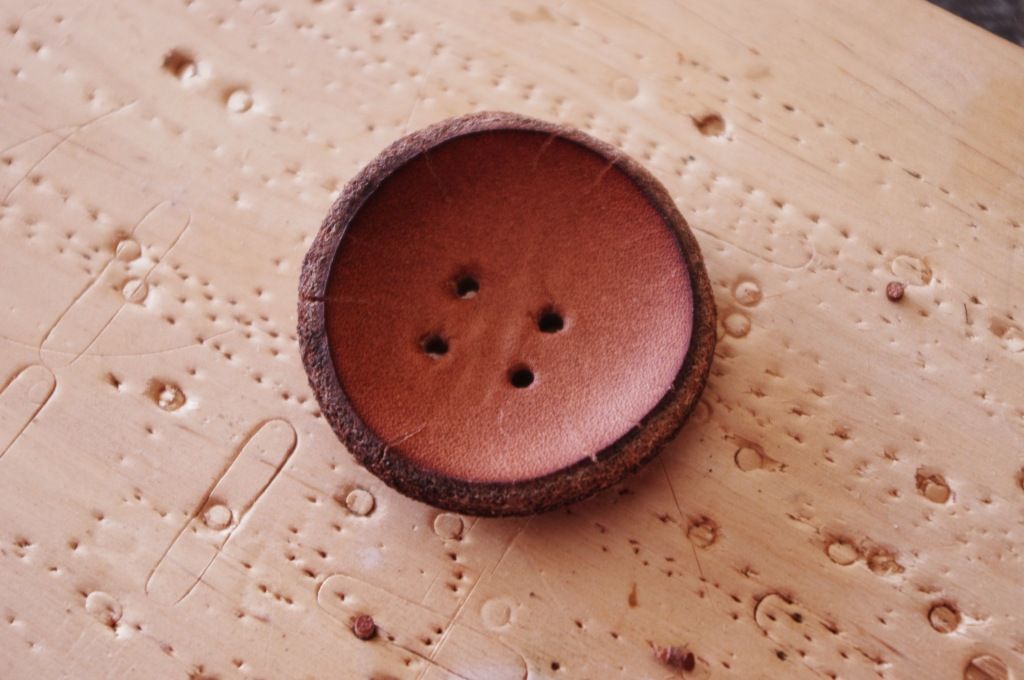
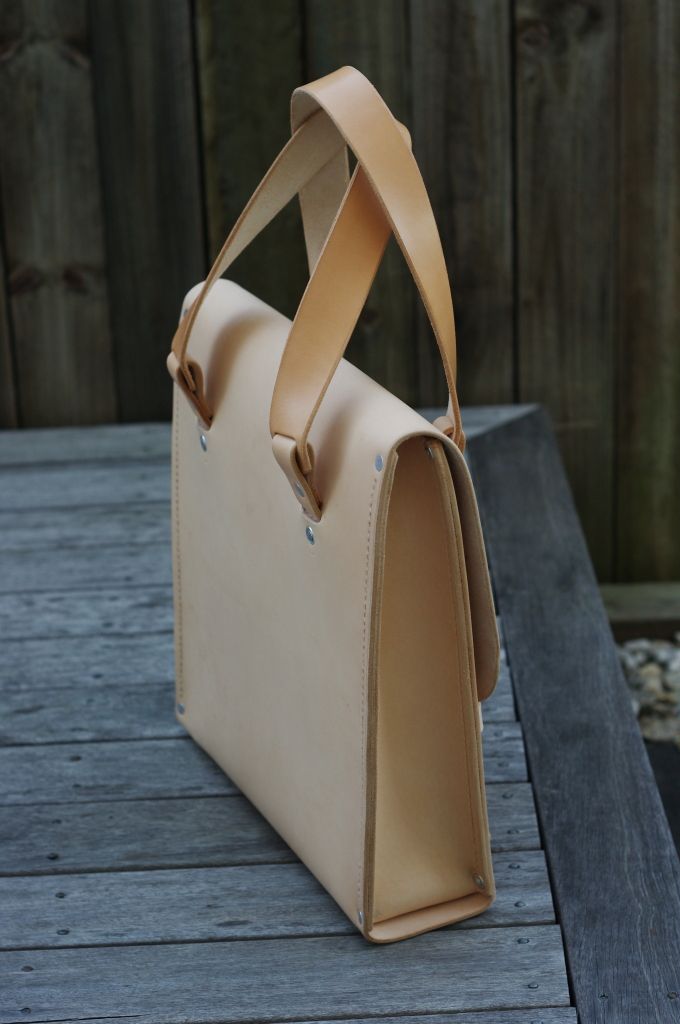
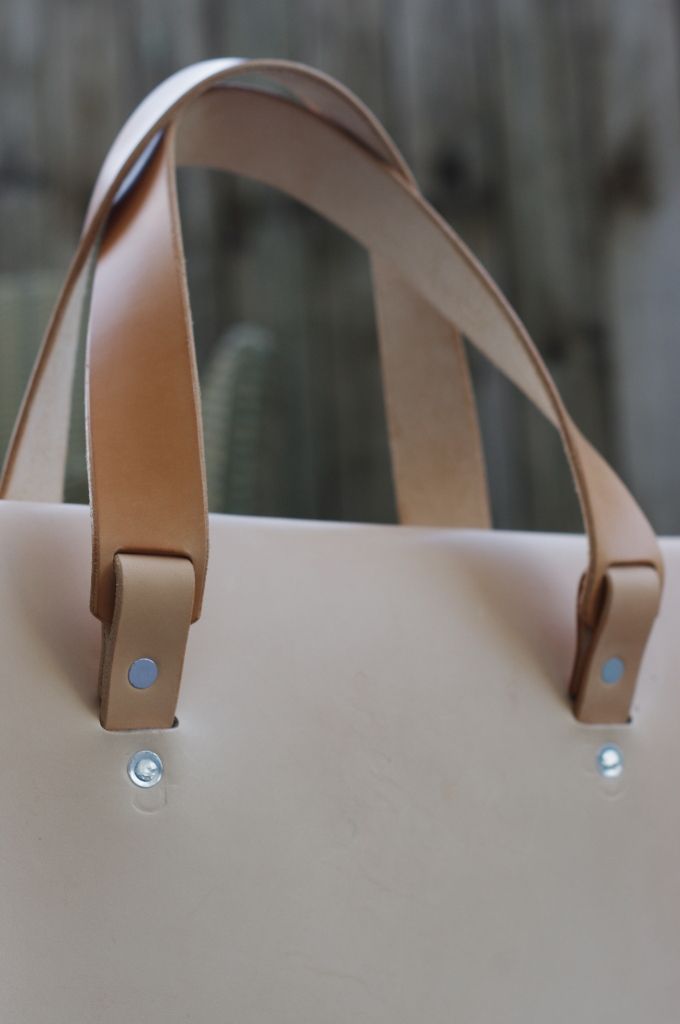
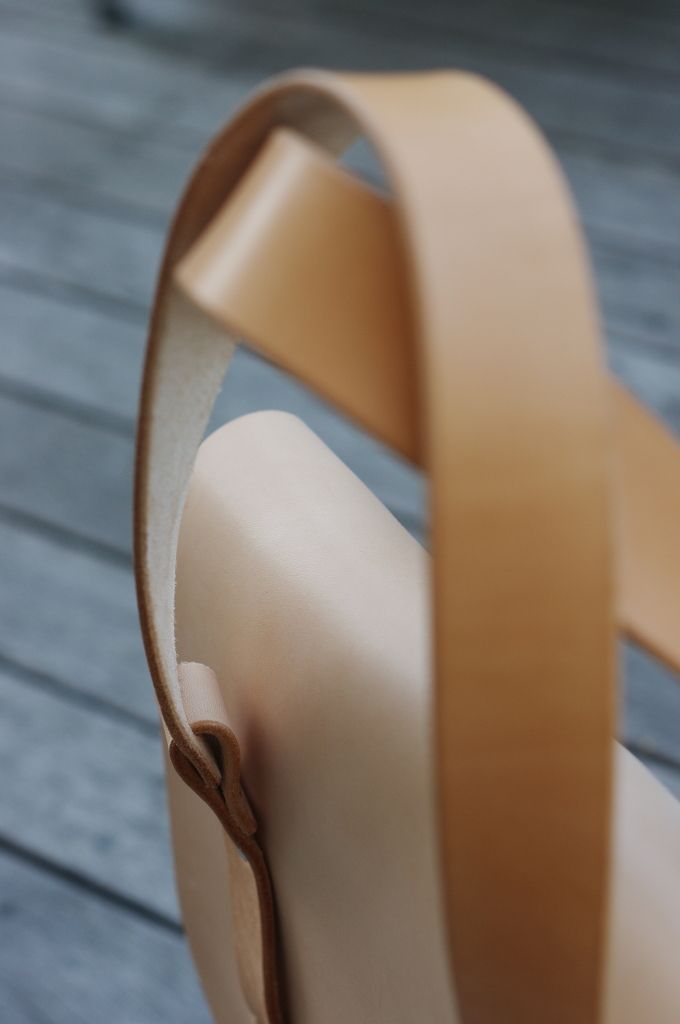
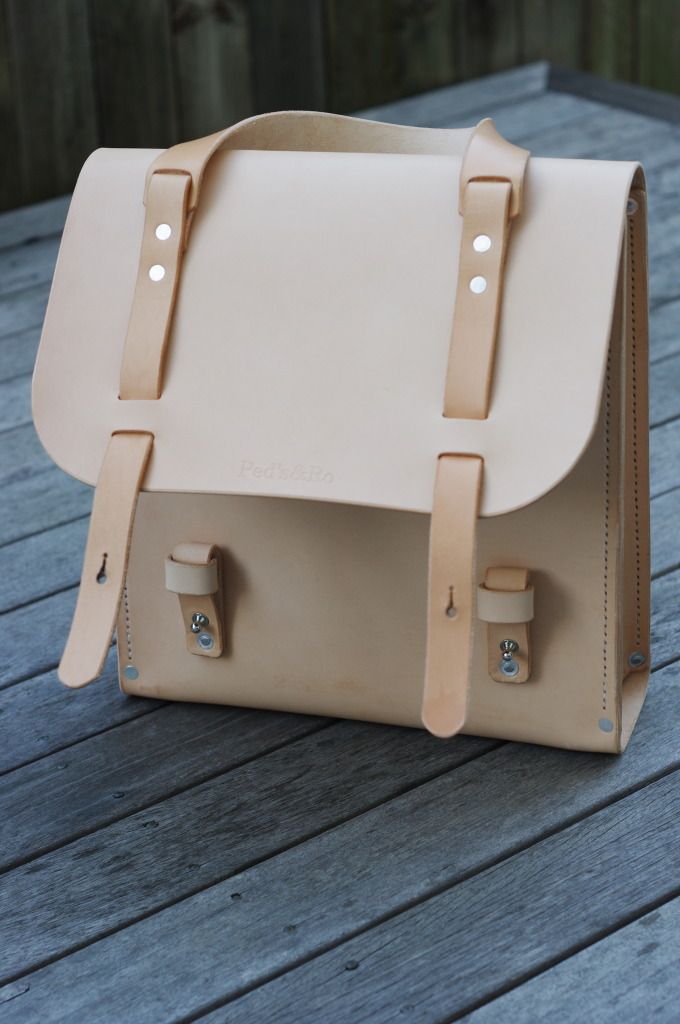
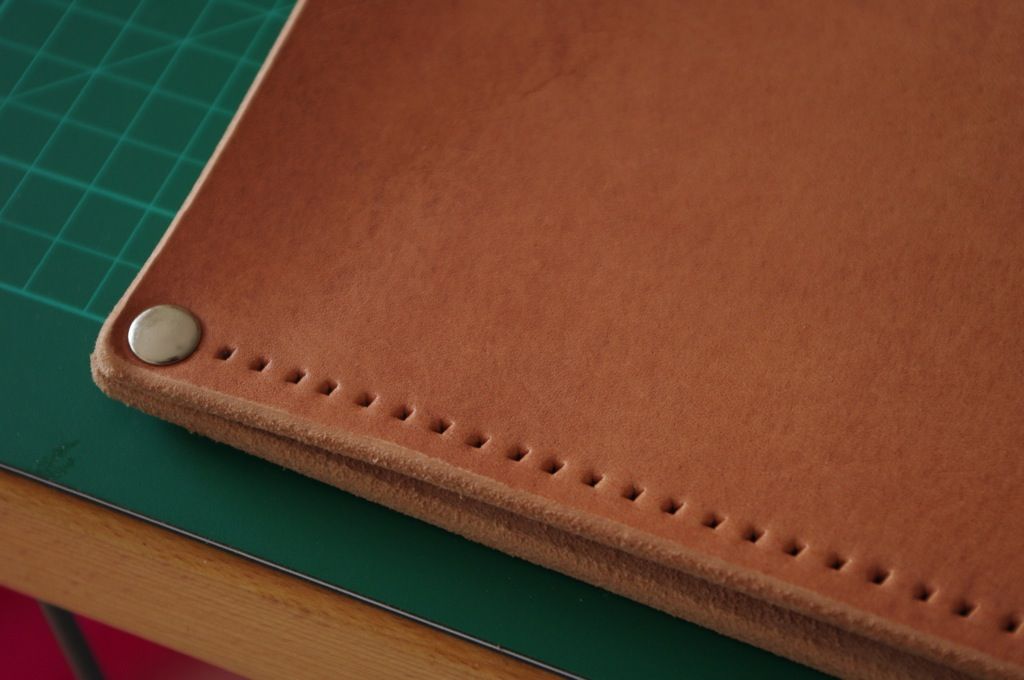
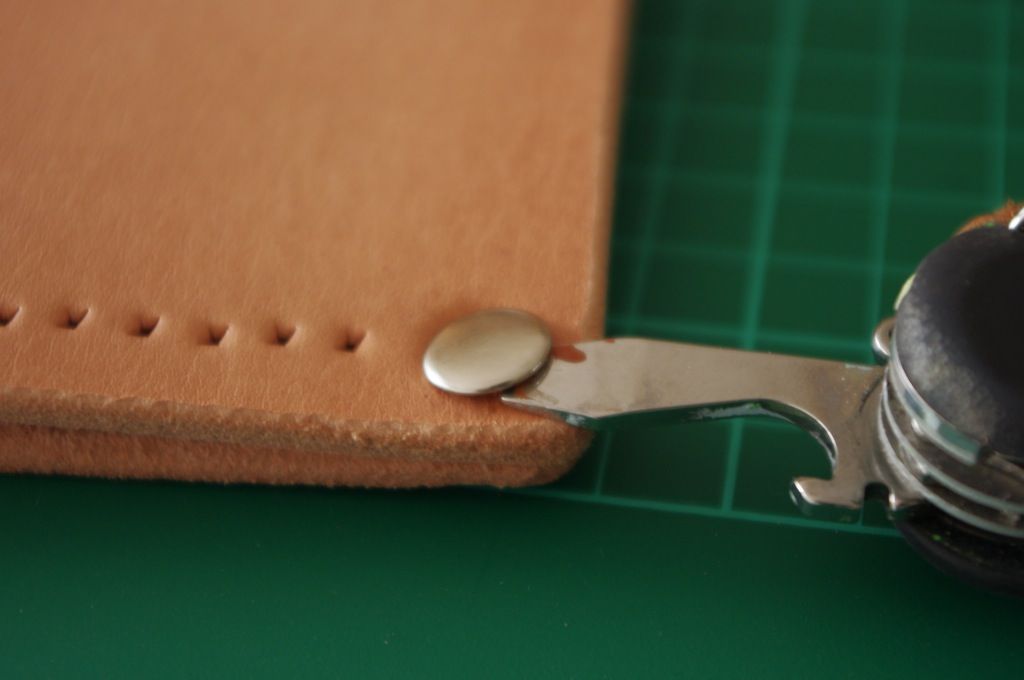
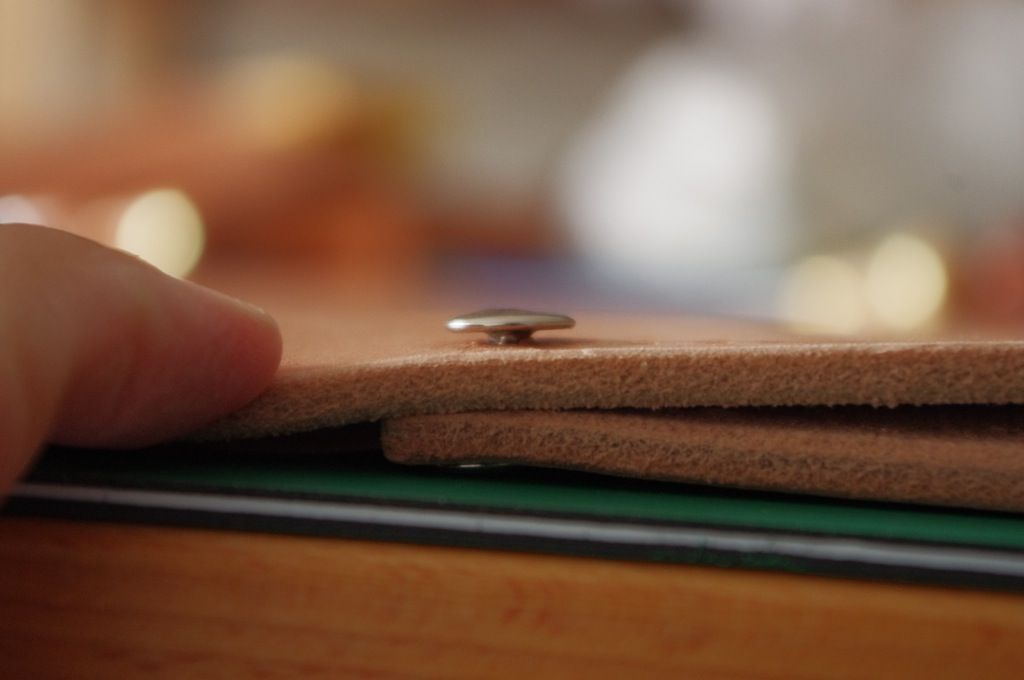
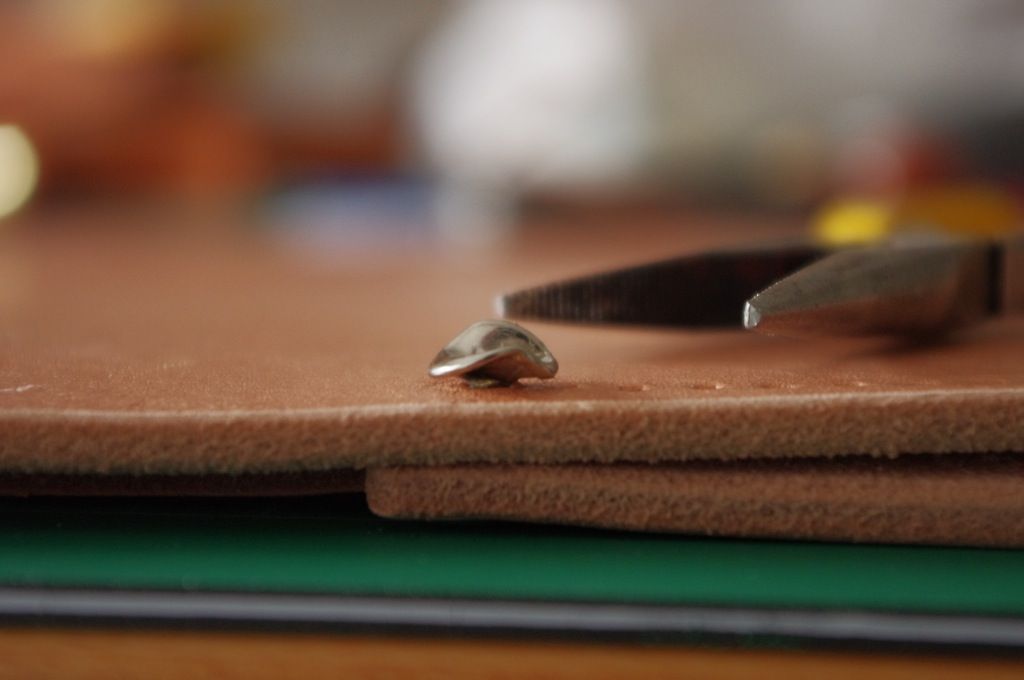
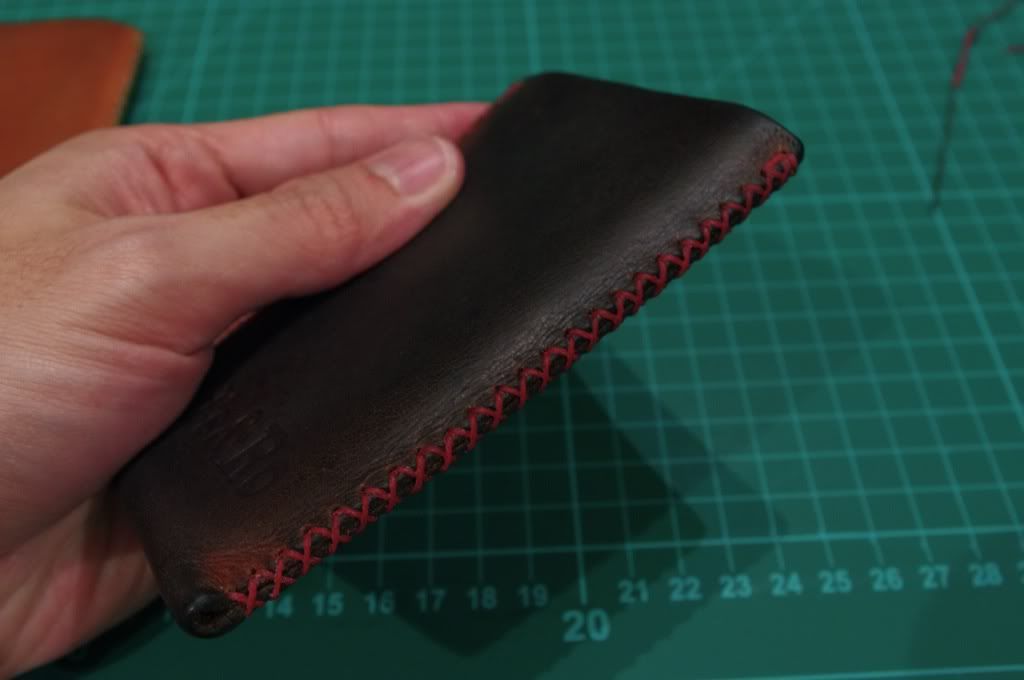
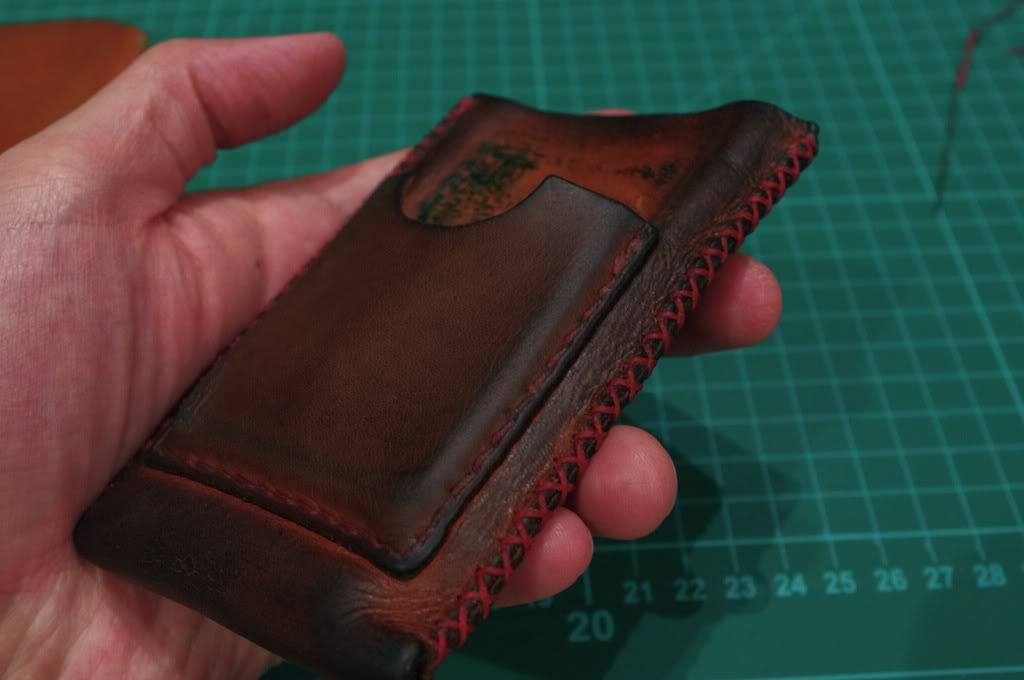
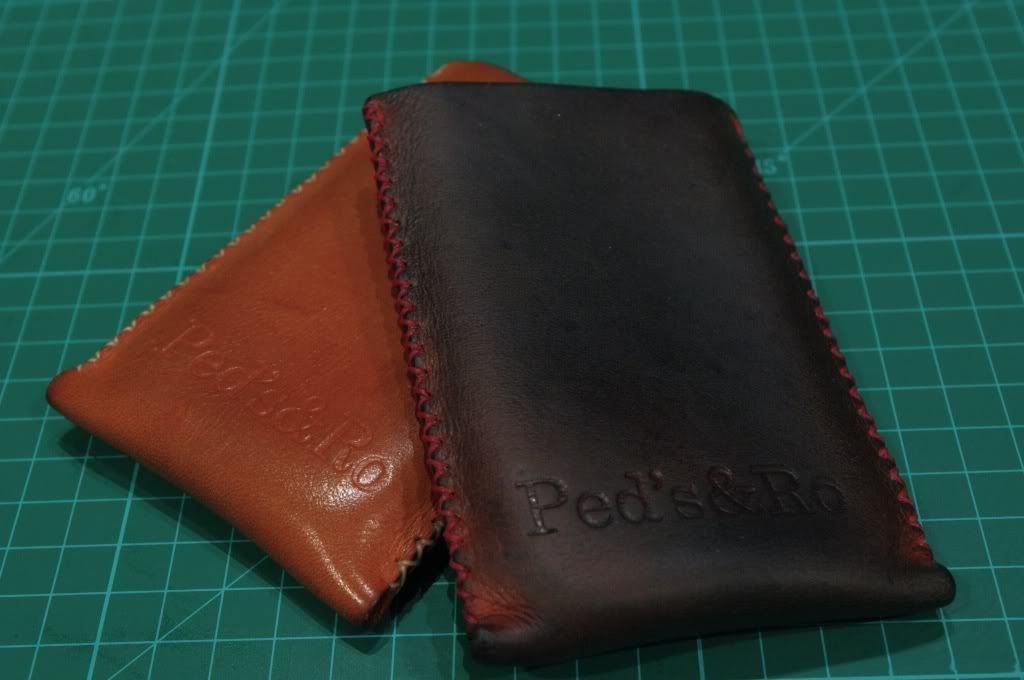
I will still keep my option open and always looking out for the next best leather. This alone is a very exciting journey. I've tried taking some photo but this does not capture the beauty of the leather, hopefully word alone is enough to describe it.

Tuesday, April 17, 2012

Phone Pouch Refurbishment

I was given the opportunity to refurbish one of the earlier phone pouch. The owner used this on daily basis and it's safe to say he gives it a workout. This is the phone pouch in this review.

The pouch has gained what I refer to as 'Dirty Patina'. As opposed to a normal patina, the oxidation has gone through out the leather and turned the leather into a much darker colour than normal, similar to a vinagrooned leather.

The leather itself is in a fairly good condition, no cuts or tear on the surface. It has softened considerably and molded into a particular shape. The edges has been burnished naturally and is very smooth with no visible fraying. I'm quite happy with the leather condition.

The side stitching on the other hand is a mess, this is in line with the fact that natural thread will not resist prolonged abrasion. Only half the pouch still has the stitching intact but to my surprise this still hold the pouch together remarkably well. Stitching on the card pocket is still holding up well with no visible damage, i'm leaving this alone. 

So what I did was:
1. Inspecting the pouch to see if there's any considerable damage to the leather.
2. Remove side stitching carefully.
3. Clean leather with saddle soap.
4. Reconditioned inside out using Obenauf Heavy Duty LP
5. Restitch with fresh thread.

It's really good to see one of my product is being used in the real world and actually has the opportunity to inspect it later on. This provides me with an immense knowledge about the leather and the component that is used for constructing the product.

As always some photos of the process:

Front condition when received. Notice the shiny look on the leather.


Back part


Side Stitching condition


Dismantled


Inside condition


Cleaned and reconditioned. The sheen no longer apparent on the surface.


Fully restitched


Back view


Close-up view


Showing natural burnished edge


Side by side with 'Clean Patina'. Both pouches have the same age