Ped's & Ro Leather Blog

Ped's & Ro Leather Blog

Thursday, April 28, 2011

Picture Perfect

I took the opportunity of the long weekend we had last week to gather some photos of the pouches. It was a sunny cool day that provided me with excellent lightning. I also moved away from the usual photo box into a more natural environment dominated by timber and grass.

I couldn't resist including photos of my two rough collies that always try sneaking in for a picture. They are far from shy but at least they look good doing it. 

Ipad Pouch


With Purple stitching


Love the refreshing colour of purple


With Ivory stitching


Love the shine of Burnished Waxed finish


The leather feels very exquisite in the hand


Phone Pouches


Off-Focus Nero


Pedro in his playground...

Tuesday, April 26, 2011

A Short Intro to Leather: Experimenting on Surface Effects

I love seeing different types of treatment being applied to leather and seeing what kind of texture and feel it creates. Certain effects truly defines the character of the final product itself. At the same time, it allows me to better understand the nature of leather.

I've decided to apply seven kinds of surface effects on sample pieces of leather and put them side by side to show the difference. It's kind of like a color palette as well to be honest! So if you were ever wanting to apply some treatment to your leather, this will hopefully give you a certain idea on how it will turn out.

I've organized the treated leather surface into a color wheel and also lined it up next to each other as shown in the two pictures below. Beeswax was used on the waxed pieces, neatsfoot oil for the oiled piece and a clear sealant for the sealed piece. Burnished just means lightly moistening the leather and quickly rubbing it with a canvas cloth that generates heat and develops the color.

I've added in a natural piece to show the differences. You can also click on the image for a higher resolution.


In the picture below, i've placed the leather palette against the sun to show the various level of sheen each surface treatment created. The sanded piece is on the most left with oiled being the most right. They are still in the same order as the two pictures above. I've moved the natural piece to the bottom to again show the differences.


My Findings. 

The sanded piece actually turned out lighter because the nap is raised thus giving the appearance of being lighter. It also has a suede, buff feel. The pieces with the best shine and feel in my opinion, would probably be the three waxed pieces. It smoothens the leather and gives out a nice soft sheen. However, the sealed piece has the most but artificial shine. It also gives a more plasticky feel and does not really allow the leather to breathe. However, sealing gives the water and stain protection that the other treatment doesn't. The oiled piece did not really shine but instead gives a more gripped feel to it. And it also darkens the leather piece the most. The oiled waxed piece has a very light sheen due to the wax applied to it.

I've put back the natural piece on the most left for the picture below.


I personally like the outcome of the burnished waxed piece as it gives a very natural and soft glow to the leather. The color presented also turned out pretty nicely. It is the kind of tan that i usually look for in leather bags and accessories.

I enjoyed creating the palette and hope it gives you a better idea on how leather works!


A Short Intro to Leather: Which Part of the Hide?

With any thing that is natural, it is not uniform, consistent or perfect. With an animal hide, the thickness and characteristics varies throughout. When you buy leather, it will usually be divided into several different sections based on what your intended use is.

I decided to do some drawing and coloring to illustrate the division of the hide. Apologies if it's a bit blurry!


Side. This is half of a hide as shown by the dotted lines running from the top to the bottom. 

Bend. Highlighted in Tan, this is the best part and also the thickest of the hide used also for belts or products that require a big surface area or a clean straight cut. An economical choice as there is little wastage and is the most consistent part of the hide. It is sold in rectangular cuts as shown.

Shoulder. As shown in Red, this is the recommended cut for carving and embossing. Quite similar to a bend in a smaller cut, its surface is less consistent.

Bellies: The two corners of the cow hide as shown in Dark Blue. This is good for small projects or moulding as it is quite stretchy and less dense part of the hide. Not consistent in texture and shape thus least expensive.

Butt. As shown in Light Blue, this is good for making belt and harnesses.

Back. A side with the belly section cut off. Same uses as a bend but with the addition of a shoulder.

Doubles. This means obtaining both sides of the shoulder, bend, belly or butt as one piece. If you only require a small piece, a single part would be enough.

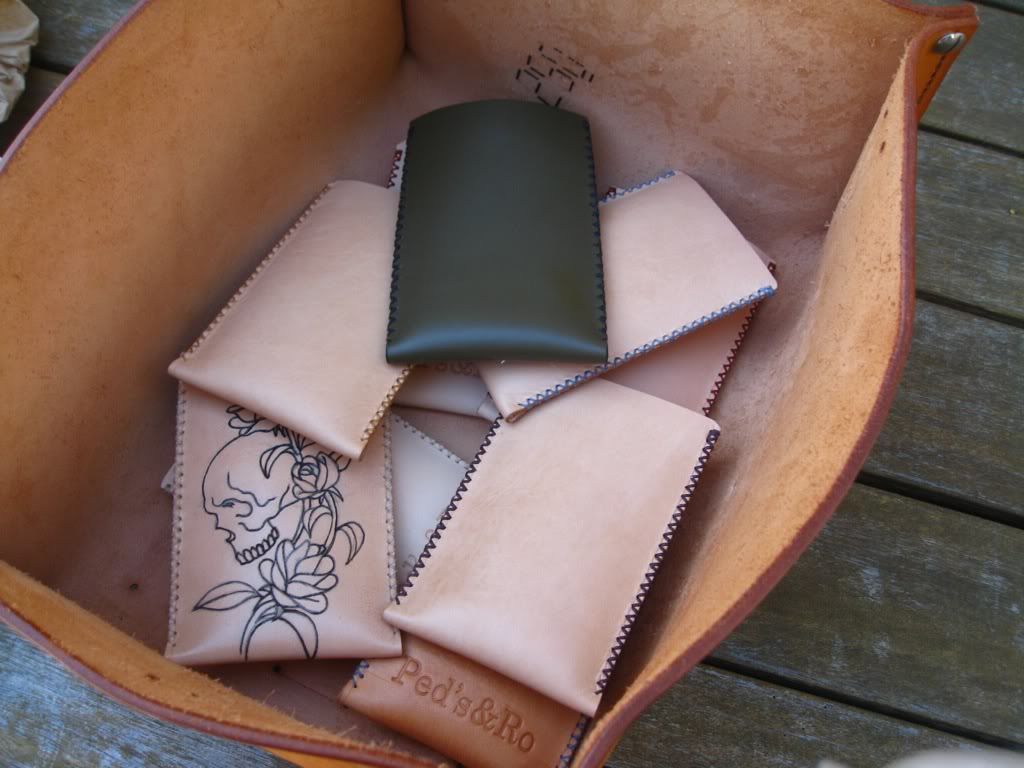
Classifying sections of a hide this way makes it easier when acquiring them as there is a common understanding as to which part of the hide you are referring to. It also is more economical. The uses however is not restricted to the regular. I personally like the inconsistency of certain parts and use them to make my bags and pouches thus having sections thinner or stretchier than the other. That's what makes this material so fun to work with. It's always different!

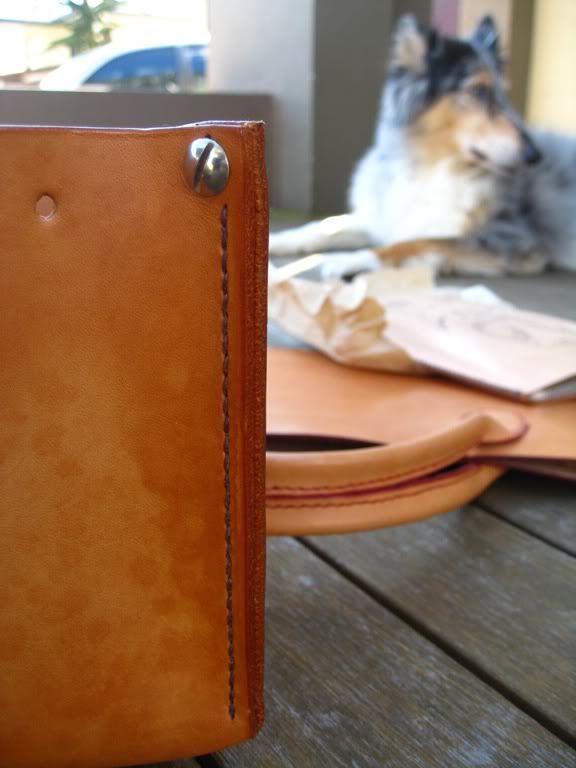
Until next time! I experiment with different surface treatment on the items i make and each one gives the product a different feel and look. My next post will look into these. Stay tuned!


Thursday, April 21, 2011

Leather & Tattoo

I have always admired the work of a tattoo artist but never gamed enough to put one on my own skin. The combination of potential pain and childhood upbringing steer me away from obtaining one. But I have a view that tattoo is the ultimate expression of your individuality. It is something that you can be proud of and will remain with you for a very long time.

The idea of putting tattoo on a leather hide has been floating around for some times in my head. I would imagine it wouldn't be much difference, both are skins and should accept the ink in the similar fashion (for veg-tanned leather anyway). After some advise from my wife (she has few of her own tattoos), she recommended Westside Tattoos to do the job. She thinks it's the best tattoo place in town.

I did some research and found out that the ink tend to splatter and need to be wiped frequently. This will be a problem for veg-tanned leather. Anticipating this, I prepared few scrapes leather with different surface finish. Lily, our tattoo artist agreed to do a quick test run on the leathers. She found one that work the best. With this information, I prepared two blanks, one for Iphone pouch and the other for Ipad Pouch.

I couldn't be more happier with the finished tattoos. For something that she has never done before, she did a tremendously good job, two thumbs up. The finished tattoos is different than the human skin as leather does not heal, it's similar as carving the leather but with ink. I have yet to found out about the durability of the tattoo, the impression will be there for a good while, but the ink may fade overtime, only time will tell.

As always, some photos:

Ipad Pouch with 'Gon' tattoo. I'm a big fan of the silent comic.


Detailed impression of the tattoo


'Skull & Flower' Iphone Pouch

Thursday, April 14, 2011

iPad Pouch

I've always believed that a nicely design gadget shouldn't be hidden in a bulky add on or similar. In my opinion, by putting a permanent casing, it will defeat the purpose of the actual design.

iPhone and iPad are two such examples. I'm fairly certain a lot of hours was spent designing those two products. They're beautifully made and it's such a shame if a case is installed to hide it's true shape.

I always had that in mind when designing the pouches. Maximum protection when not in use and maximum exposure of the design to the users.

The design for the iPad pouch mimic the iPhone pouch, minimalist style to complement the gadget. This will be a permanent part of Ped's & Ro label. The pouch is design to fit first generation iPad but will fit second generation as well as it is thinner.

I have designed few different versions, but at this stage I will stick with the minimalist style. 

This blog post is worthless without pictures, without further ado:

Deep Red Shrunken-Grain leather. This is one of my favourite leather, quite heavy at 2.5mm, gorgeous colour. 


Tan Oiled leather with loop closure. This leather has a very lovely hand feel, almost warm to touch, smells great too. Quite heavy at 2.5mm.


Sealed Vegetable-Tanned leather. I designed this pouch with internal pull out that gracefully 'lift' the iPad out. The loop is made from Veg-Tanned Kangaroo leather and is perfect for the job, it's thin enough not to be obstructive and strong enough not to stretch out. The loop also double as a closure.
No metal part is exposed from the inside of the pouch.


Back view

Saturday, April 9, 2011

A Short Intro to Leather: Tanning Processes

To get to know the quality of a leather product further, i believe it is crucial to know what and how the animal hide was tanned. Tanning, in a few words is simply the preservation and making of leather. Further, it is the process of using chemical compounds to permanently alter the protein structure of the animal skin, thus turning it from a rawhide to leather.

There are many different types of tanning process that i can go through, but for now i'm going to just focus on the main two and briefly on a third: Vegetable-Tanning, Chrome-Tanning and Chrome-Free Tanning. This will be the most frequently seen tanning process on the everyday leather products that we buy.

Vegetable-Tanning. This is where it all began. An ancient (thought to be approx. 5000 years old or so) tanning process, this form of leather are mostly used for saddlery, carving, luggages, belts, hats, dog leashes, furniture and other products that needs leather to be easily moulded and worked with. Its greatest strength would be its toughness and flexibility. Dampen it a little and you can easily mould it to different shapes! Of course, soak it and it will lose its shape and also color. Vegetable tanning uses a natural chemical called Tannin comprising of organic materials such as tree barks and leaves and thus giving it its natural brown color. Previously taking almost a year, advancement of technology now allows approximately only (still long!) one to three months to complete the whole process.

As you can see from the majority of my leather work, vegetable-tanned leather is my preference due to its workability, naturalness, and beauty.

Vegetable-Tanned. Its texture is simply raw and natural.
A roll of vegetable-tanned leather at home.

Chrome-Tanning. Moving on to a more modern take on tanning and only taking a mere day to complete the process, this modern (1950s) process is now predominantly used in the leather shoes, clothing and upholstery industry where quick turnovers and cost efficiency is important. Your leather jackets would be chrome-tanned. So would the leather in your car. This process uses chromium sulfate and other chromium salts. Once tanned, it leaves the hide with a light blue shade, hence this product is commonly called "Wet Blue" hides. It does not discolor or lose its shape when soaked in water. It is also softer to touch and more pliable, not tough or structured like its medieval counterpart. Most importantly, you can dye it into any color you want!

Chrome-Tanned. Showing the wet-blue color at the centre. 
Chrome-Tanned. A hide still with its fur intact.


Synthetic-Organic Tanning (Chrome-Free).  Now used in infant shoes and car upholsterythis is chrome-tanning, without the chrome! This is a more eco-friendly alternative to the usual chrome-tanning process, where synthetic or organic materials is used instead. 


In the next post, i will cover the different segments of the animal hide (butt, leg, etc) and which leather products they are used in. I don't have a specific number of posts for this series but there will be plenty more coming. There are a lot to explore and understand about leather, and i myself am still learning something new everyday.

Wednesday, April 6, 2011

Art of Batik

I've been searching for a lining material for my leather product. It needs to be unique, colorful and durable. After a long ponder, it hit me. The perfect material has been in my life all along! it's Batik. 

My late grandparents and my auntie are Batik merchants in a small town in Java, Indonesia, called Cirebon. when I was little, I used to spend a lot of my school holidays in Cirebon. I remembered the stacks of Batik fabric in their shop and the unique smell it has. I also remembered visiting a place where they make Batik, it was quite interesting. My mother also told me that our family has a heirloom batik that has passed down many generations. She was the trustee for the heirloom until she donated it to the museum.

Batik is an ancient art form, it's believed to have existed more than 1000 years ago. The word itself is Javanese origin.

Anyway, you can differentiate Batik in two main categories, Batik Tulis and Batik Cap. The former is entirely made by hand using Tjanting and is time consuming to produce. The later was invented in the 20th century and is used to mass produced Batik. The literal translation of Batik Tulis and Batik Cap is Written Batik and Block Print Batik respectively.

For more information on Batik please visit the Wikipedia page: Batik in Wikipedia 
 
In the spirit of handcrafting all of my product, Batik Tulis cannot be more perfect, it relates to me on a personal and intimate level and the material itself is rich in history and artistic nature.

I happened to find a roll of Batik fabric still in a box while cleaning out the closet the other day. As soon as I opened it the smell hit me and brought back my childhood memories, it was a strong feeling.

It's a beautiful piece, it's the Tulis type, which is just right. It's a bit dark for my taste but one can always custom design one when the time is right.

I'm going to do some test run with the fabric and see how it fit together with the leather, fingers crossed it will be a unique collaboration.

As always, some pictures of the fabric:


Friday, April 1, 2011

A Short Intro to Leather: Forms of Leather

In my previous post, A Short Intro to Leather: Types of Leather Finishes, I introduced and explained the various types of leather finishes that you will see in the market such as Aniline, Nubucks and so on. They are basically finished leather ready to be used to make your bags, shoes, clothing and even horse saddles.

As leather is a natural product, the most natural and unaltered animal hides are considered the highest quality. They may stain and scar more easily, but that is the characteristics that allows leather to be at its best.

This post will focus on the various forms of leather, mainly referring to the grain quality of the hide. Simply, these are the actual raw quality of the animal hide before tanning and finishing. There are three forms: Full grain, top grain, and corrected grain.

Grain refers to the outer layer or epidermis of the animal skin where the hair or fur grows.

Full Grain. Only the finest leather products are made from full grain leather. This refer to hides that have not been buffed or sanded to remove scars. This means that the natural hair patterns are more visible and there is natural breathability. Due to its raw nature, it also develops a nice patina through time and use but is not resistant to stains and scars. Full grain leather are used for full-aniline and semi-aniline finishes.

Top Grain. Less superior to full grain, this leather has been buffed or sanded to remove traces of scars on the skin but not to the extent of corrected grain leather. It being buffed means having the top rich protein layer removed hence not as strong as full grain leather. It is also finished with a surface coat as well. Unlike the full grain leather, it has a more plastic feel and will not develop a natural patina throughout its life. However, the benefits of top grain leather are its cost efficiency and resistance to stains.

Corrected Grain. This leather does not have the same high standards as a full grain and top grain. As the name suggest, its grains and imperfections have been corrected to give it a uniform look and then artificial grains are embossed. Inferior hides not suitable for full grain and top grain leather are used. It is usually coated with a thick finished to maintain and stabilize its artificial grain.  Corrected grain leather are the least expensive but least durable as well.

In the next post, i will cover the different tanning process that again defines the quality of the leather product.