Ped's & Ro Leather Blog

Ped's & Ro Leather Blog

Wednesday, December 29, 2010

World War Relic

Back in August, me and my wife traveled to Scandinavia for our belated Honeymoon. During the travel I've always keep an eye for a interesting leather piece. Found one in Hong Kong during our transit, found another one in Stockholm and found the most interesting piece during the last leg of our journey, which is in Helsinki.

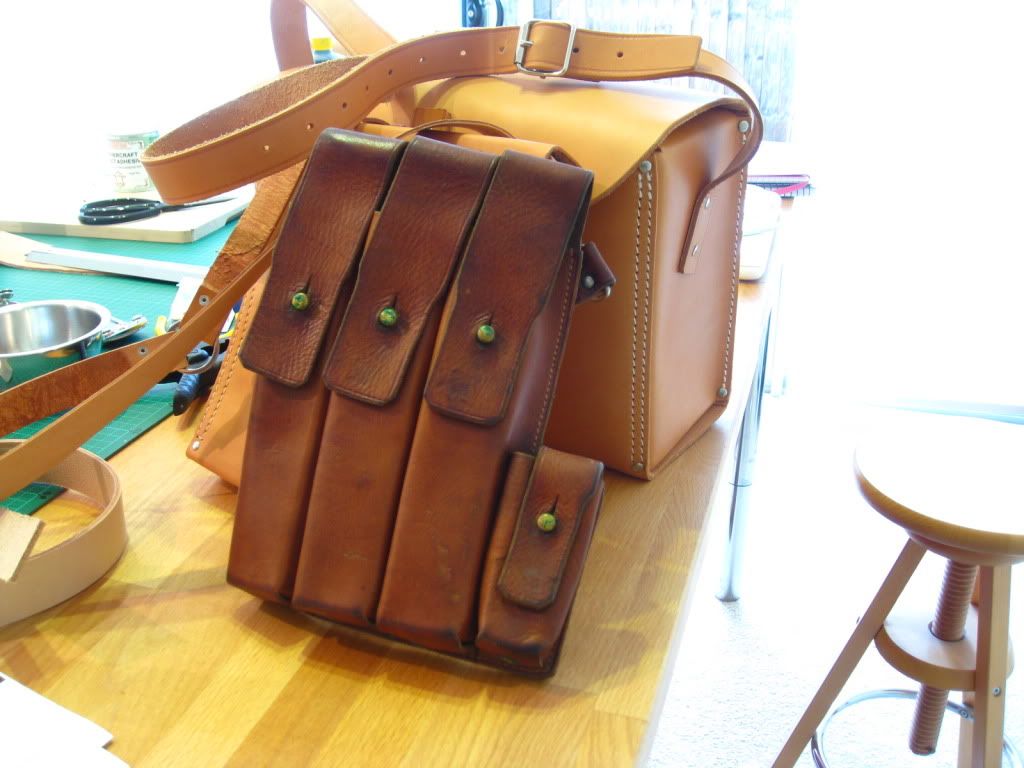
Today I'm going to share the piece I found in Helsinki. I picked it up from a market that located not far away from where we stayed. It's similar to a flea market that I normally back home in Brisbane. However, being in Europe, there will be some world war relic. Keeping that in mind, we stroll around the market. Voila, we found this Eastern European fellow that was selling all bunch of stuff from world war two, bayonet, helmet and ammo pouch. I bought the ammo pouch without much bargaining due to lack of communication and the fellow is quite scary...

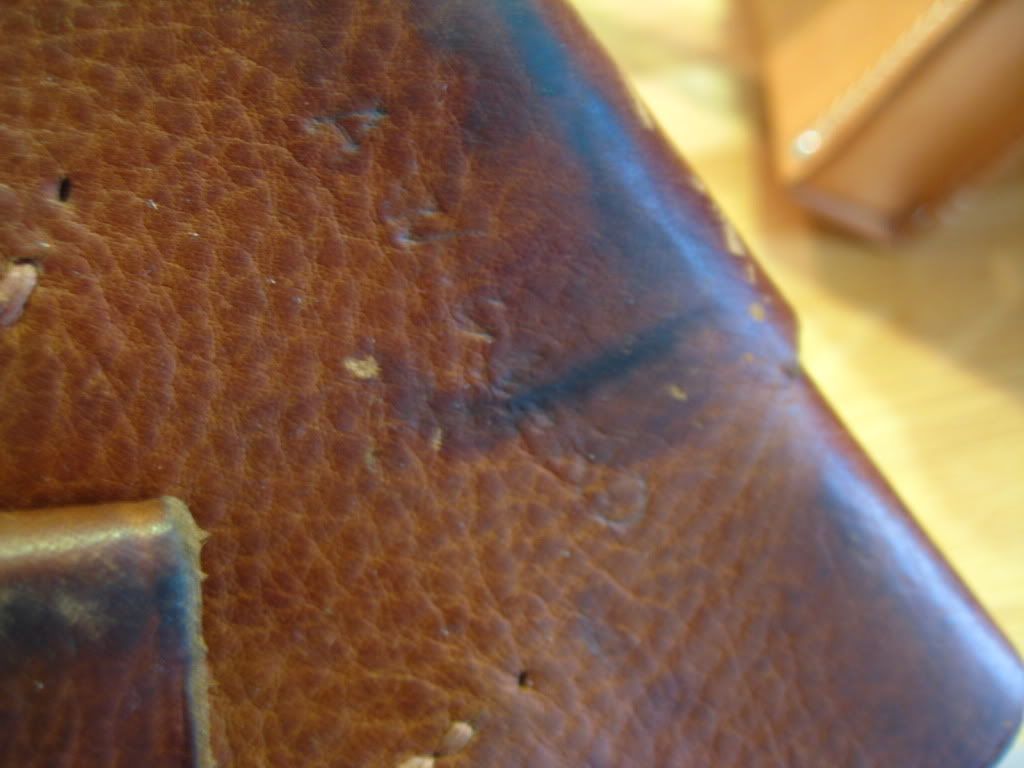
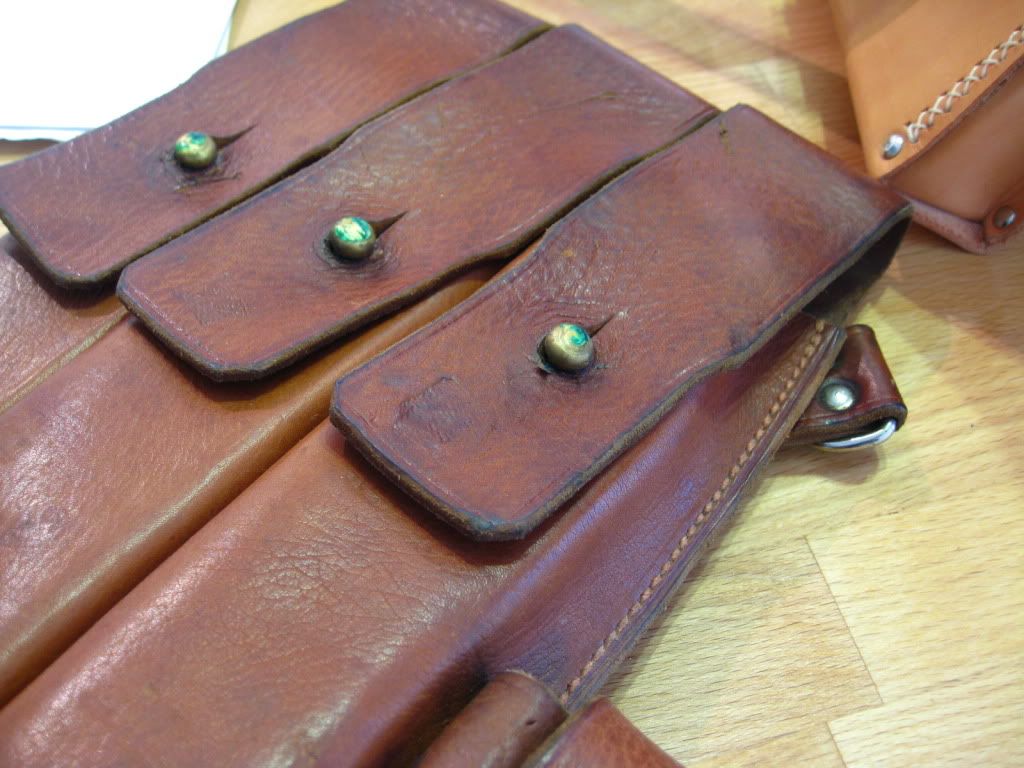
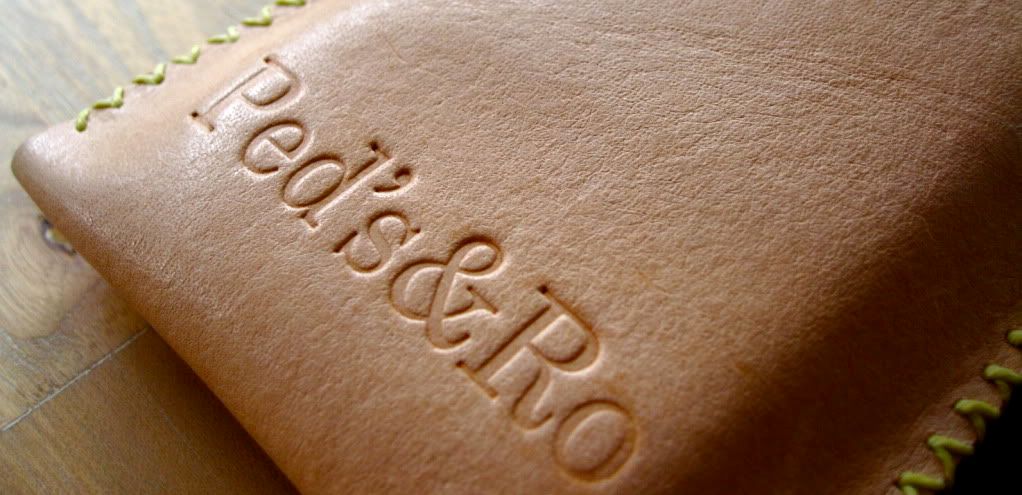
There is some character embossed onto the leather, can't really make up what the characters are. I've been told that this was for a German sub machine gun ammo pouch. I'm not going to speculate anything on that one...

Anyhow, the build quality is exceptional. Leather is still in good condition, it's still soft and pliable, can't fault the stitching. Everything is still really strong and sturdy. The copper hardware has oxidize and left a green residue inside and outside the pouch which is very difficult to remove.

I'm going to use this pouch to show people how a well made veg-tanned leather article can last for so many years. The textured and color in particular is very intriguing...

Enjoy the picture!!


Tuesday, December 14, 2010

'Tool-Box' bag

As promised, finished the bag yesterday minus the supporting strap. Only took the photo today to wait for the perfect lighting. First impression after the bag was finished was 'Hmm feel more like a shoe-box'. Overall, the final quality is great, everything fit as it should which means that the cutting process was accurate to the nearest milimetres. The building project was smooth, I didn't encounter any issue or mishap.

Anyway let the pictures do the talking:


Provision for the wraparound strap

Sunday, December 12, 2010

Busy week

It's been busy at Ped's & Ro this week. I started a new project to create a tool box style bag with reinforced strap. The idea is to have a bag that can carry heavy items (15kg+) without permanently deforming the leather, in other words a bag that can do 15+kg all day long. This will be achieved with heavy leather and wet forming.

I learned new things from this project, solid copper rivet. This is the strongest rivet out there for leather work. Takes about 5 times longer to put one of this rivet compare to the normal two piece rivet. I also learned that, for your neighbor sake, not to apply this rivet after hours, the fastening process involves a lot of metal to metal hammering. Look wise, it's doesn't look as neat as two piece rivet, it's more utilitarian and rugged, which fits the purpose of the bag. 

I use cross stitching for the edge to properly distribute the tension between the leather surface. Behind every 'x' pattern there is a knot so the thread doesn't come loose. Very time consuming to stitch this piece but in the end it's all well worth it.

I decided to leave the edge bare for the body of the bag. Few reasons for this, 1) the blade that cut the leather is extremely sharp and the resulting cut leaves a very neat and almost burnished edge, 2) I'm going to use this bag often therefore will let nature weather the edge naturally.

As for the strapping, I treated the edge lightly to give it a softer look and feel. I quite like how this turned out, very neat and minimal change in colour. I'm thinking of adding a shoulder pad but as the strap itself is quite wide, I might give it a pass.

Some 'In progress' shot (some shot of upside down bag due to wet forming). Don't mind the silver bricks, they are the perfect weight to hold the bag in shape while it's drying.


I haven't had the chance to take photos of the finished bag, waiting for a good lighting. I haven't had the chance to actually fasten the sling strap and the closure as well as making the reinforced strap yet, I'm too tired from mowing the lawn to complete the project mindfully :(.

Stay tuned for the finished photo. I'm excited to finish the bag!!

Friday, December 10, 2010

Inspiration

My inspiration always come from an object. Whenever I see a particular object of interest, I've always asked myself 'What sort of case I can make for it'? My mind will just start wandering around on the possibility. I found it very engaging and helps push the boundary of my craft.

I also like to surf the wonderful world wide web, so full of fresh ideas. I recently stumbled across Kenton Sorenson web site. The product that they offer is amazing, minimalist craft at it's best. It gives you the impression of light and simple yet sturdy. The minimalist style is definitely an inspirational item. 

Don't take my word for it, go have a look at it yourself, it's well worth it. The link is http://www.kentonsorenson.com/.