Ped's & Ro Leather Blog

Ped's & Ro Leather Blog

Wednesday, December 28, 2011

Project: Gadget Bag

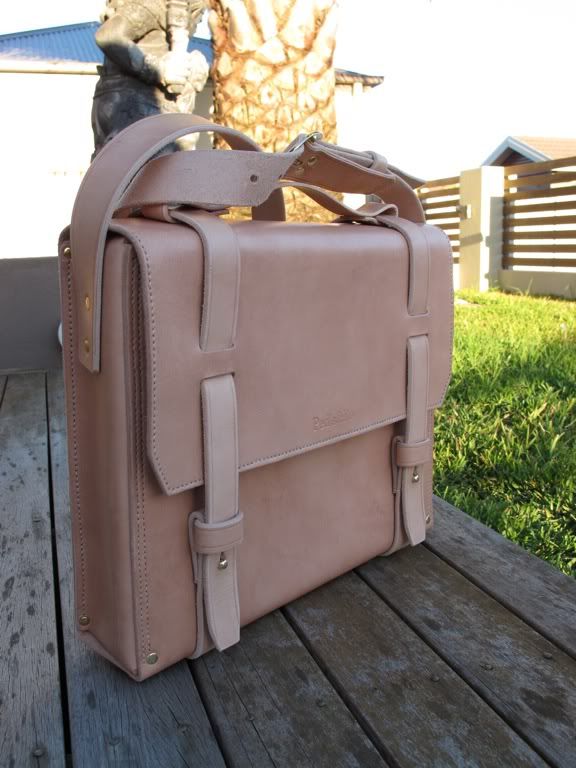
I commissioned this bag for myself to carry all the gadgets I own, from an Ipad to a DSLR camera with its accessories. I used the leftover leather from Project: Messenger Bag.

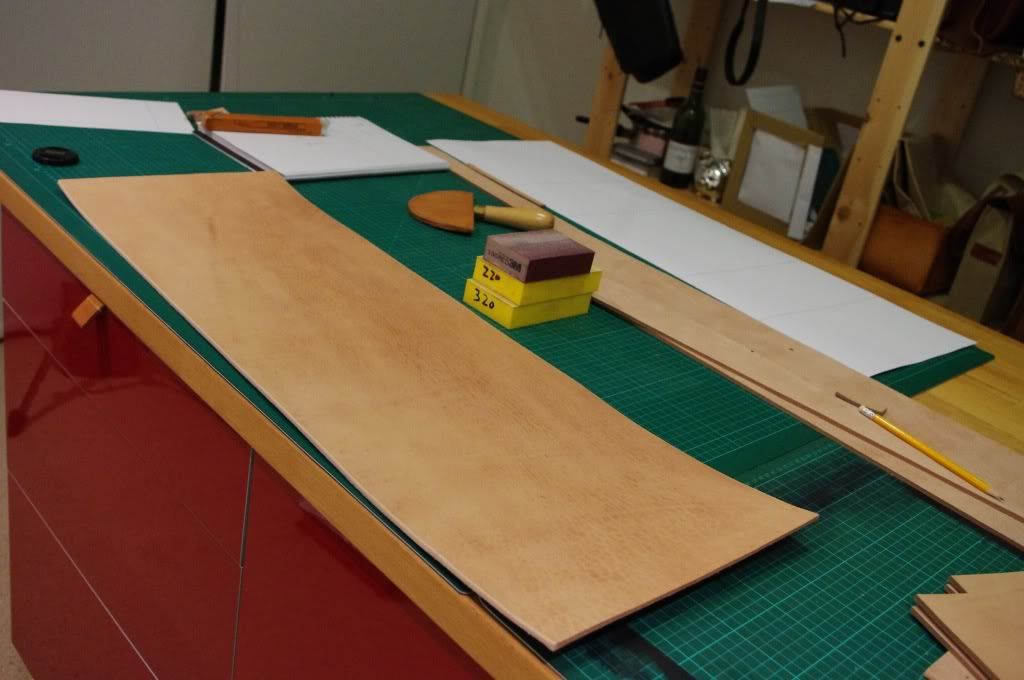
Naturally, all the best part from the hide has been used, what's left is some shoulder and lots of belly part. I don't normally like working with the belly since it tends to have a fuzzy underside and is the least dense part of the hide (stretchy and thin). Fortunately, it's a 4mm thick leather, so stretching is not going to be a major issue and the fuzziness can be smooth out with the trusty sanding block plus some elbow grease. Also, this belly has tons of character!! It's a shame if it goes to waste.

Construction method is similar to to the Messenger bag with the exception of the shoulder strap placement. Instead of attaching it to the side of the bag, it's integrated into the wrap around strap and is removable. I also included a divider, complete with a small pocket, a card holder and provisions to attach camera lens pouches (which I made specifically for the camera and the bag). The space behind the divider can be lined with some foam for extra protection.

I used nickel coloured brass rivet supplemented by solid aluminum rivet wherever possible for added strength. Stitching is done in red to give the bag extra character.

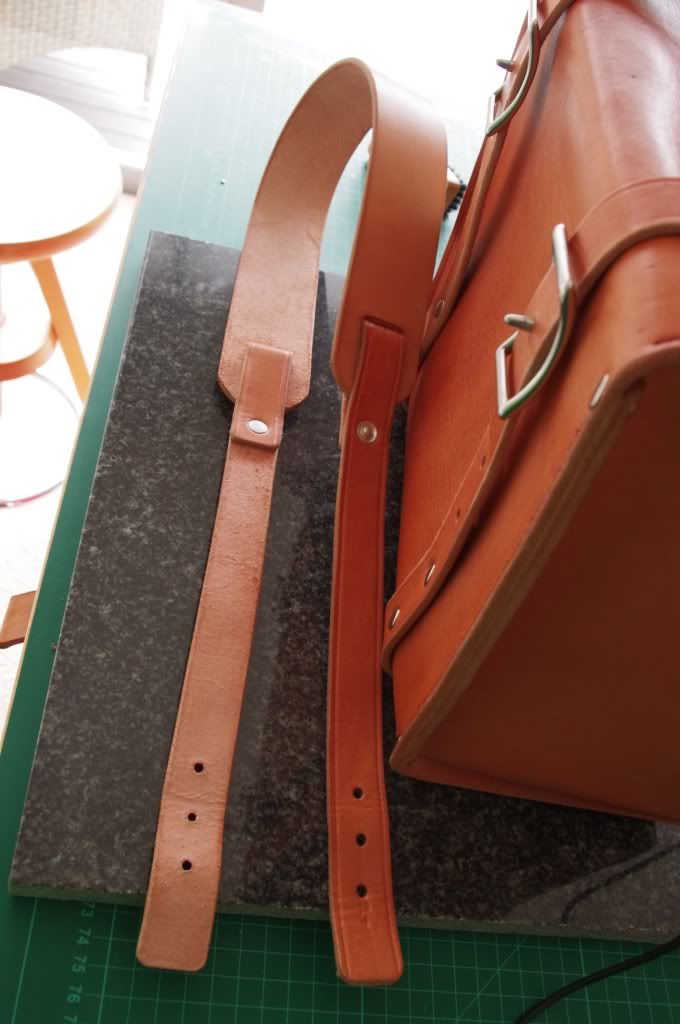
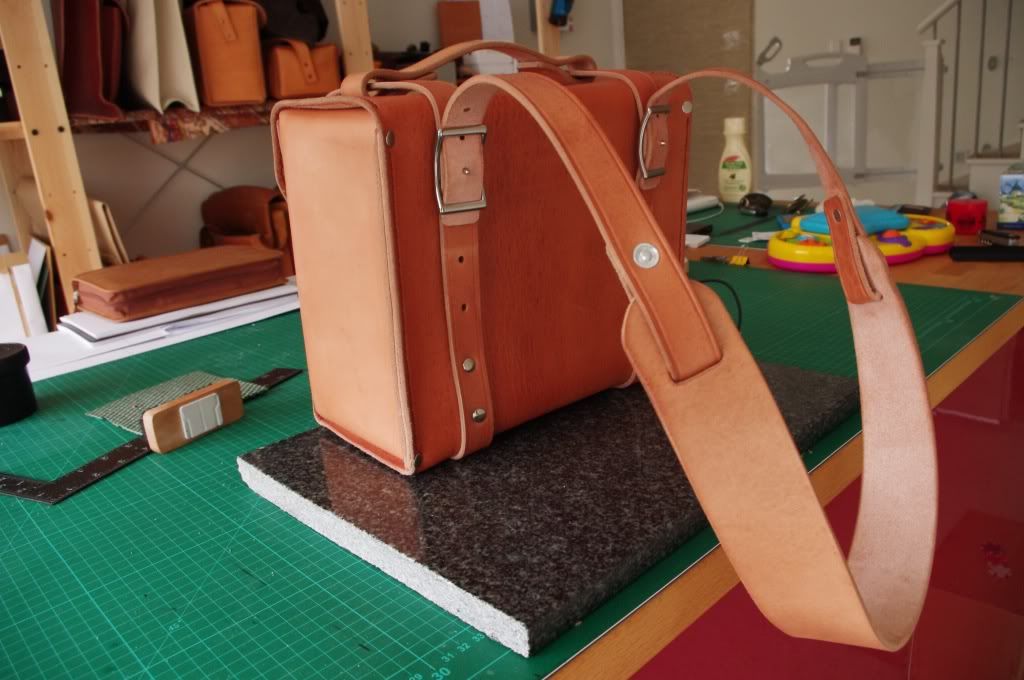
The shoulder strap is simple and constructed from 3 pieces of leather secured with solid aluminium rivet. It is attached with a Conway buckle on each side to give the bag an extra clean look and is easily adjustable on the attaching point. The strap turns out to be shorter than I would like it to be. It wears fine with the furthest adjustment hole but can do with extra length. 

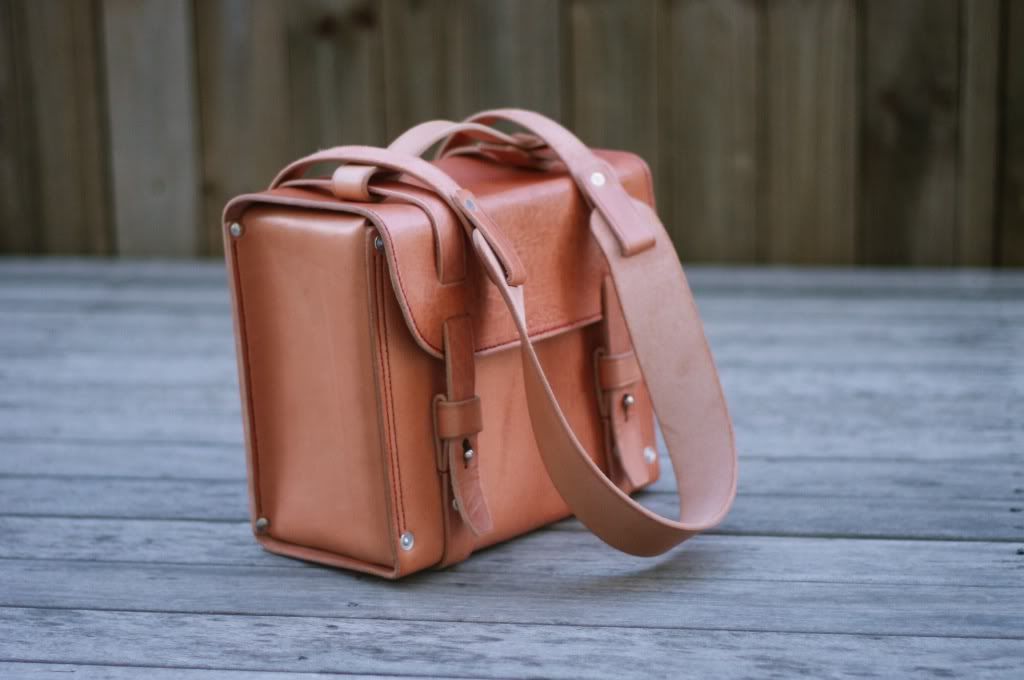
Overall, I absolutely love the way the bag turns out, the size is perfect. The proportion is spot on, it has that cute chubby look to it. The marking on the leather really give the bag it's character. I did notice that the stitching on the lid of the bag need to be redone. I think I'm going to use a totally different colour thread when redoing the stitches to further experiment with colour. In the meantime, I'll be using this bag for my daily duty which is a good way to develop patinas on the leather. 

As always, some photo of the built process and completed bag:

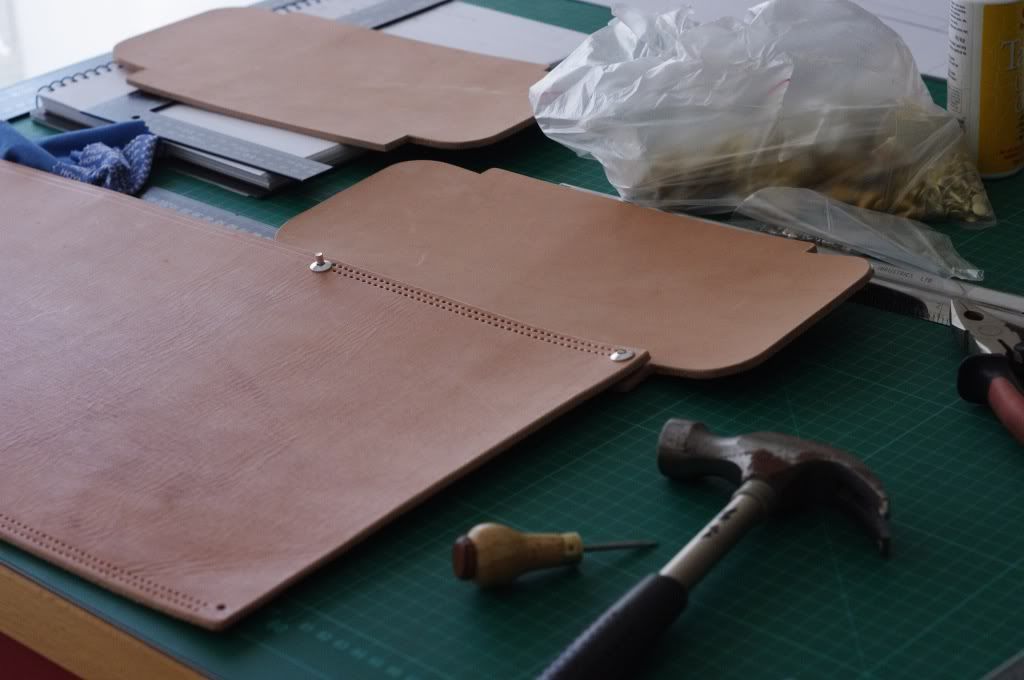
Main body of the bag


With gusset on the process of being attached


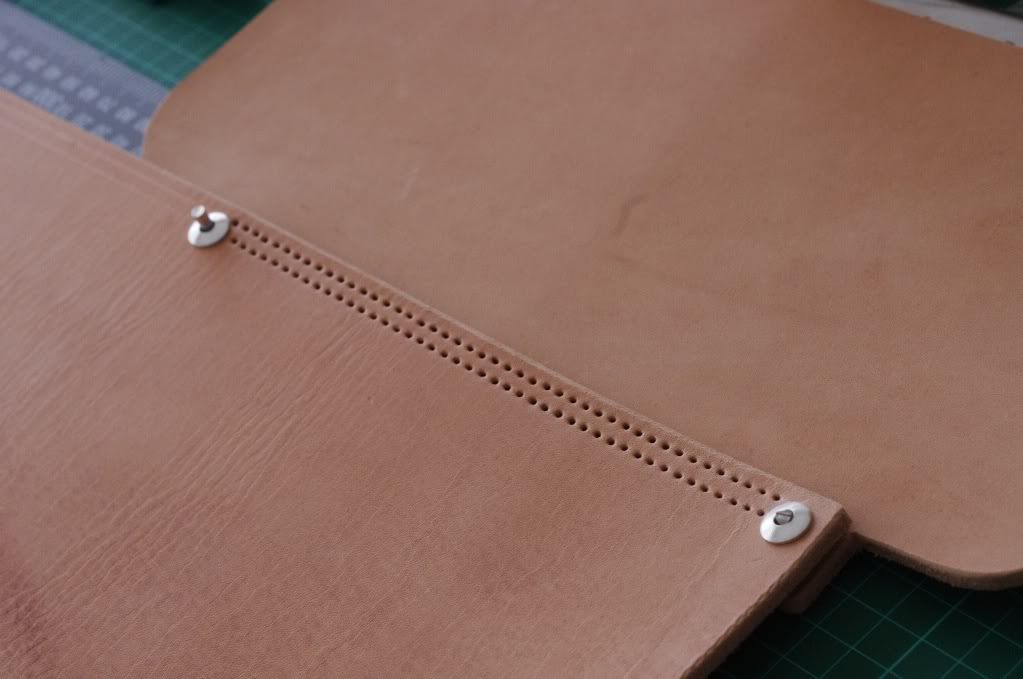
Close up photo of Aluminium rivet
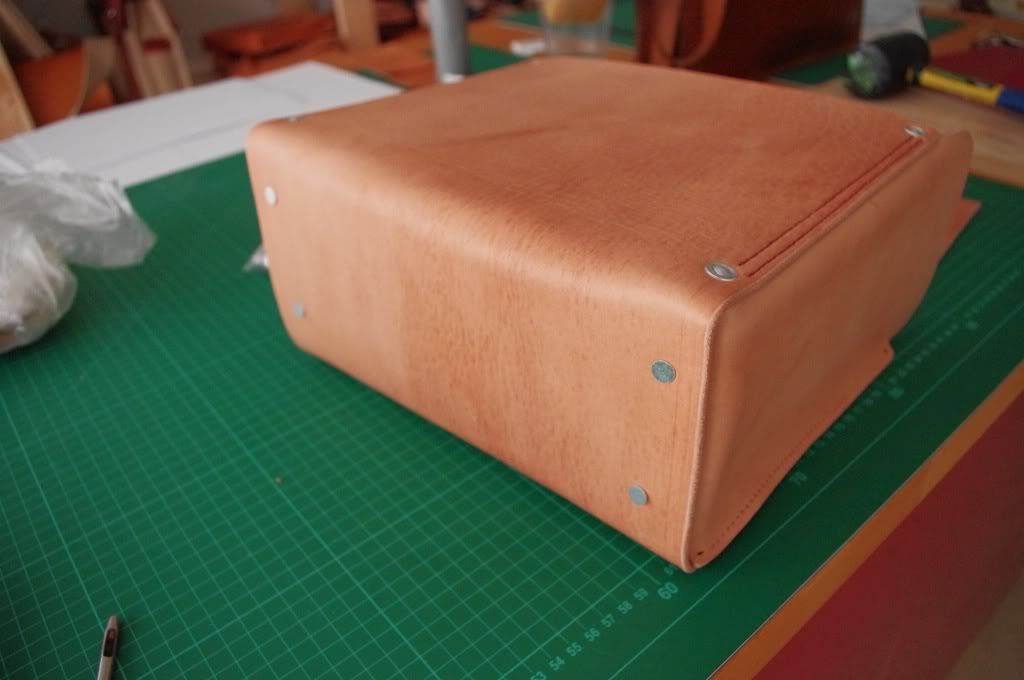
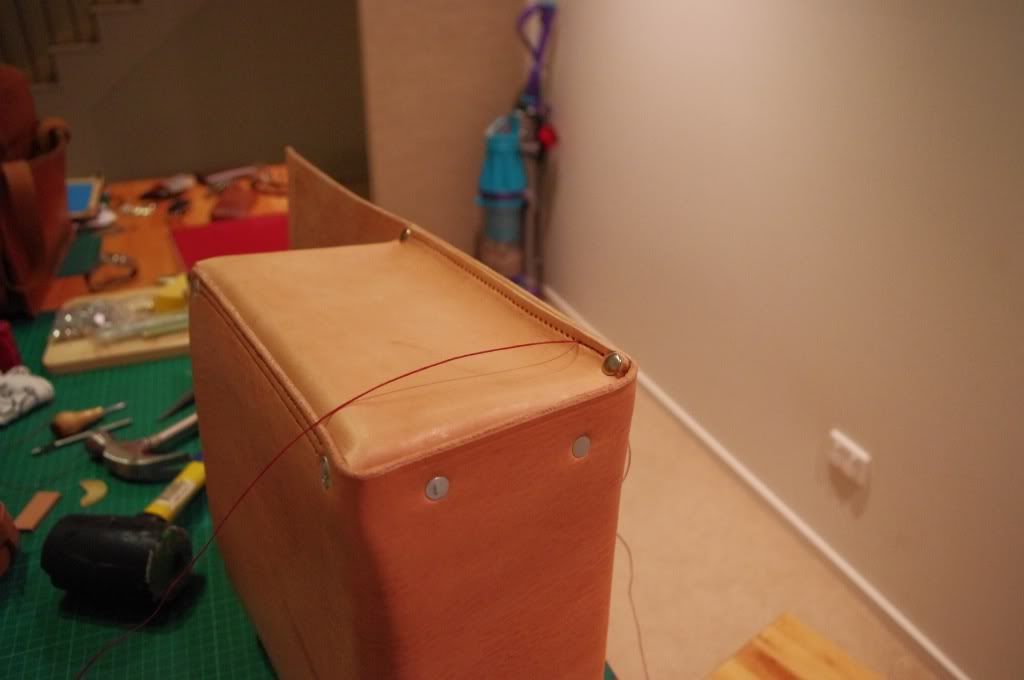
Riveting the base
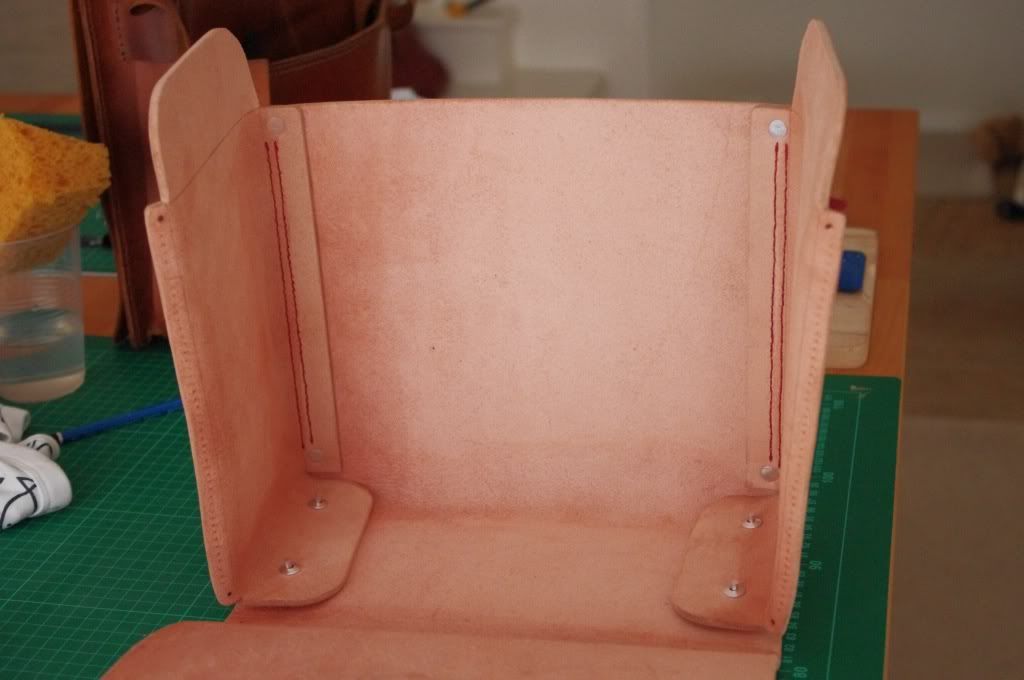
Forming the bag into shape
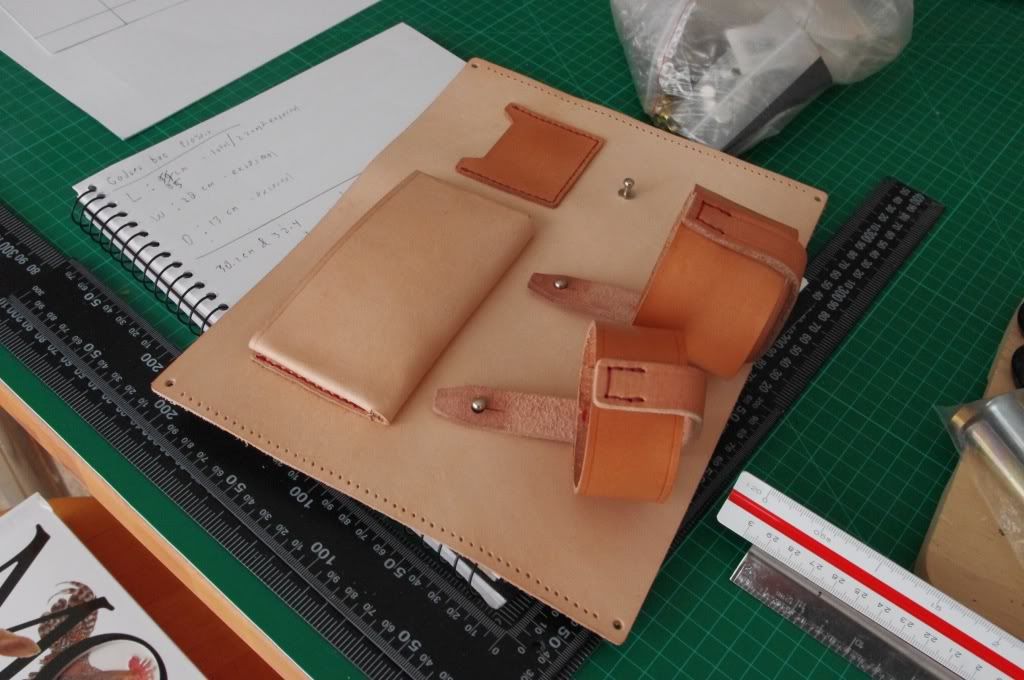
The divider inside the bag
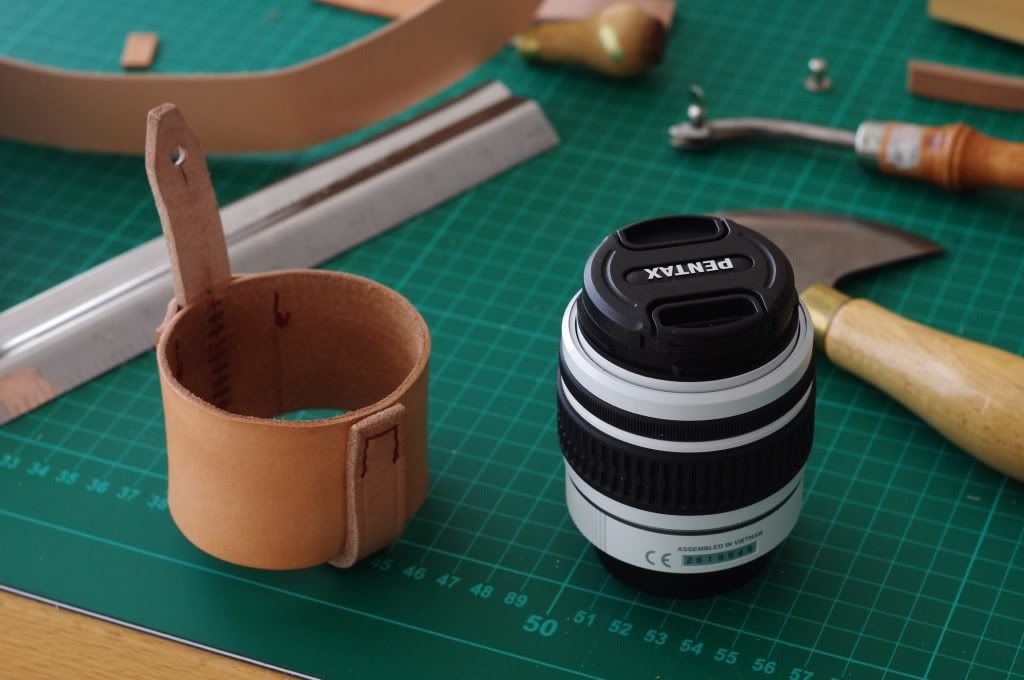
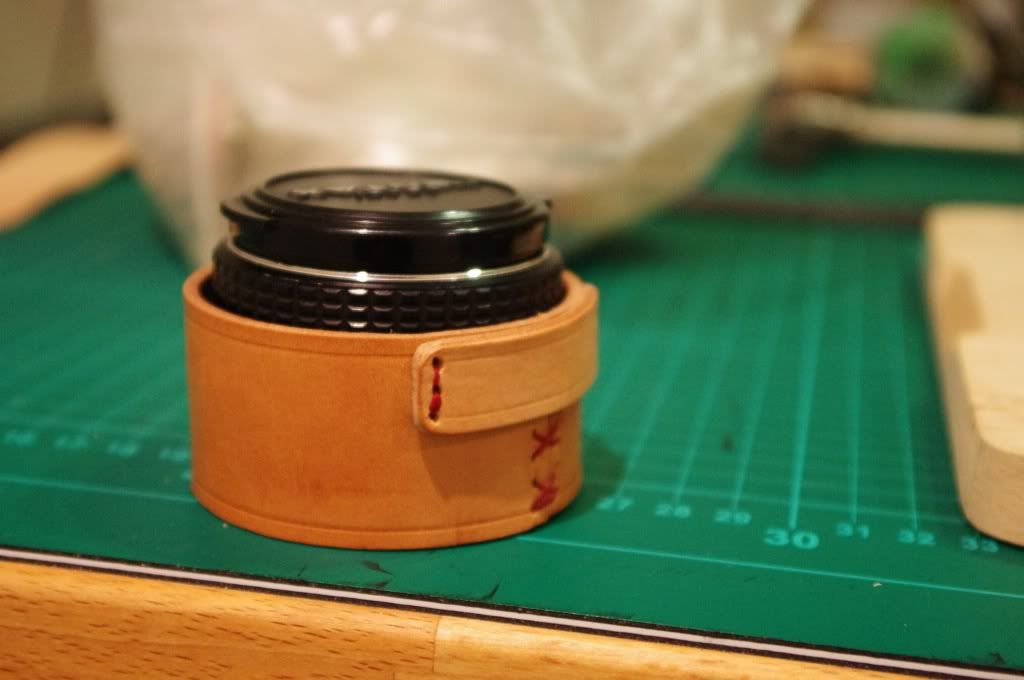
Lens pouch #1
Lens pouch #2
Stitching rear part of the bag with the divider sandwiched in between
Starting to resemble like a bag
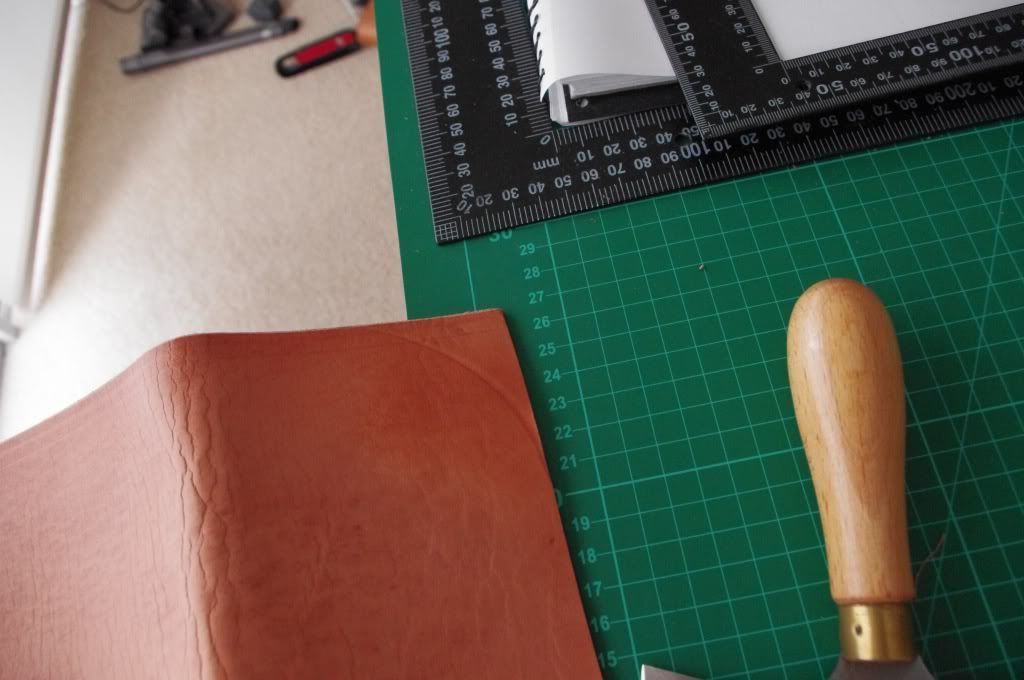
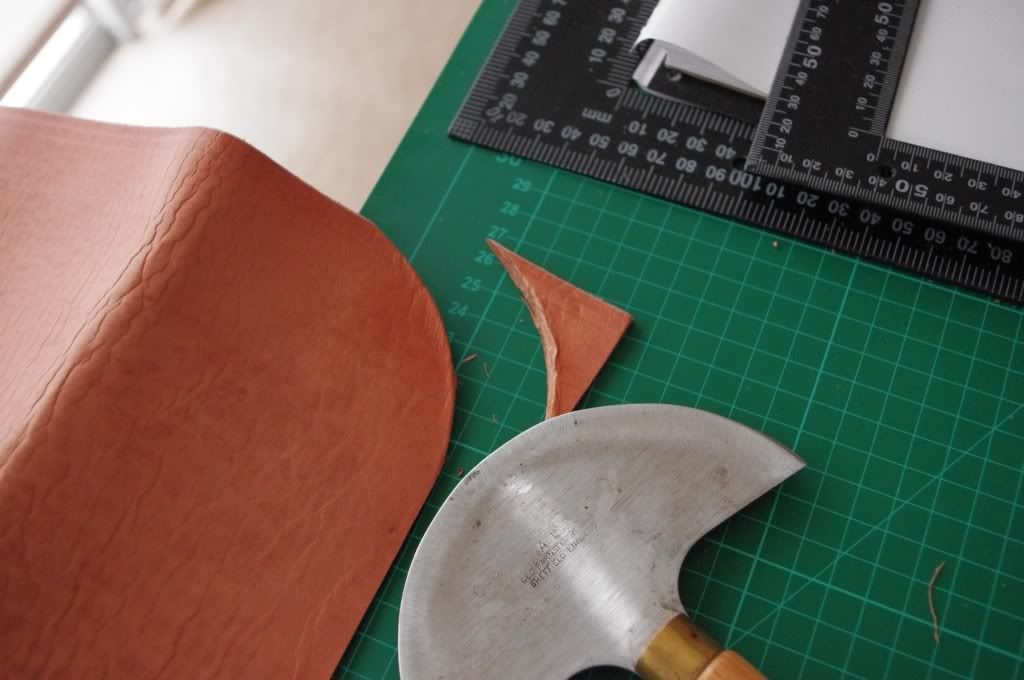
Rounding the corner - Marking the line
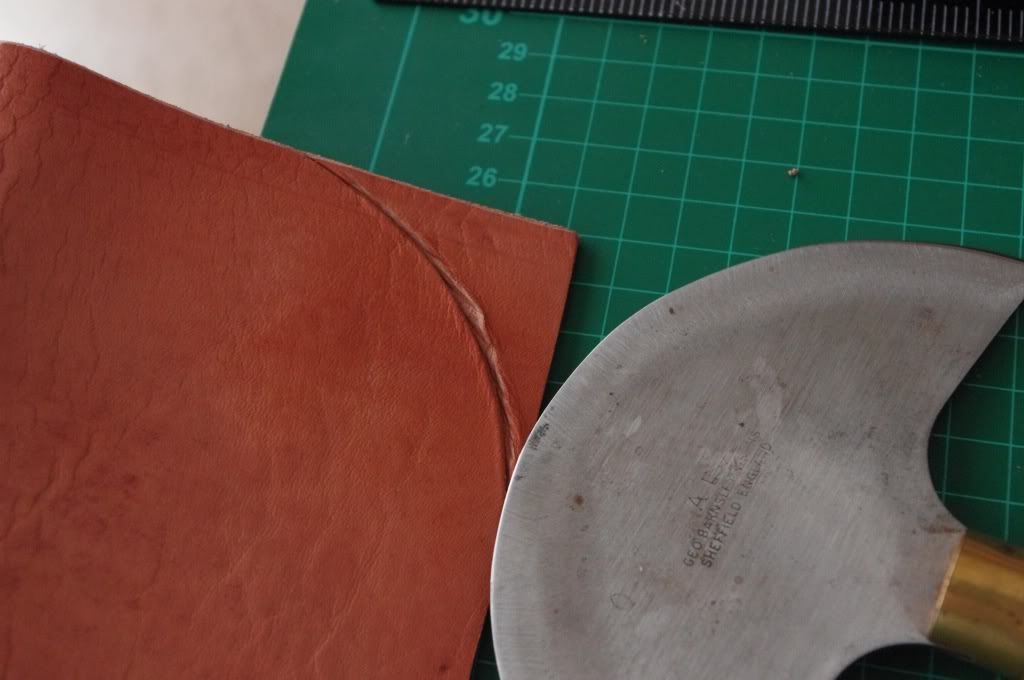
Rounding the corner - Cutting into the leather slowly and steadily
Rounding the corner - Done
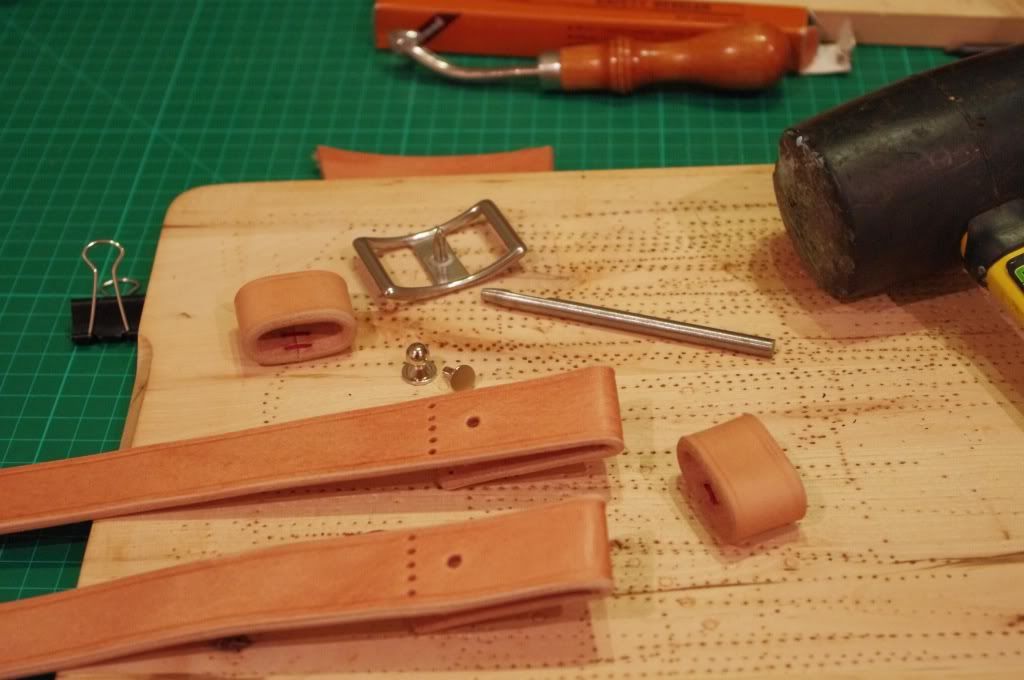
Wrap around strap components
Wrap around straps - Done sans stiching
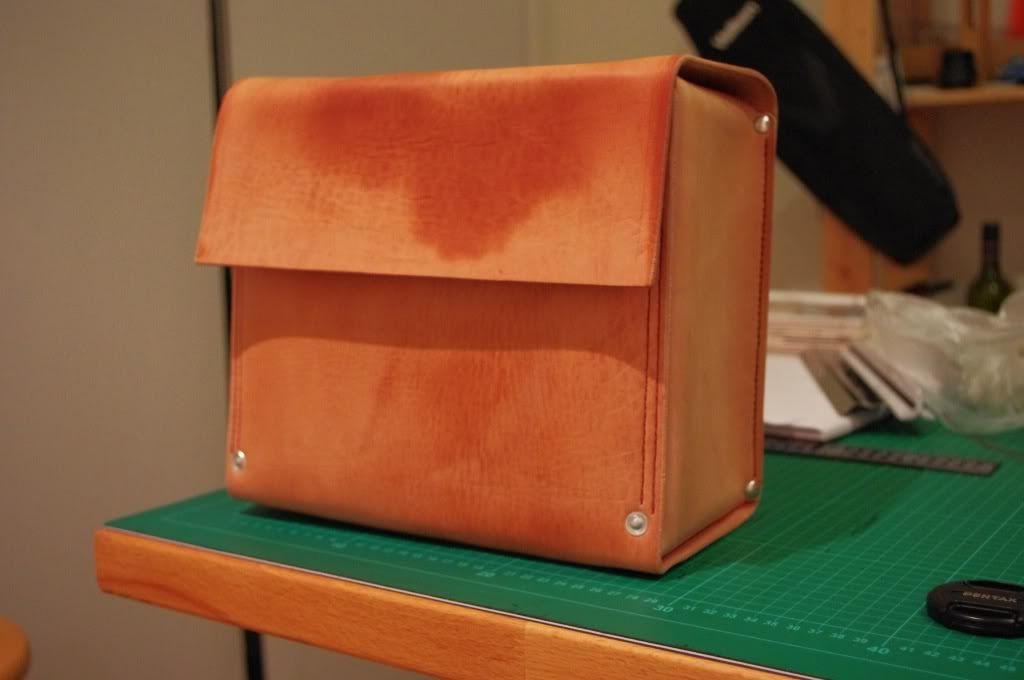
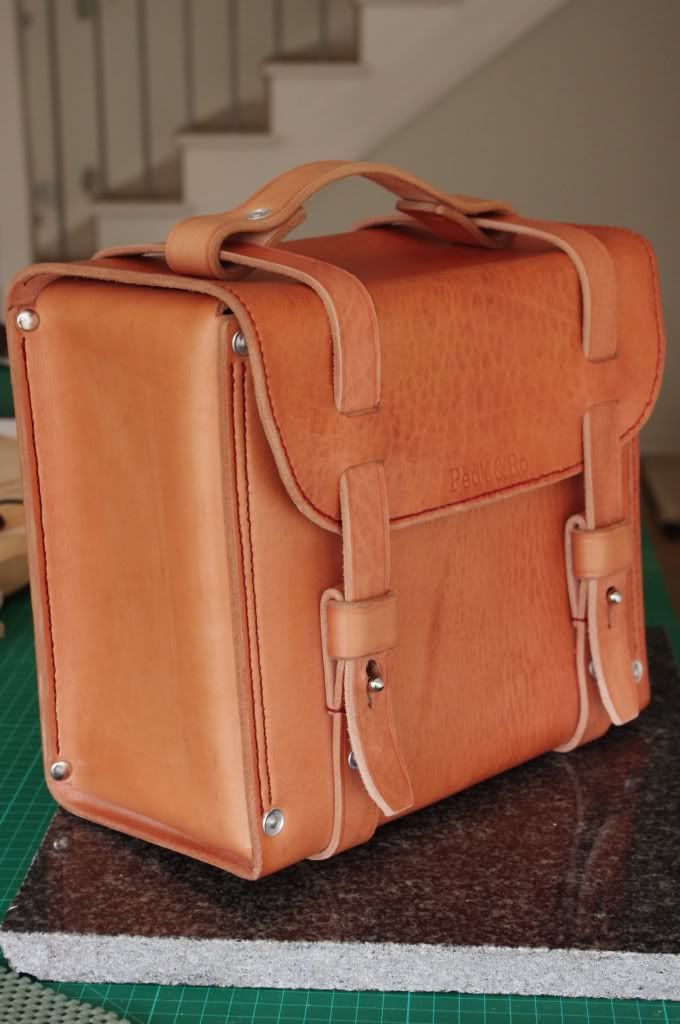
Completed bag


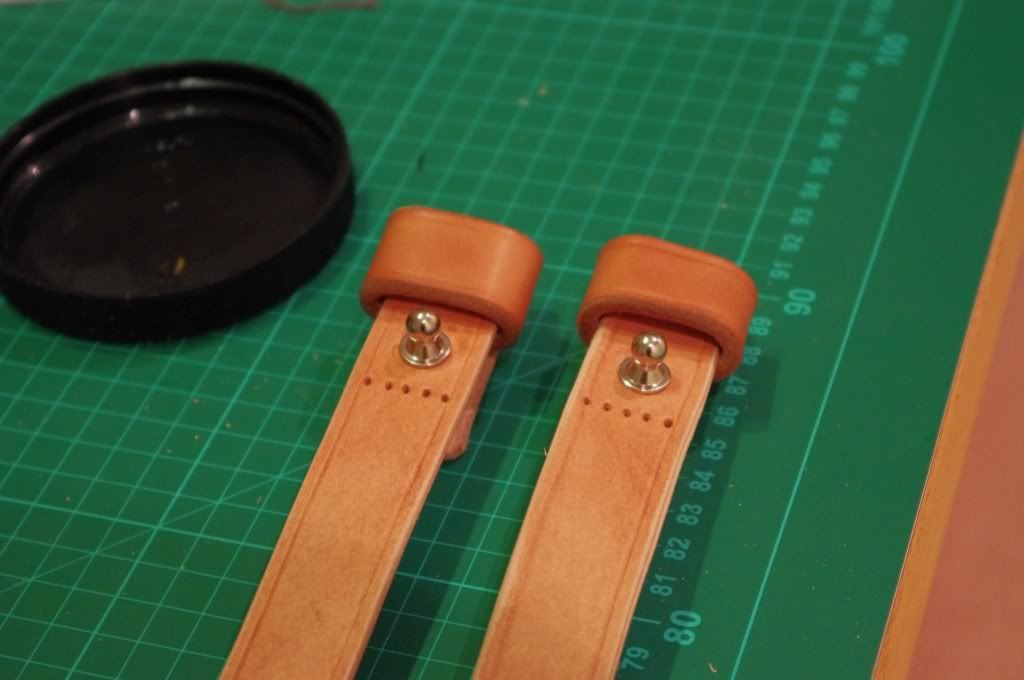
Shoulder strap


Shoulder strap attached to the bag


Artistic Shot #1


Artistic Shot #2


With the 'Shoe Box' bag. Note the differences on the colour tone of the two leathers.

Wednesday, November 9, 2011

Project: Folio Cover

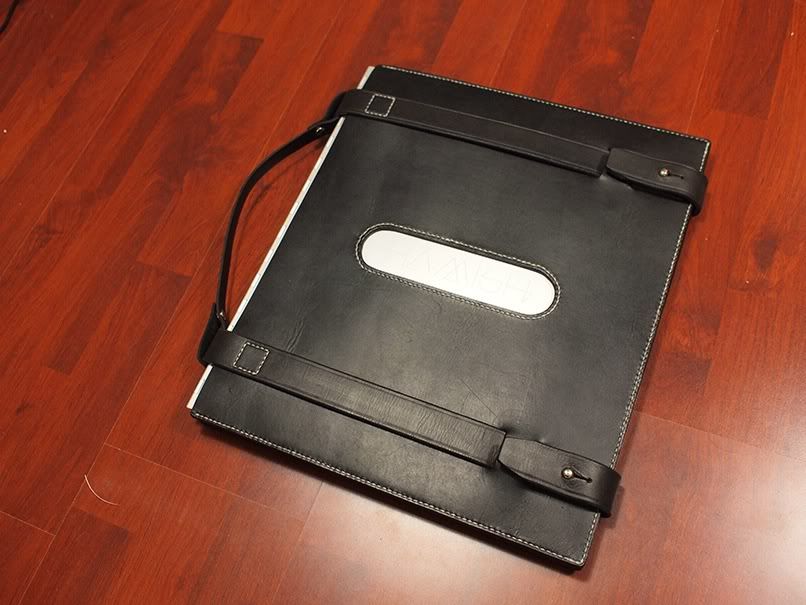
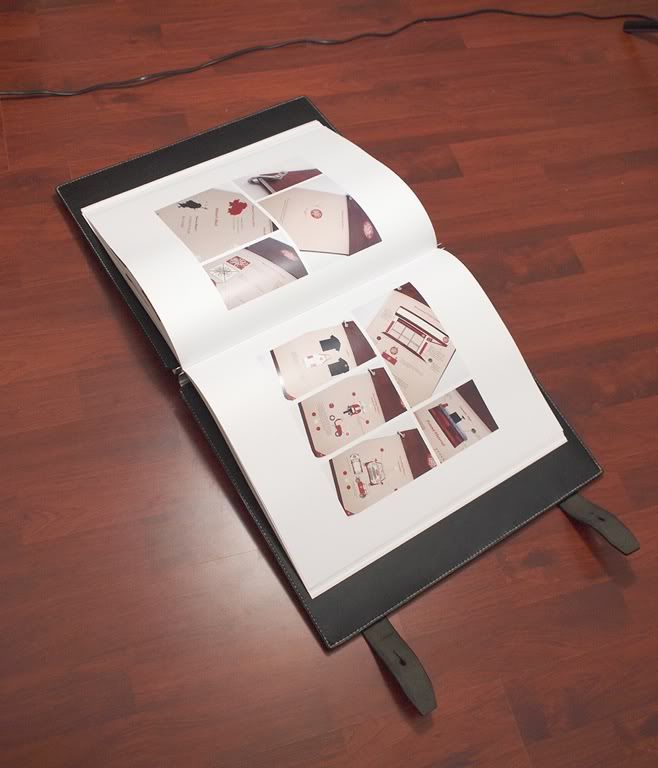
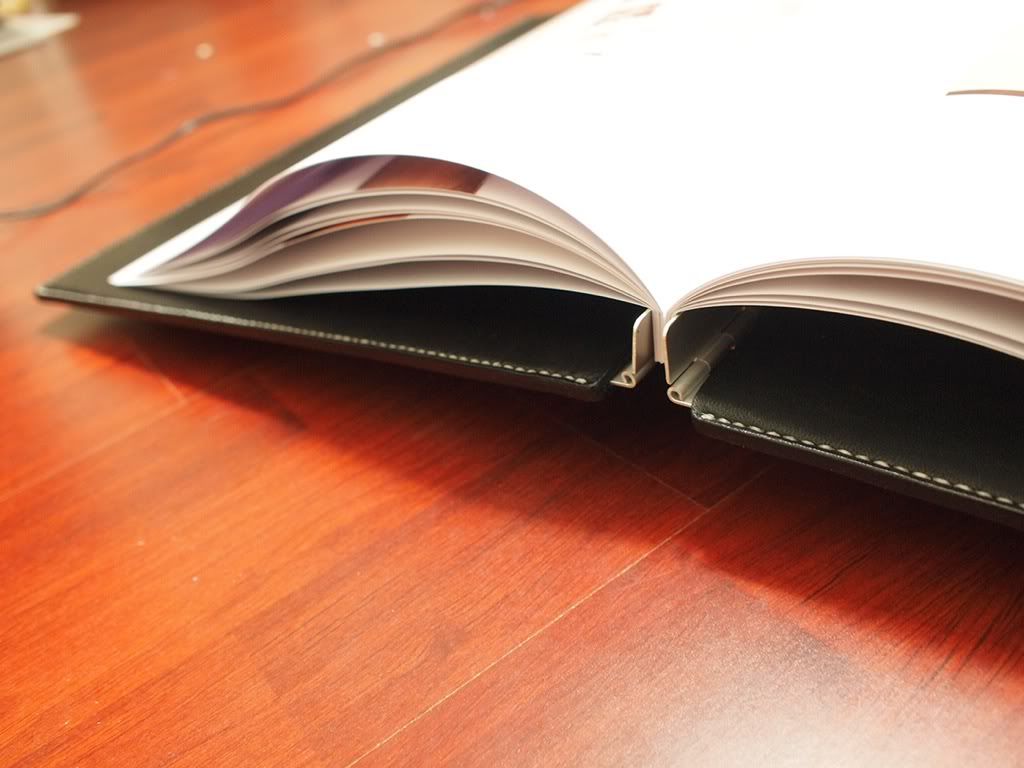
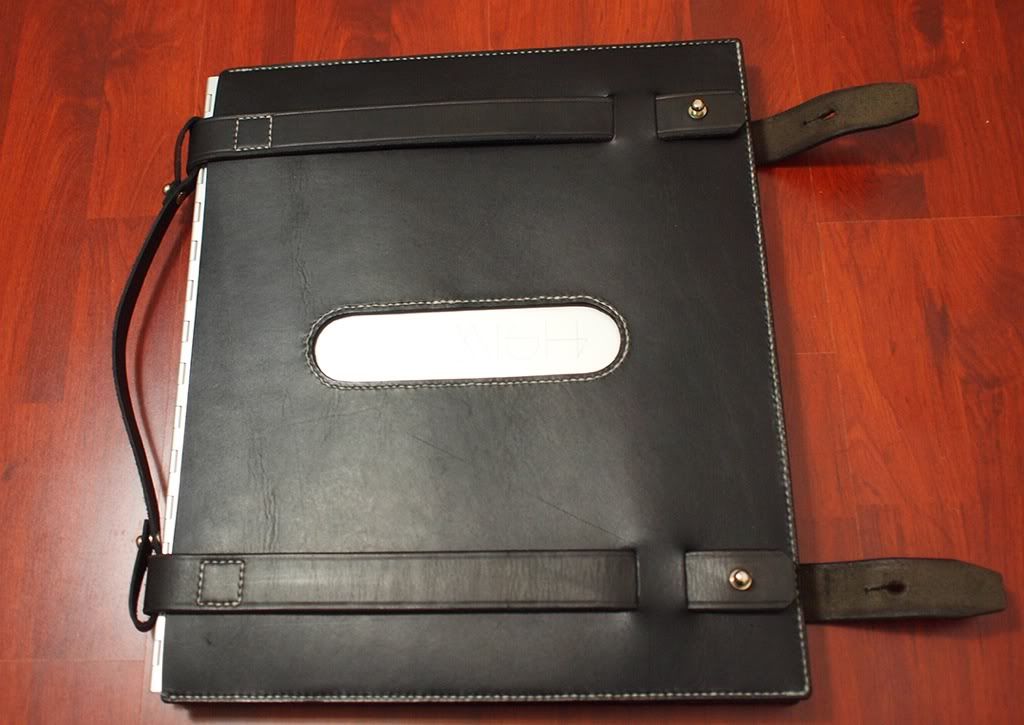
I was approached by Hamish to build him a folio cover for his final presentation. He has ordered this beautiful aluminium folio for his presentation. He wanted something different to set it apart from the other student's folios.

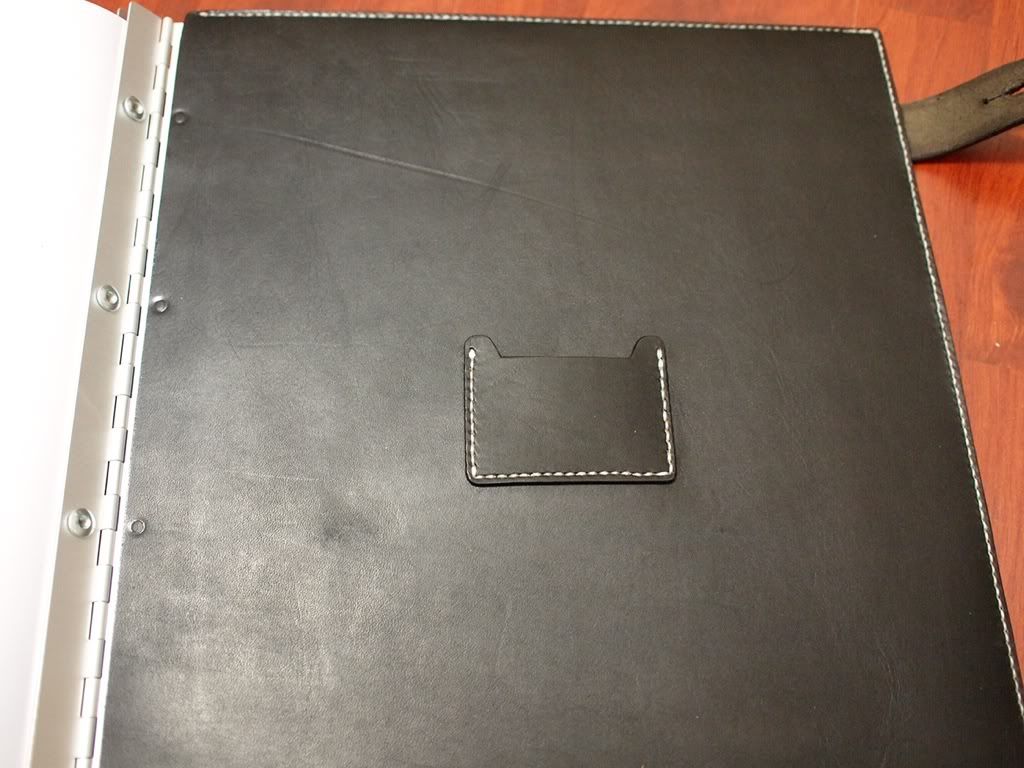
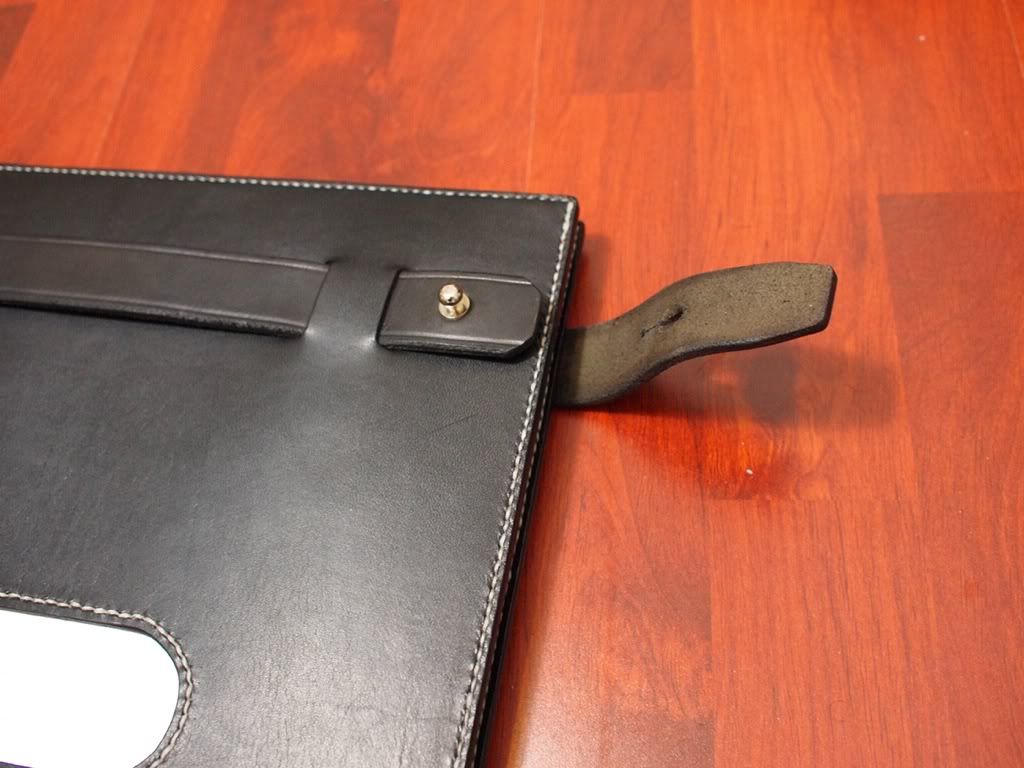
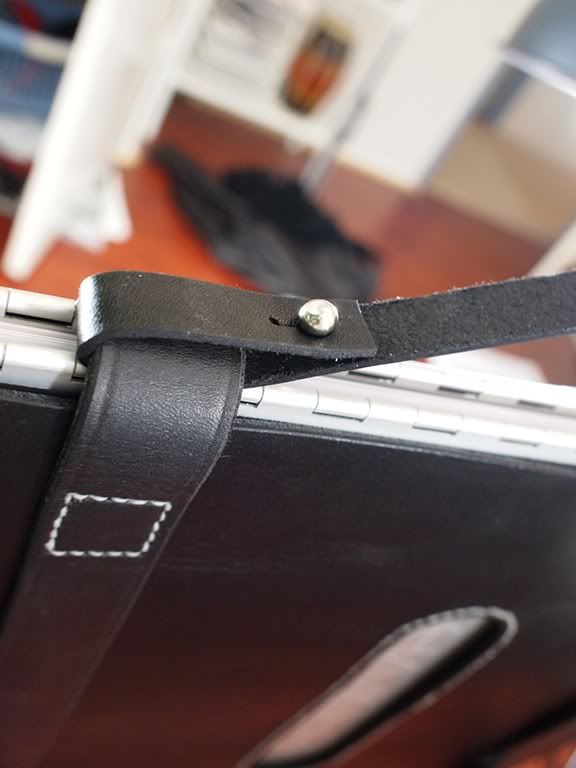
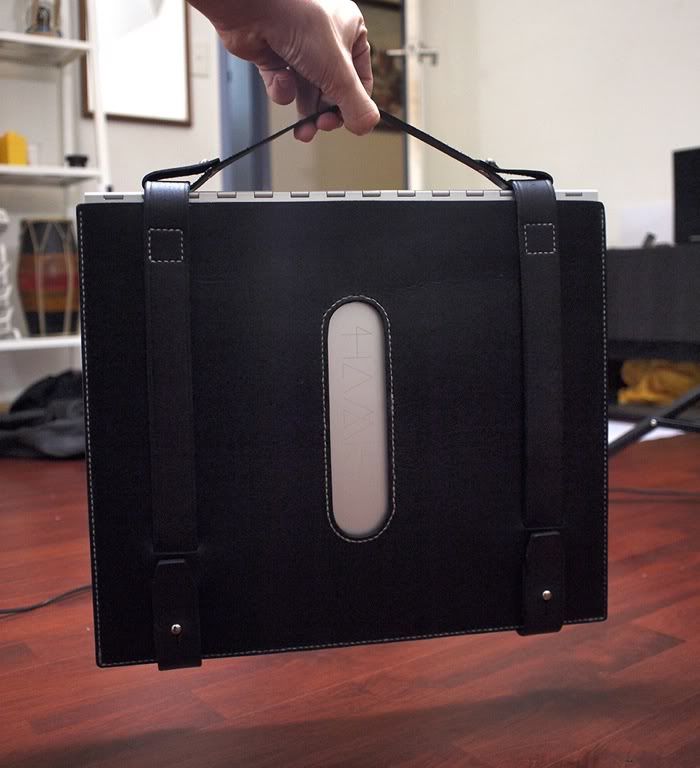
After a number of exchanged emails and a visit to my workshop, a black coloured leather with white stitching was decided. This is to reflect his portfolio which has a black & white theme. An internal pocket, wrap-around strap and a removable handle will also be added to the folio for a more distinct look.

Originally I had planned to use 1.5mm tooling leather for the cover body. To achieve the black colour it would receive a full strength vinegaroon treatment. Unfortunately, due to the acidic solution, the grain on the leather tightened, as a result the leather pieces shrunk. It shrunk by about 2mm, enough to make the pieces unusable. At this stage I decided to use different leather all together.

I settled for a waxed vegetable tanned leather, it's been coloured black from the tannery, which is a bonus. It's slightly thicker at 2.5mm. The texture and thickness is perfect for the theme of the folio.

The strapping is build using the 4mm leather I bought earlier for Project Messenger. These also received full strength Vinegaroon treatment. No noticeable shrinkage with this pieces. The thickness really complement the overall look.

The final product is fantastic, I couldn't be any happier so does Hamish. It really gives the folio that extra appeal.

It's been an amazing experience building the cover for someone as talented as Hamish and pulling an all- nighter to meet the deadline for the folio is an awesome experience.

I'm looking forward for more collaboration with Hamish in the future.

Photos courtesy of Hamish:


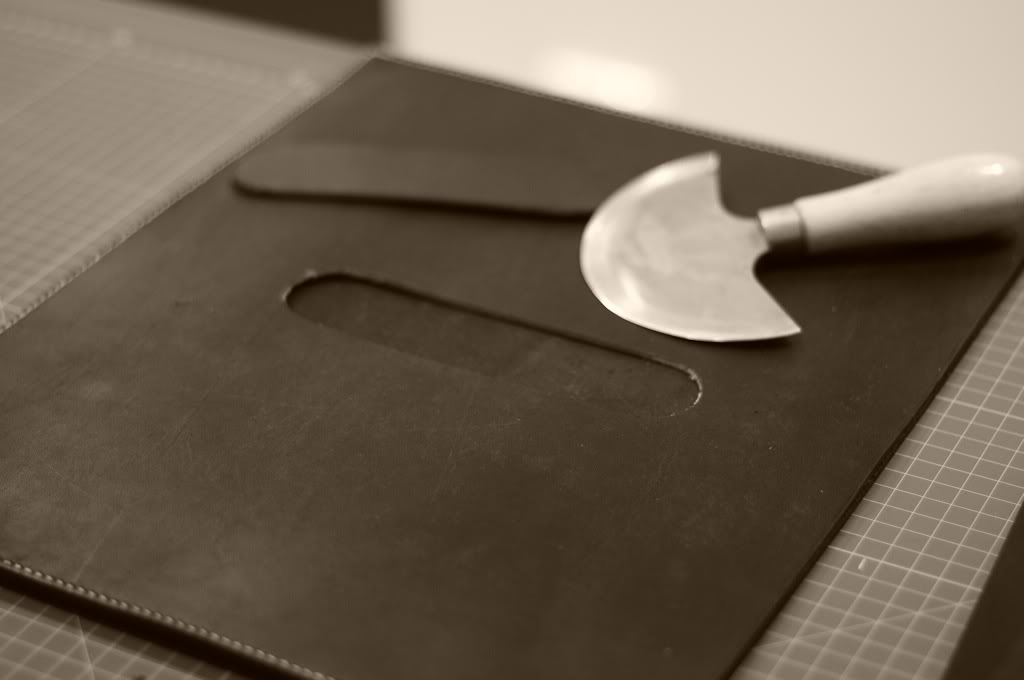
Cutting the leather out


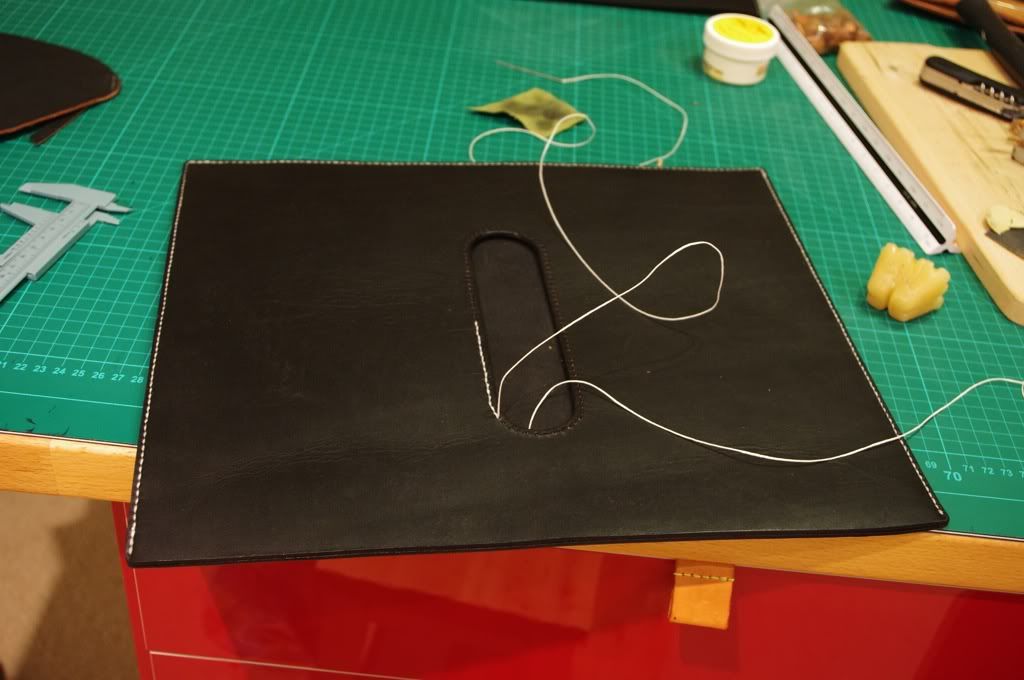
Stitching the cut out

Sunday, September 25, 2011

Prototype: Camera Strap

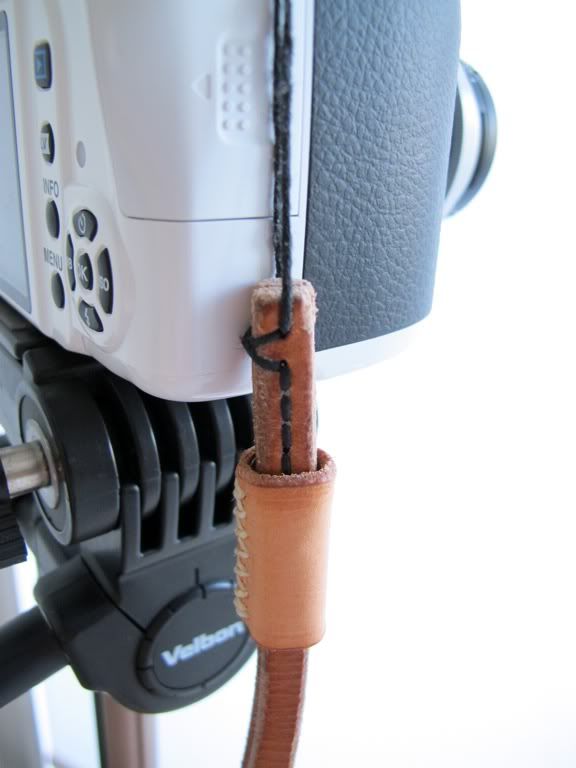
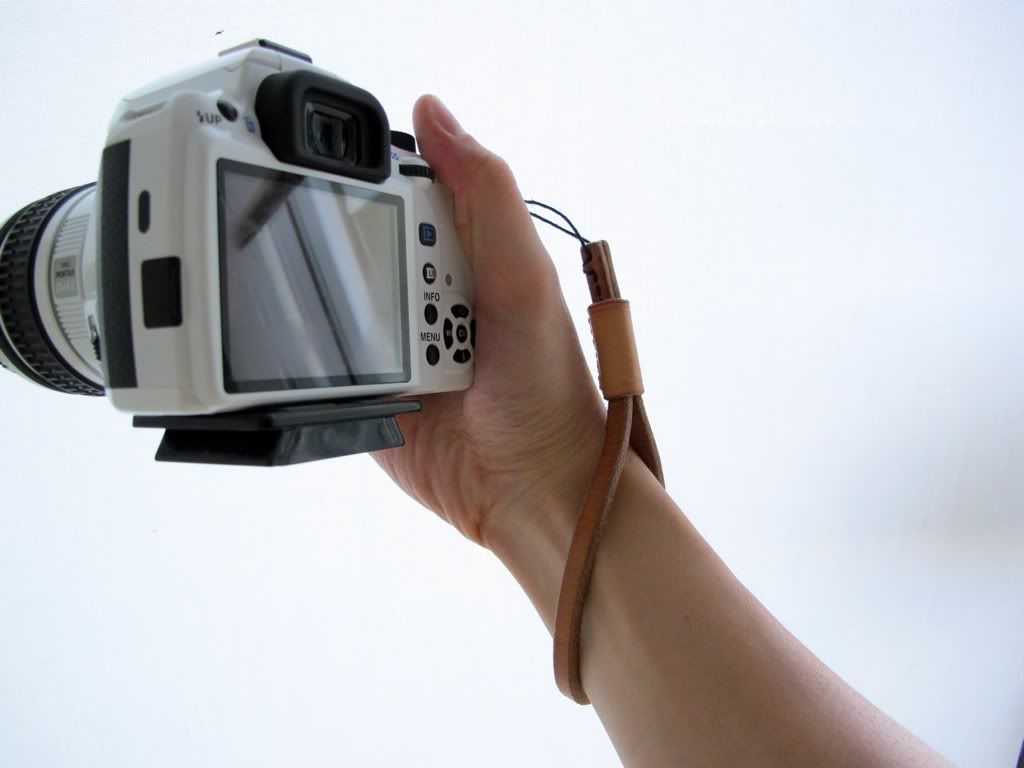
I finally bought my first dSLR earlier in the week, very excited! Bad and out of focus photo in this blog will be a history! The camera was supplied with a decent neck strap, it's good for hanging the camera around the neck but I much prefer to have the camera on my hand hence the preference for a wrist strap. The supplied strap is definitely too long to be a proper and comfortable wrist strap.

I decided to build myself a leather wrist strap for the camera. The leather will need to be thick to match the largish camera body, decided to use the 4mm Bridle leather. I was, at one point, undecided between buckle or string/thread attachment, but decided to go with string for simpler look albeit the safety aspect that the buckle will provide. For strength I use 6 ply linen thread, the thicker thread also gives a robust visual.

At this stage I'm still researching for the best string/thread to use for the wrist strap. I'm not fully convinced with linen thread, while it has a strong breaking point, due to it being a natural thread, it doesn't resist abrasion like a synthetic thread does. More on this later.

Some photos of the completed camera strap:


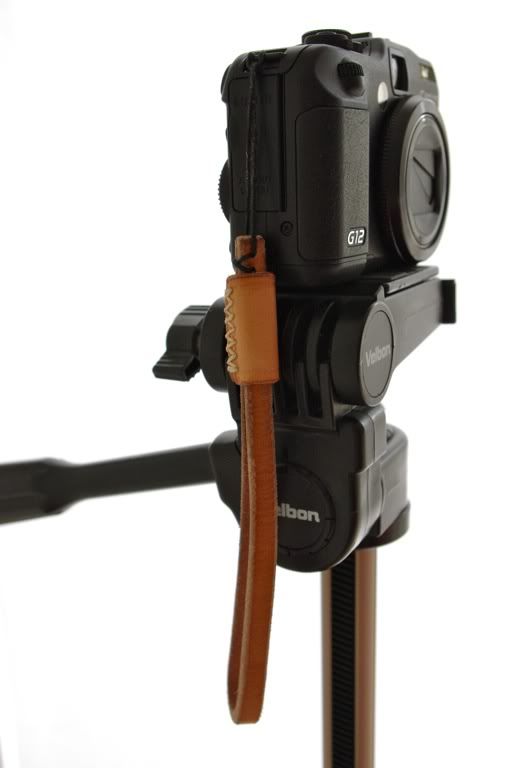
Mounted on a Canon G12


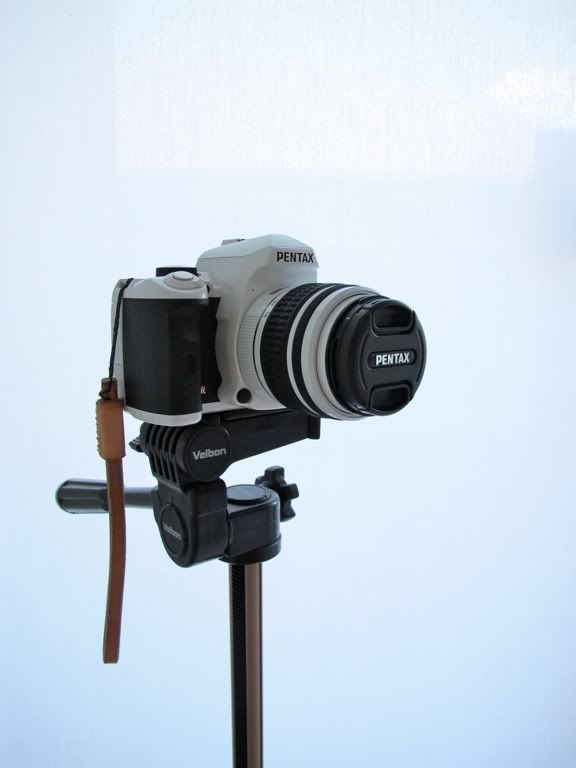
Mounted on a white Pentax K-r


Stitching details


Worn on wrist


Sunday, September 18, 2011

Project: Messenger Bag

It takes 6,215 centimeters square of leather, 10 meters of leather-edge thinned and smoothed out, 700 stitching holes, 13 meters of stitching thread and 32 rivets to complete this project.

I was approached by Michael via email to build him a Messenger bag. He explained to me his great interest in Vegetable Tanned leather and must have a bag made from this leather. He liked the look of the Laptop Bag prototype and wanted a similar style for the messenger bag that he has envisioned. He's quite particular on the style and even drew sketches using a computer program which is fantastic! After many exchanges of emails, we finally settled on the design, dimensions and other details.

The bag is constructed from 4mm (10oz) bark tanned bridle leather. I procured the leather from a tannery located in the Ballarat region of Victoria. The tannery supplied the leather during gold rush in the area back in 1800s. The leather itself is beautiful, lots of character showing in the leather. It has a slightly different tint from the other vegetable-tanned leather I have bought before, possibly due to the differences in tanning material. It's a tough leather to cut but also very supple and easily mold-able. It's the perfect foundation for the project.

The bag is to have two internal pockets with closure and a couple of pen holders. To retain the 'cleanliness' look on the exterior of the bag, a divider is utilised for the pockets and pen holders. Other than the divider, the bag's interior is raw.

As per the laptop bag prototype, a wrap around straps with handle is also incorporated into the design. We decided to do without buckles, a stud closure is used instead. A buckle however is used for the shoulder straps, which is attached on the side of the bag.

Double cap rivets is placed strategically throughout the bag for durability and longevity purpose. They will also help preserve the stitching thread from excessive wear.

It has been a rich experience with this project from start to finish. Learned new techniques that I never imagined could work. The bag itself is fantastic, the thick leather gives the bag real structure and presence. It has the casual tone of a messenger bag and the formality of a briefcase. I would love to see the patina developed in this bag.

It was sad to see the bag packed up and sent away. I would proudly wear it as my daily bag, however it's destined to be with it's deserving owner.

As always, photos of the completed bag:


Tuesday, August 23, 2011

Not all vegetable-tanned leathers are created equally...

Recently I came across an interesting article that explains the different type of tannin that is used for vegetable-tanned leather. Depending on which tannin is being used, the resulting leather differ significantly. It's actually a revelation since I always question the differences between the many different vegetable-tanned leathers.

I'm quoting the following information from an Article:

"There are two types of Tannin, Cathecol and Pyrogallol. By understanding when to blend these together, the expert tanner could reputedly create the appropriate leather for any need: hard and firm, mellow and soft, light or heavy.

Catechols (aka condensed) are more astringent and tan more quickly than the pyrogallols. They deposit a reddish sediment known as 'reds' or phlobaphenes. They make leathers of pink, red or dark brown hues, that are more 'solid'. They also create greenish-black spots on contact with iron. Mimosa, birch, hemlock, quebracho, alder and fir bark contain catechols. Oak bark contains both types.

Pyrogallols (aka hydrolysable) deposit a pale-colored sediment called 'bloom' (elegiac acid} which, if deposited in the leather, improves its solidarity, wearing properties and resistance to water. Hence they are favored for sole leather. They are also preferable for leathers intended for bookbinding, upholstery and other purposes where longevity is essential. The resultant leather is of pale color varying from creamy or yellowish to light brown. Pyrogallols make bluish-black spots on contact with iron and resist changes in pH value. Sumac, chestnut, oak galls and oak-wood contain pyrogallols."

I'm fairly new to this industry and hasn't had the pleasure of sampling different variety of veg-tanned leather offered by tanneries around the world. I've always bought my leather locally and recently bought one from a different tannery (still in Australia), suffice to say they are vastly different. It's good to know the science behind the leather and I find it to be an indispensable knowledge upon choosing the next veg-tanned leather.

In the future, with enough exposure, I shall catalogue and examine closely at veg-tanned leathers from different tanneries around the world and share it here.

Thursday, July 28, 2011

Strapping business revisited...

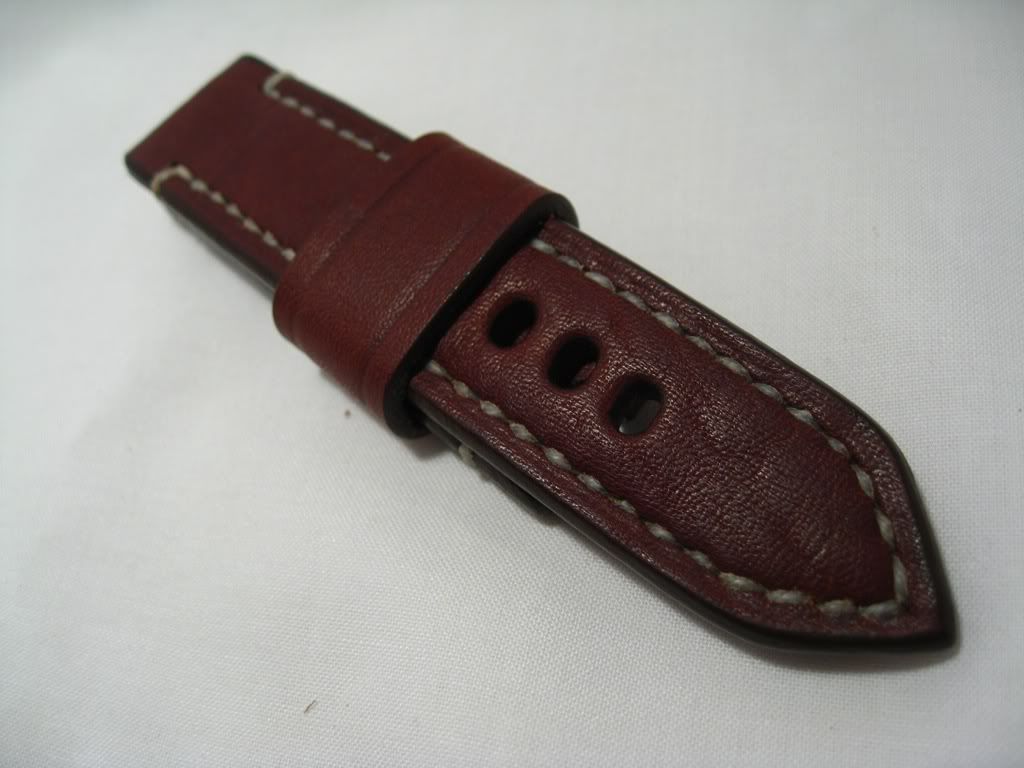
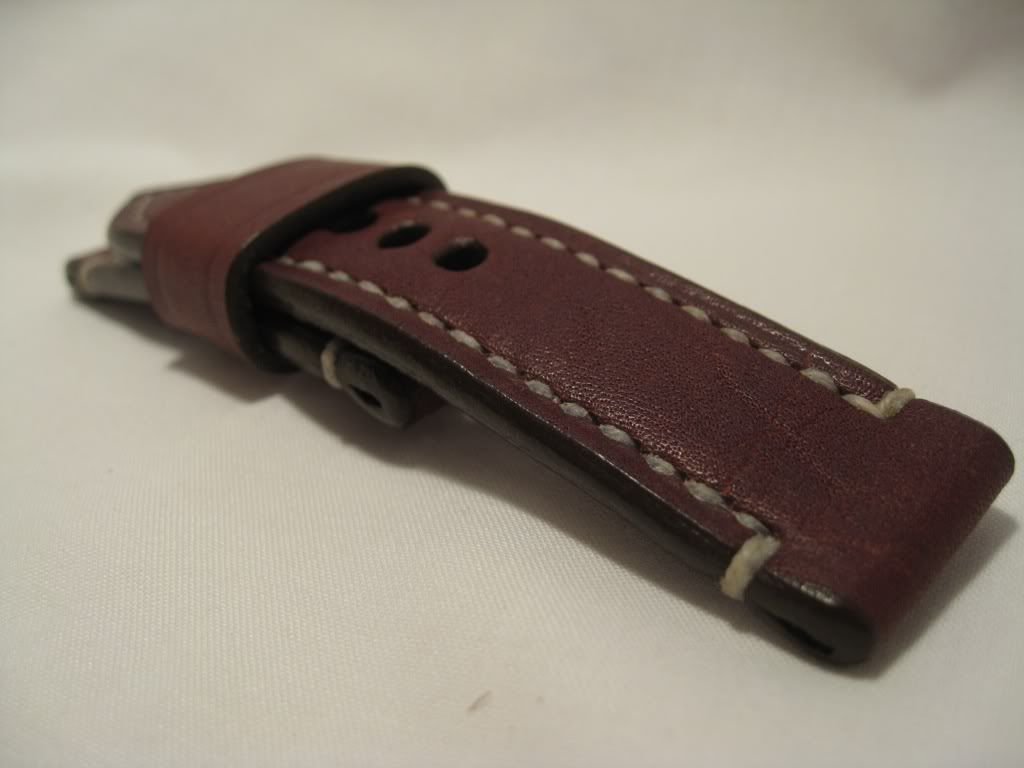
I have been busy making watch straps for the past month or so. I'm trying out new designs and working hard implementing it.

After trying out different types of leather, I decided to focus on vegetable-tanned leather. It's just simply a better leather to work with. I also found out that the waxed version is a fantastic leather for strap.

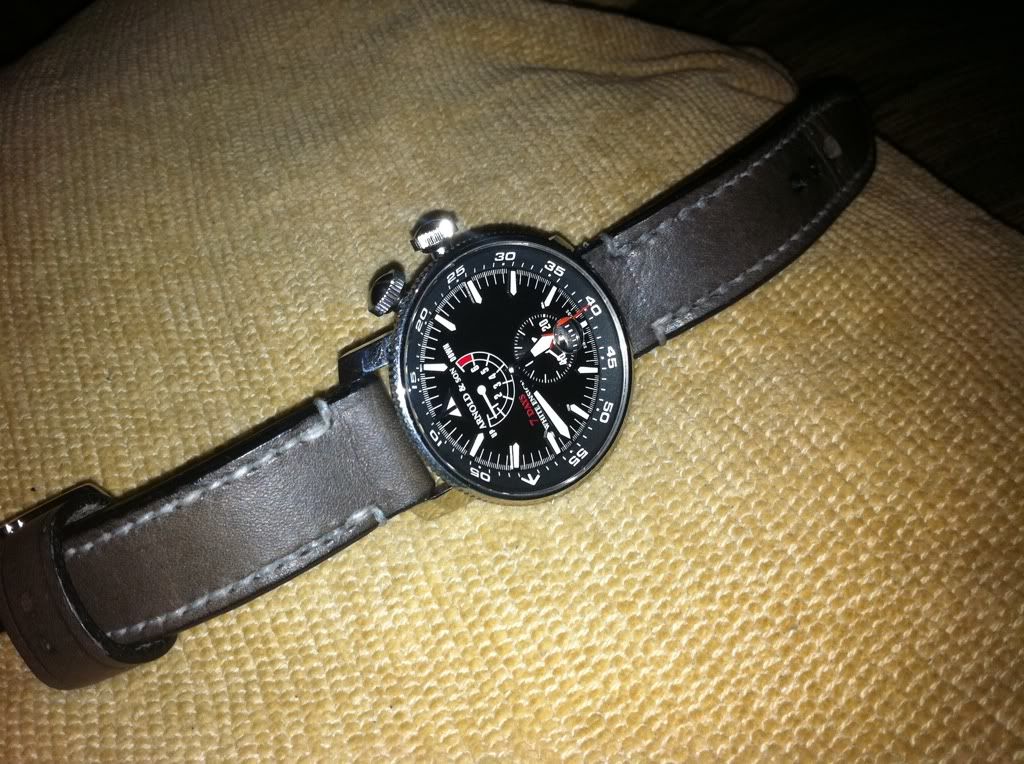
I have had two orders from the same person (Thanks Scott!), I must say he's the client to have. Generous, patient and has eyes for style, not to mention a lot of faith as well. He wanted me to build a strap from the waxed brown leather that I already have and grey coloured leather. His latter request left me scratching my head for a bit, I dislike using dyes as it's doesn't penetrate the leather all the way through and may fade overtime, even so I didn't even think grey coloured dye exist. After consulting a fellow strapmaker, I found the solution, literally.

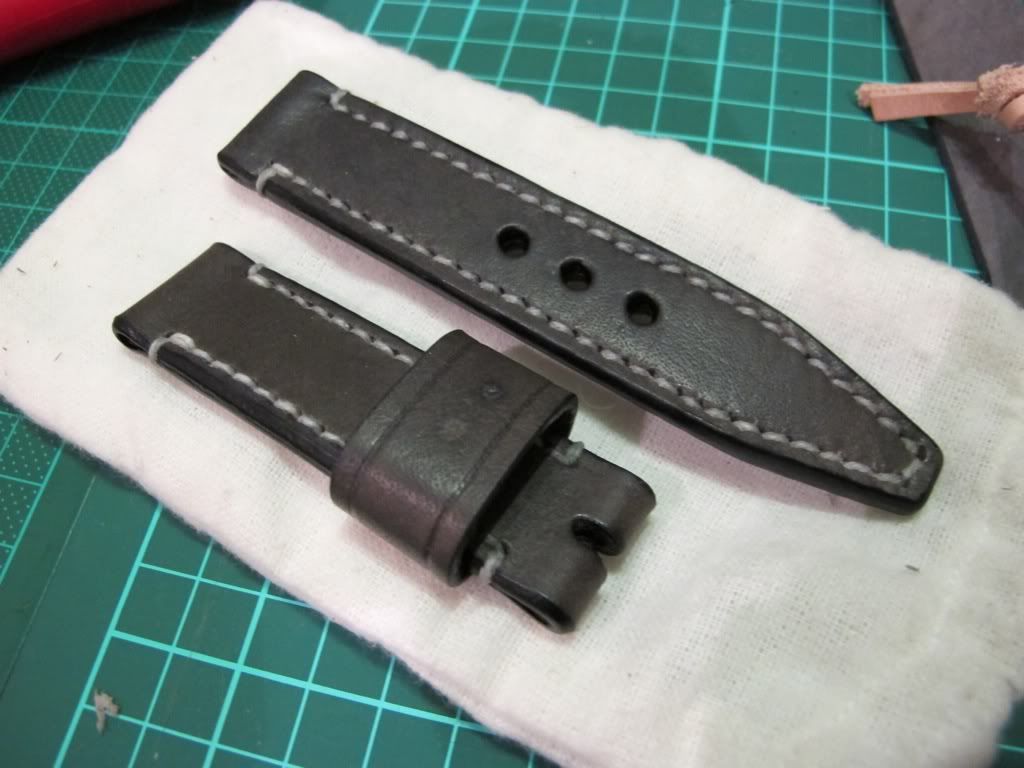
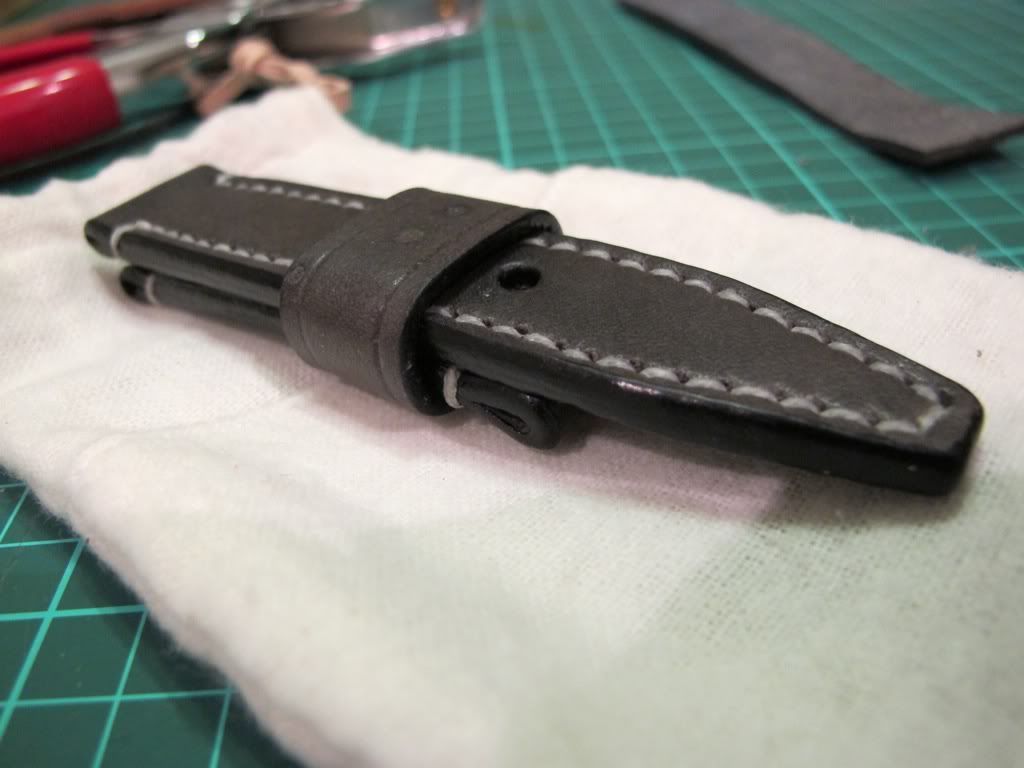
He suggested to experiment with a vineagroon dye, it's basically rust in a liquid form. At full strength it will turn the leather pitch black, adjusting the amount of rust should yield a grey colour and the best thing about this is it's permanent. The only drawbacks are it takes a while to make the solution and the smell is not for the faint hearted. I made three different batch so I can test the ratio correctly. I must say I'm pleased with the result, combined with Obenauf's, the end product is fantastic. I will go into details comparing different solution in a different entry.

For now, here's the picture of some straps that I made recently:

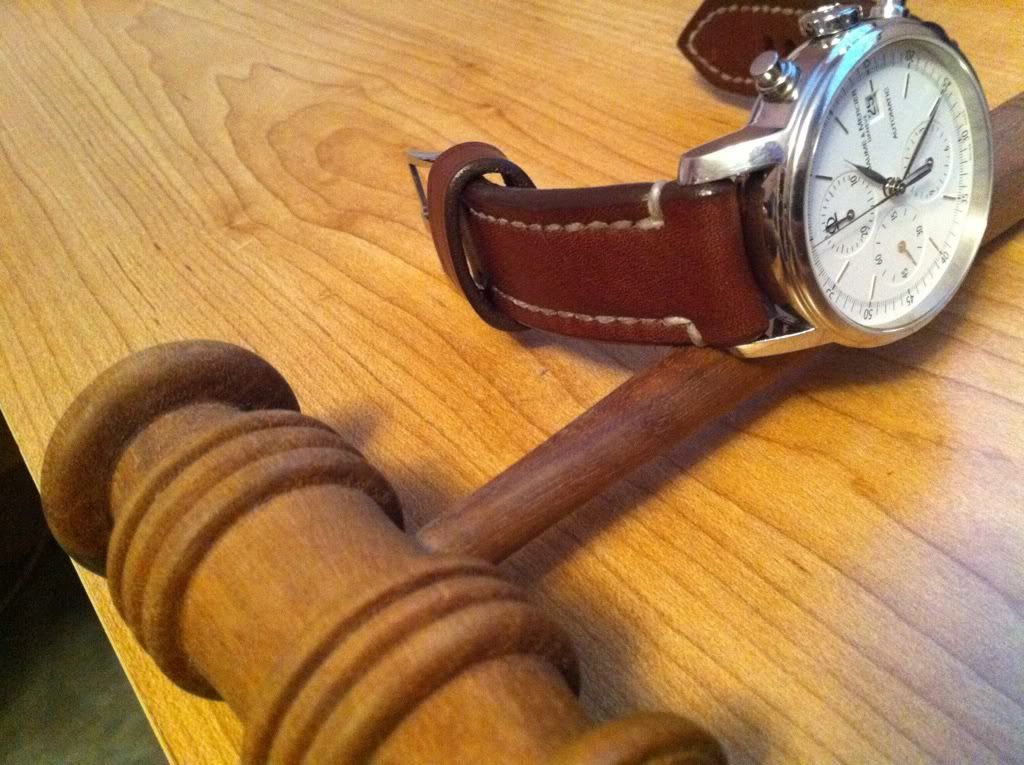
Waxed Brown with white stitching for Scott


Different angle


Photo courtesy of Scott


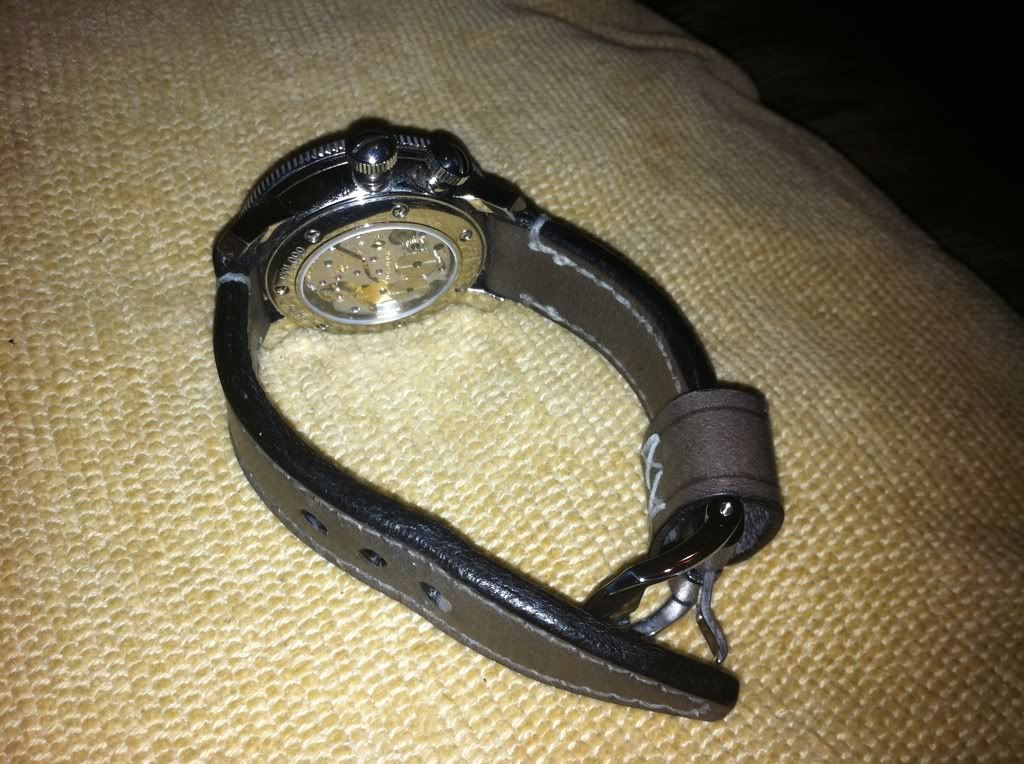
Vineagroon grey for Scott


Different angle


Photo courtesy of Scott (beautiful watch)


Another photo courtesy of Scott


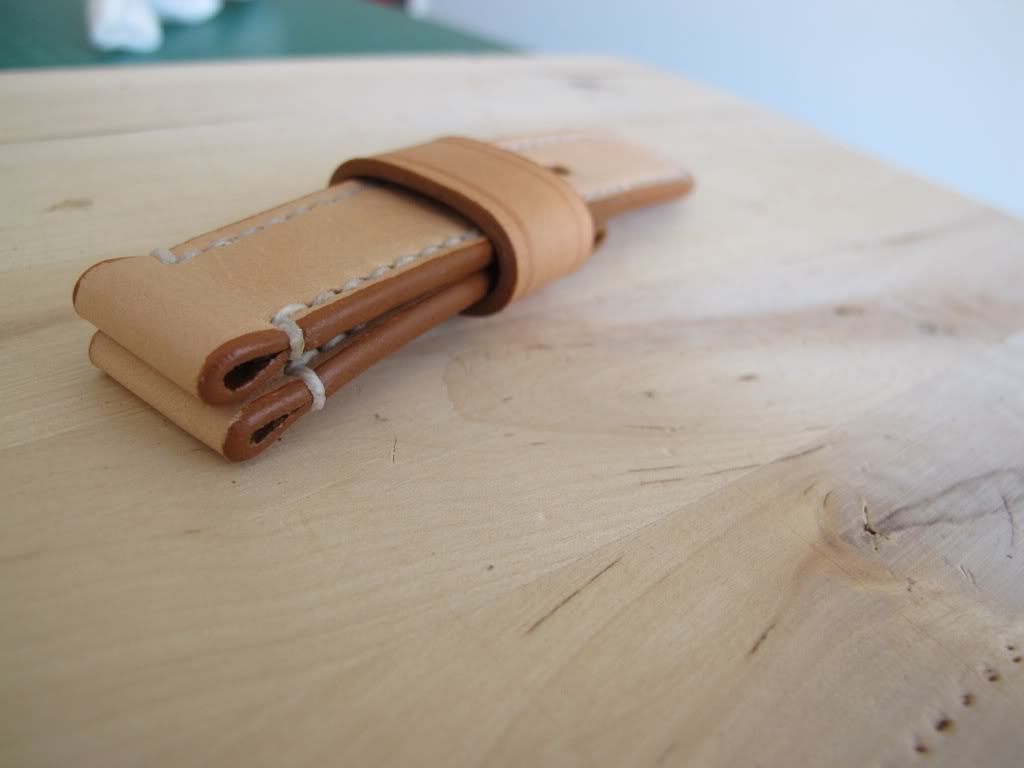
Natural leather with white stich


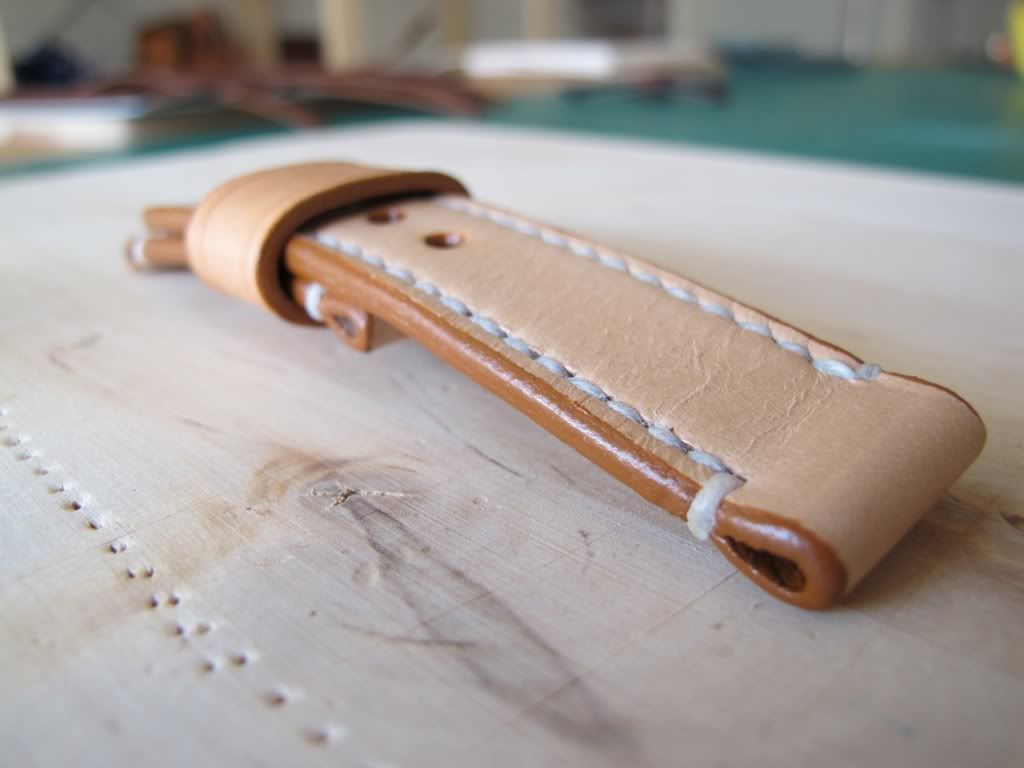
Different angle


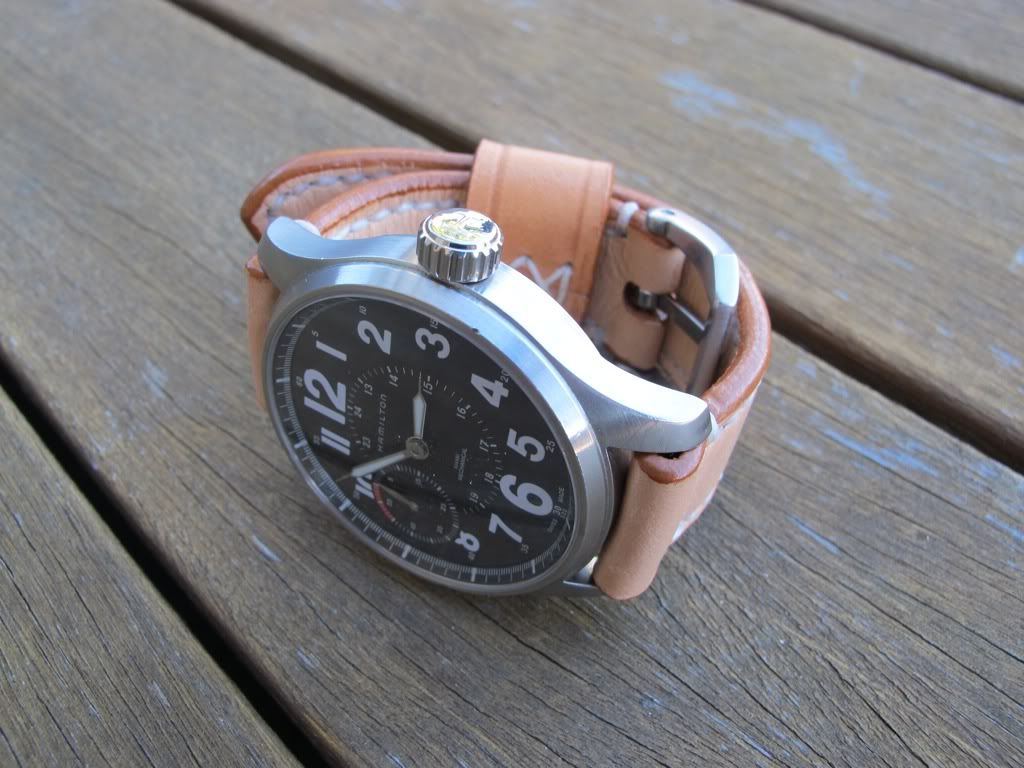
Mounted on the watch