I commissioned this bag for myself to carry all the gadgets I own, from an Ipad to a DSLR camera with its accessories. I used the leftover leather from
Project: Messenger Bag.
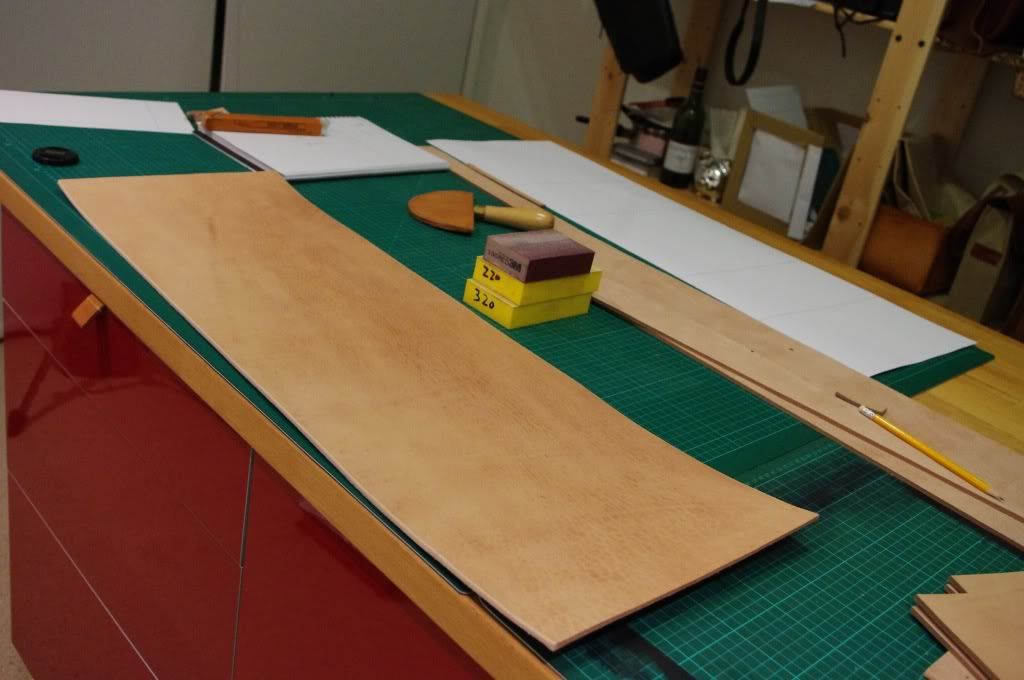
Naturally, all the best part from the hide has been used, what's left is some shoulder and lots of belly part. I don't normally like working with the belly since it tends to have a fuzzy underside and is the least dense part of the hide (stretchy and thin). Fortunately, it's a 4mm thick leather, so stretching is not going to be a major issue and the fuzziness can be smooth out with the trusty sanding block plus some elbow grease. Also, this belly has tons of character!! It's a shame if it goes to waste.
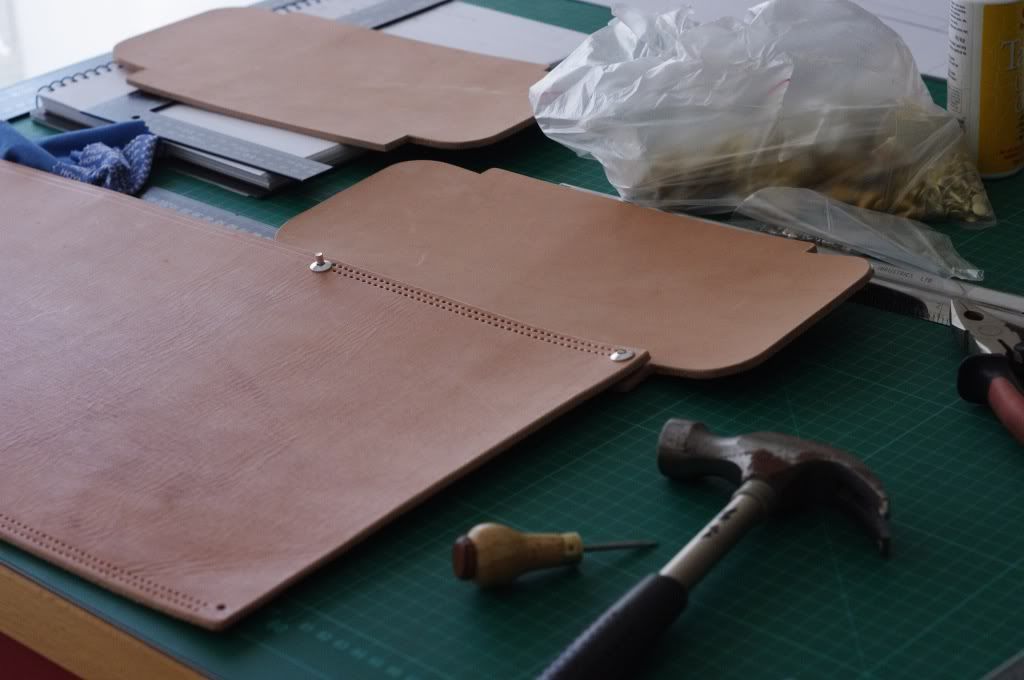
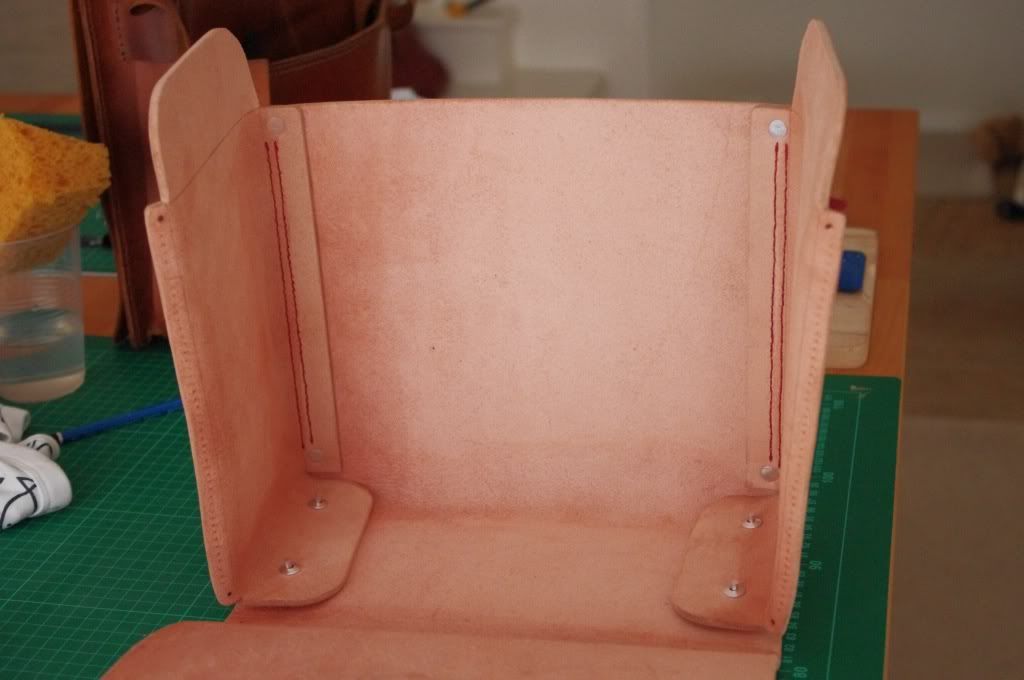
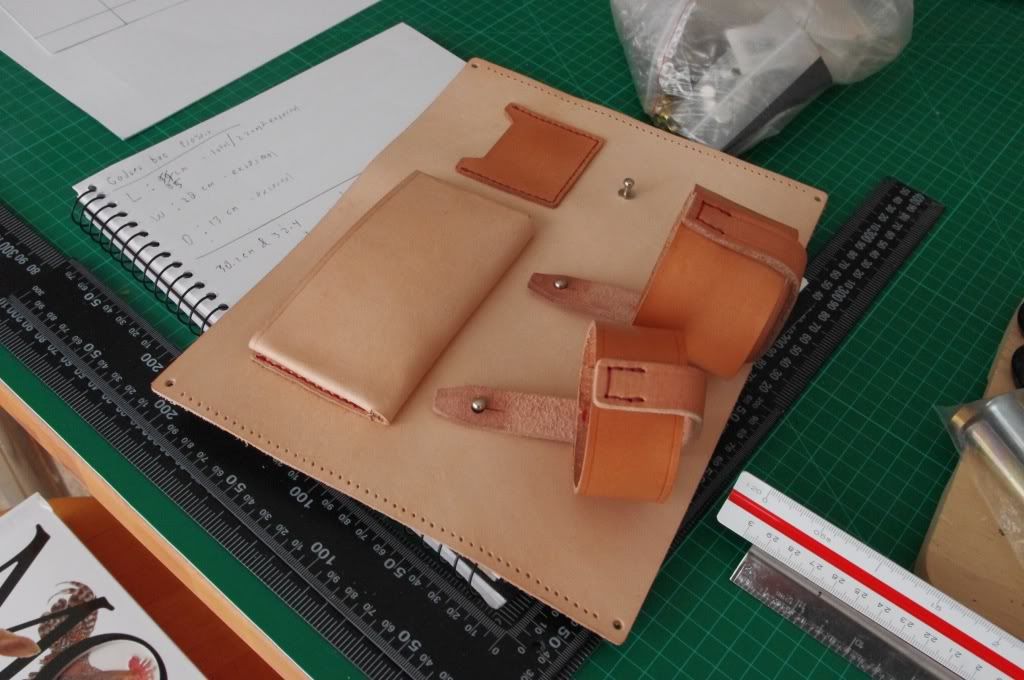
Construction method is similar to to the Messenger bag with the exception of the shoulder strap placement. Instead of attaching it to the side of the bag, it's integrated into the wrap around strap and is removable. I also included a divider, complete with a small pocket, a card holder and provisions to attach camera lens pouches (which I made specifically for the camera and the bag). The space behind the divider can be lined with some foam for extra protection.
I used nickel coloured brass rivet supplemented by solid aluminum rivet wherever possible for added strength. Stitching is done in red to give the bag extra character.
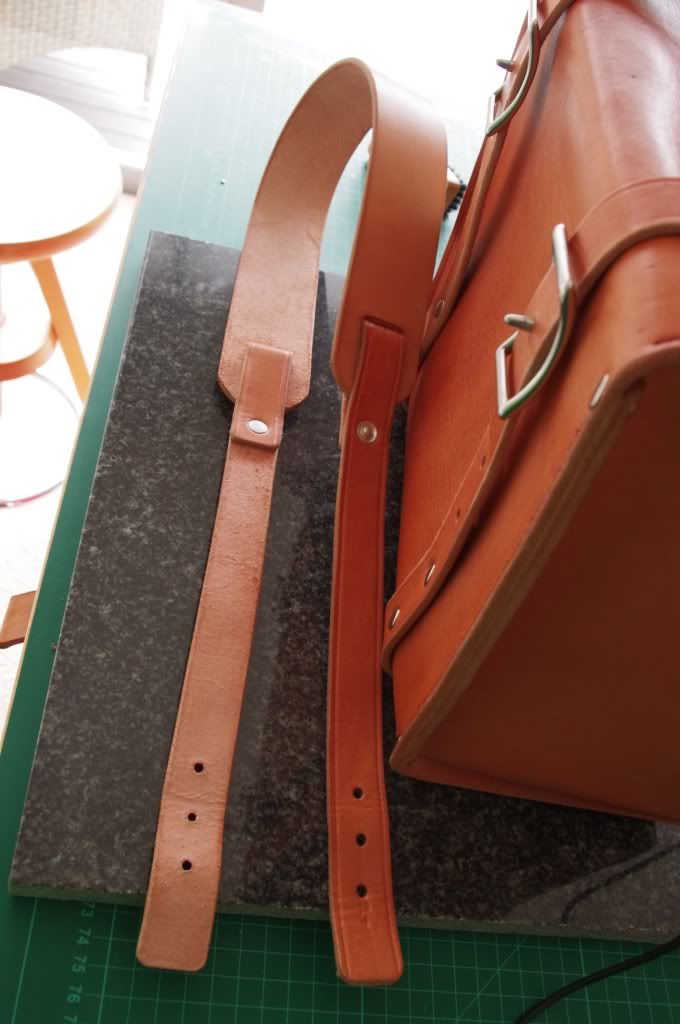
The shoulder strap is simple and constructed from 3 pieces of leather secured with solid aluminium rivet. It is attached with a Conway buckle on each side to give the bag an extra clean look and is easily adjustable on the attaching point. The strap turns out to be shorter than I would like it to be. It wears fine with the furthest adjustment hole but can do with extra length.
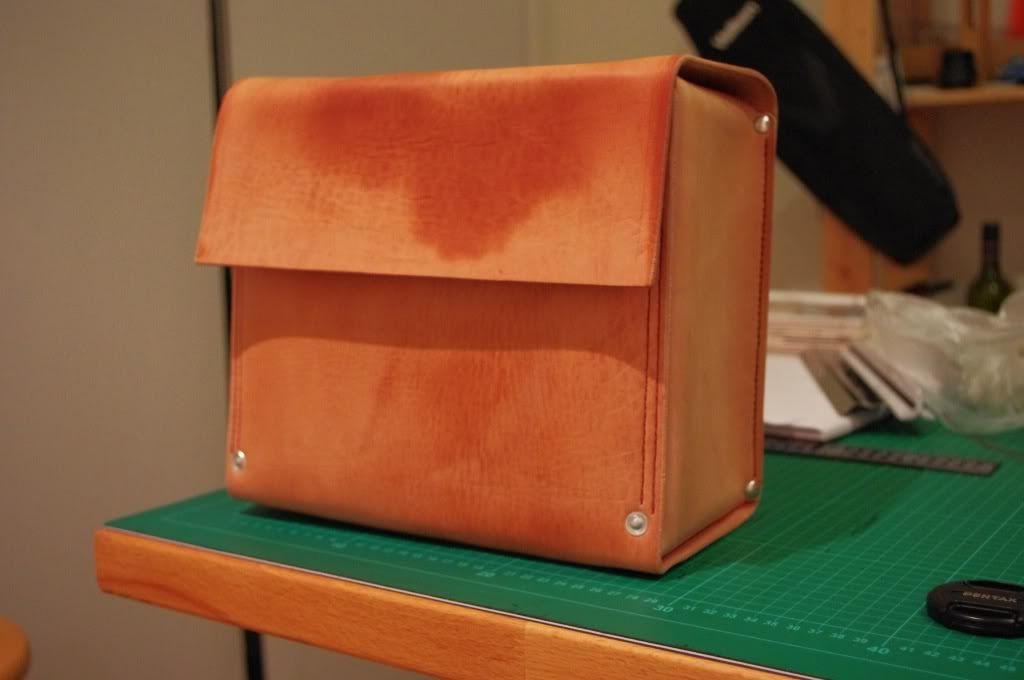
Overall, I absolutely love the way the bag turns out, the size is perfect. The proportion is spot on, it has that cute chubby look to it. The marking on the leather really give the bag it's character. I did notice that the stitching on the lid of the bag need to be redone. I think I'm going to use a totally different colour thread when redoing the stitches to further experiment with colour. In the meantime, I'll be using this bag for my daily duty which is a good way to develop patinas on the leather.
As always, some photo of the built process and completed bag:
 |
| Main body of the bag |
 | | |
|
|
|
|
|
|
|
|
|
|
|
|
|
|
|
|
|
|
|
|
|
|
|
|
|
| | |
| With gusset on the process of being attached |
|
|
|
 |
| Close up photo of Aluminium rivet |
 |
| Riveting the base |
 |
| Forming the bag into shape |
 |
| The divider inside the bag |
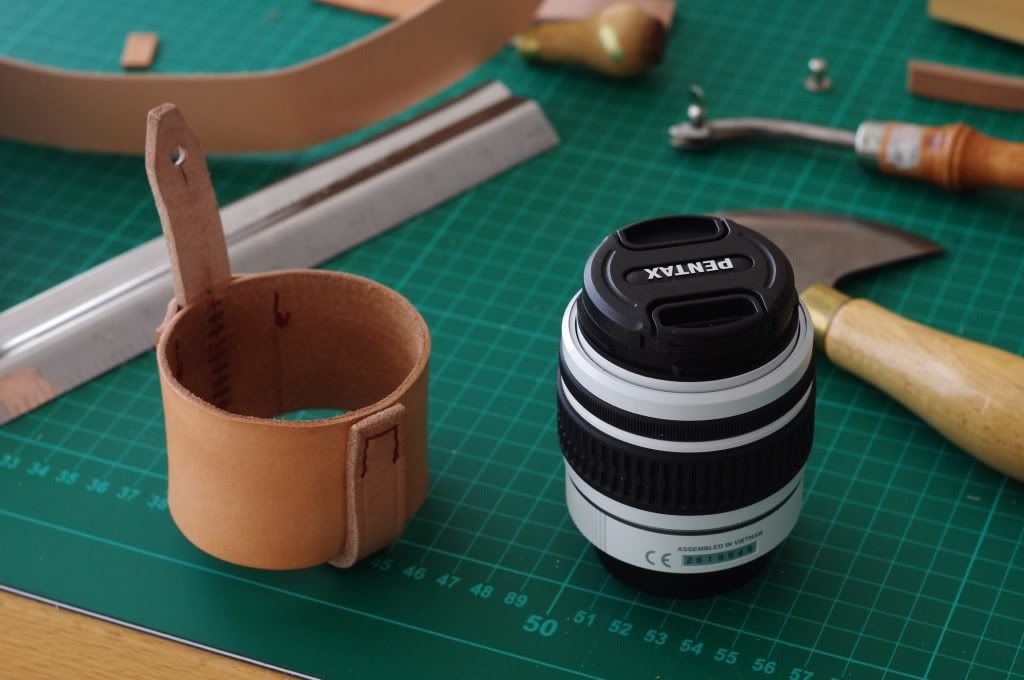 |
| Lens pouch #1 |
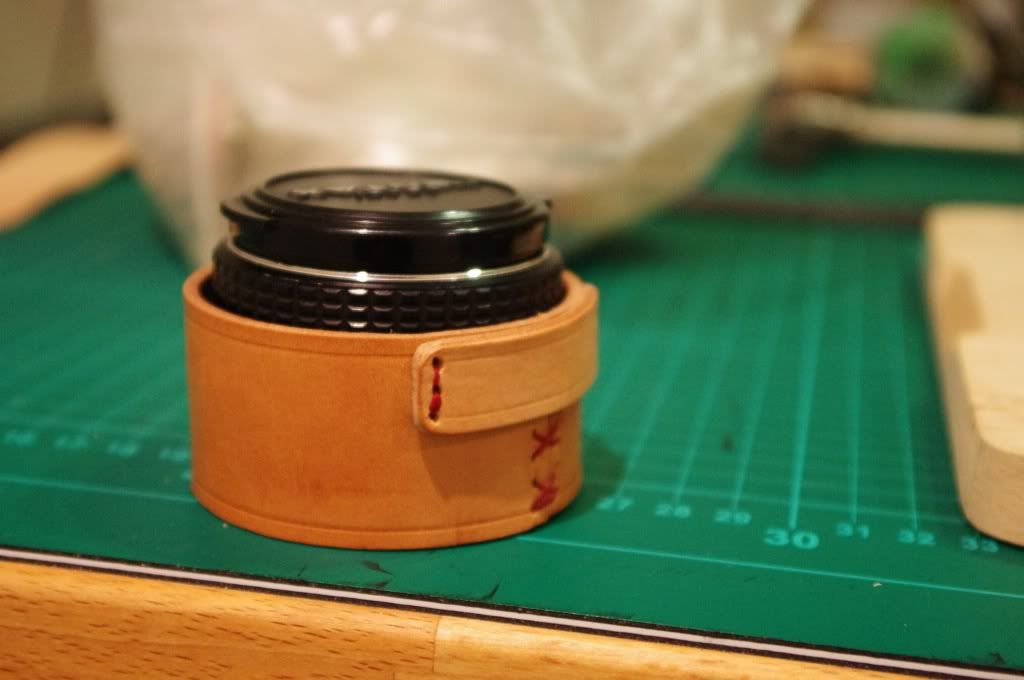 |
| Lens pouch #2 |
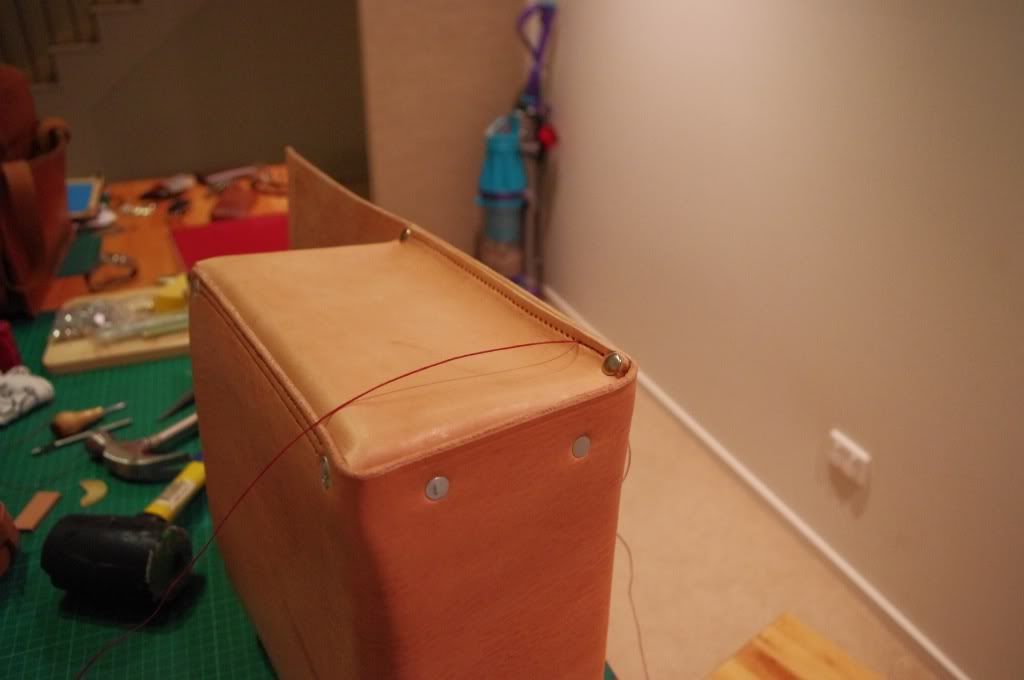 |
| Stitching rear part of the bag with the divider sandwiched in between |
 |
| Starting to resemble like a bag |
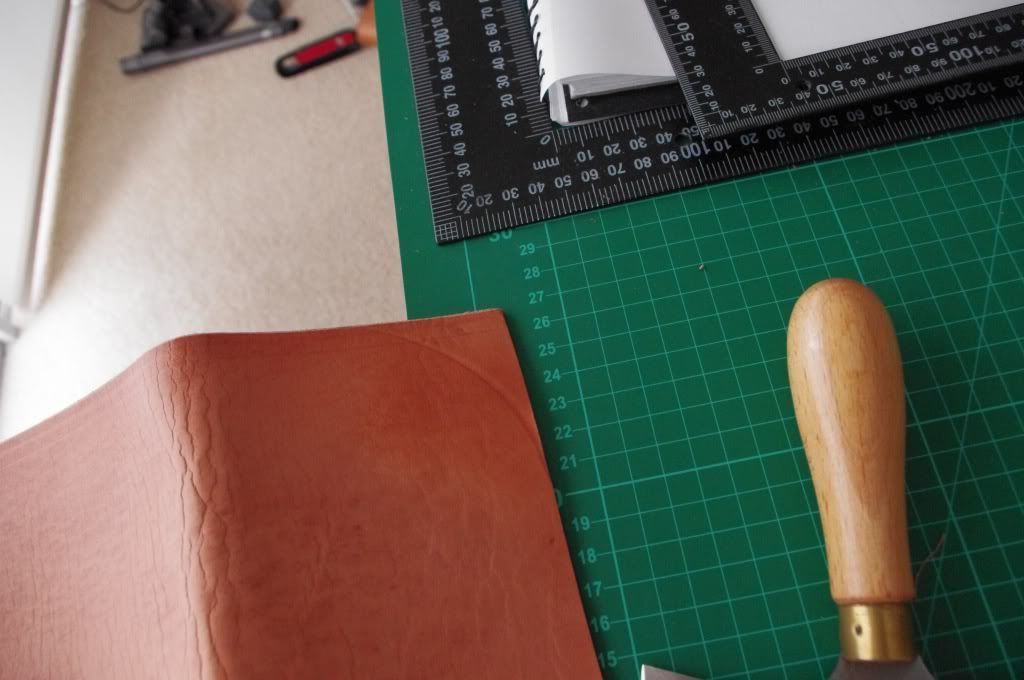 |
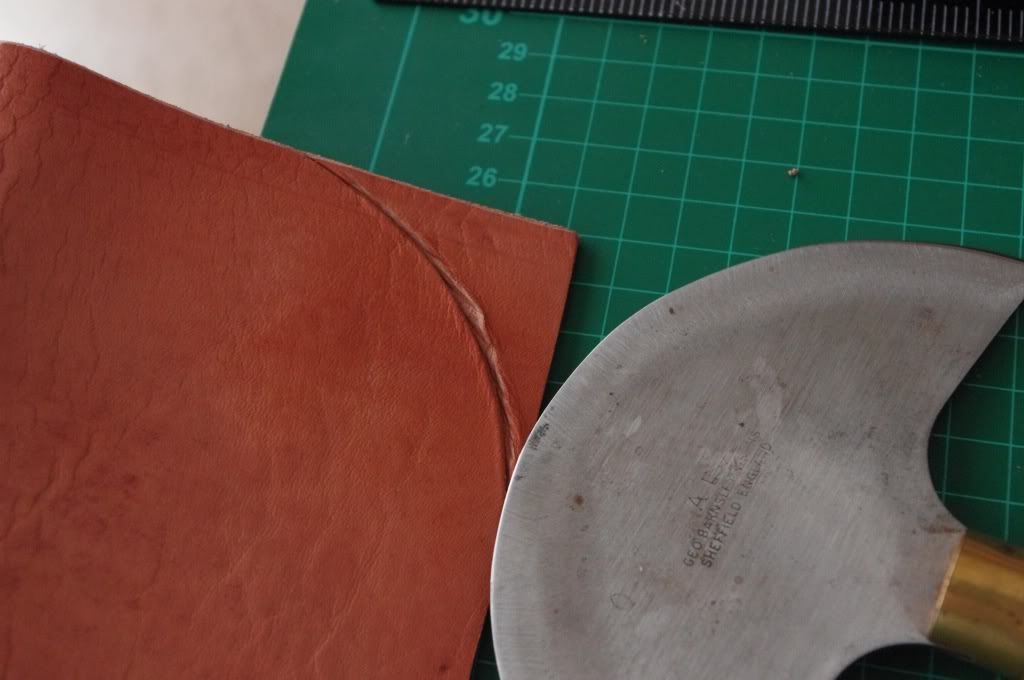
| Rounding the corner - Marking the line |
 |
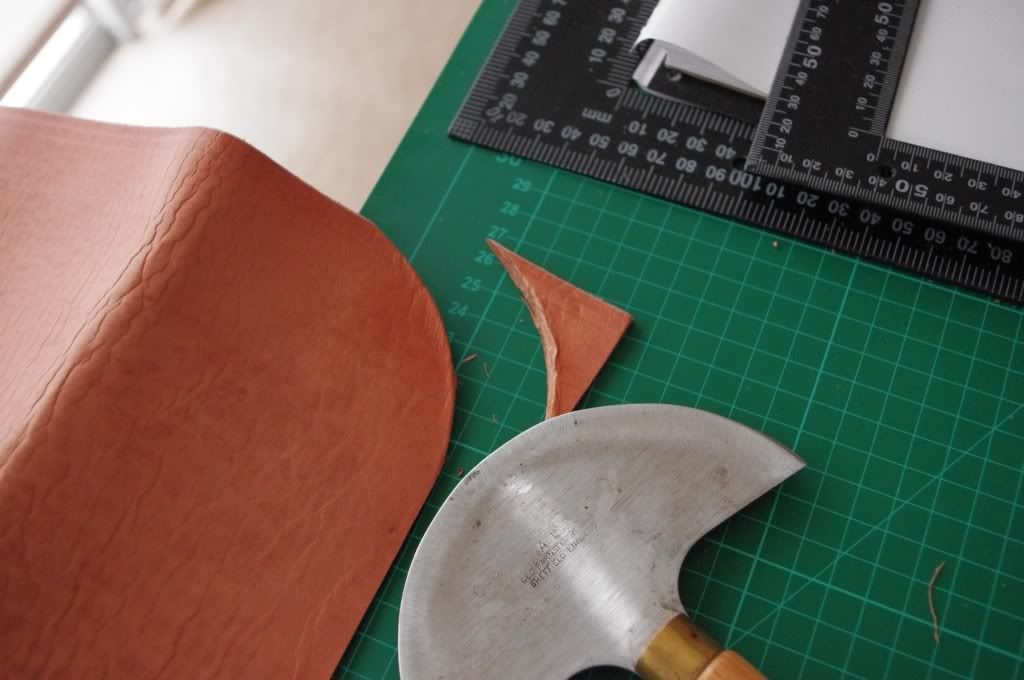
| Rounding the corner - Cutting into the leather slowly and steadily |
 |
| Rounding the corner - Done |
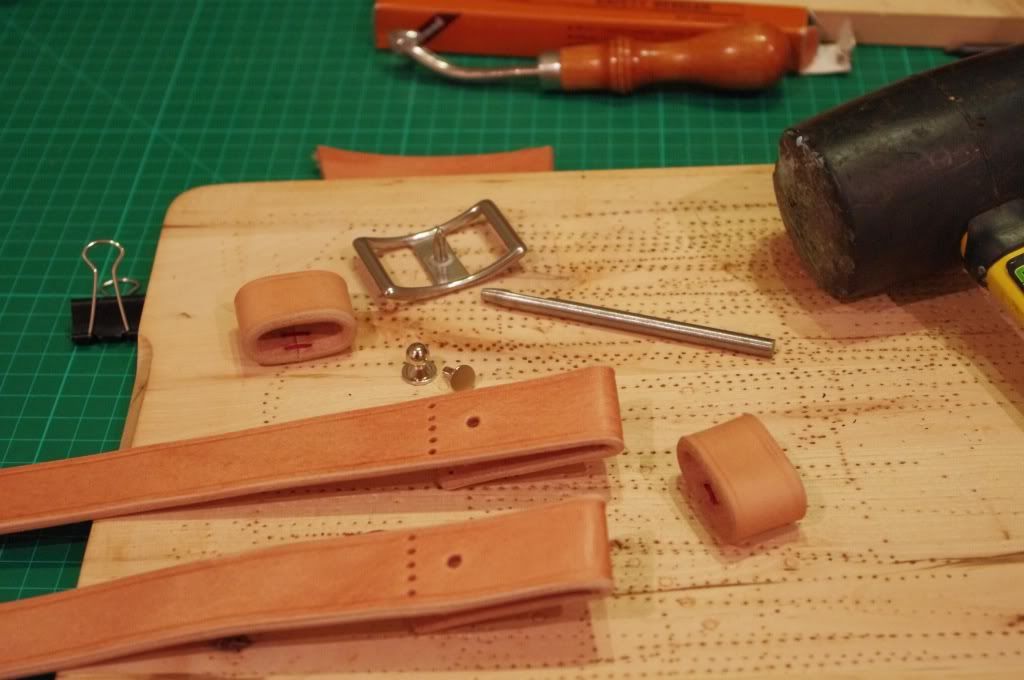 |
| Wrap around strap components |
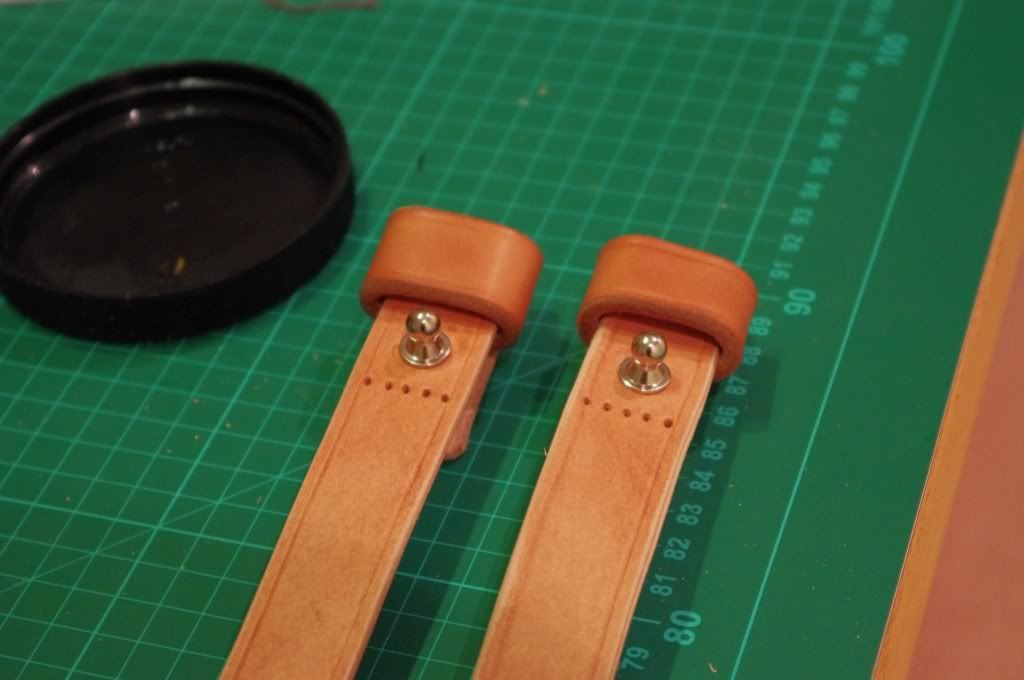 |
| Wrap around straps - Done sans stiching |
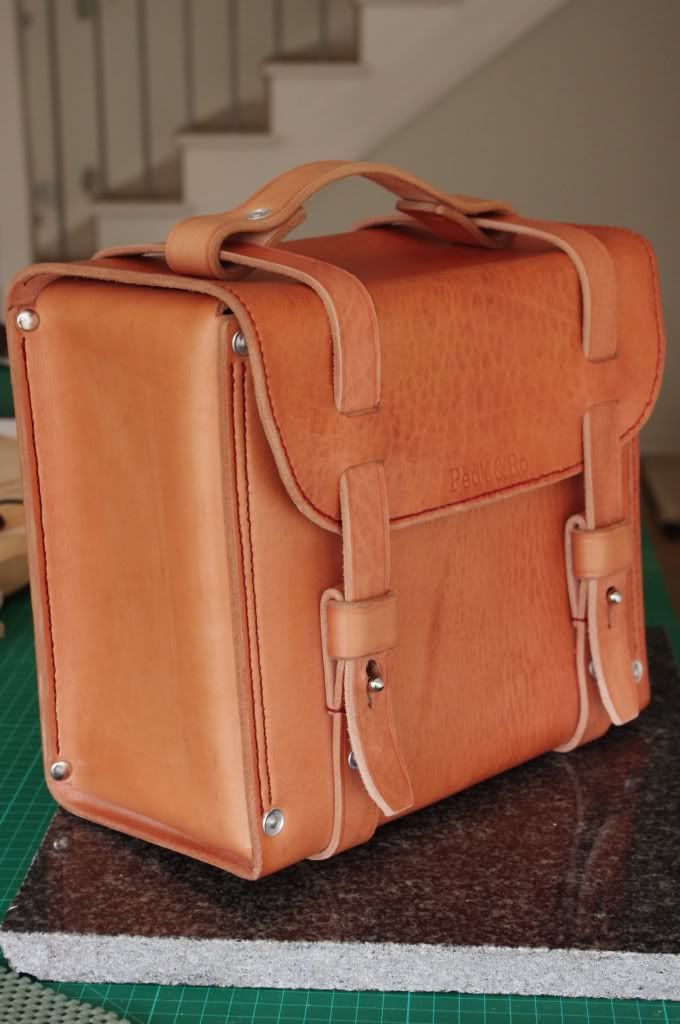 |
| Completed bag |
|
|
|
|
|
| |
|
|
|
 |
| Shoulder strap |
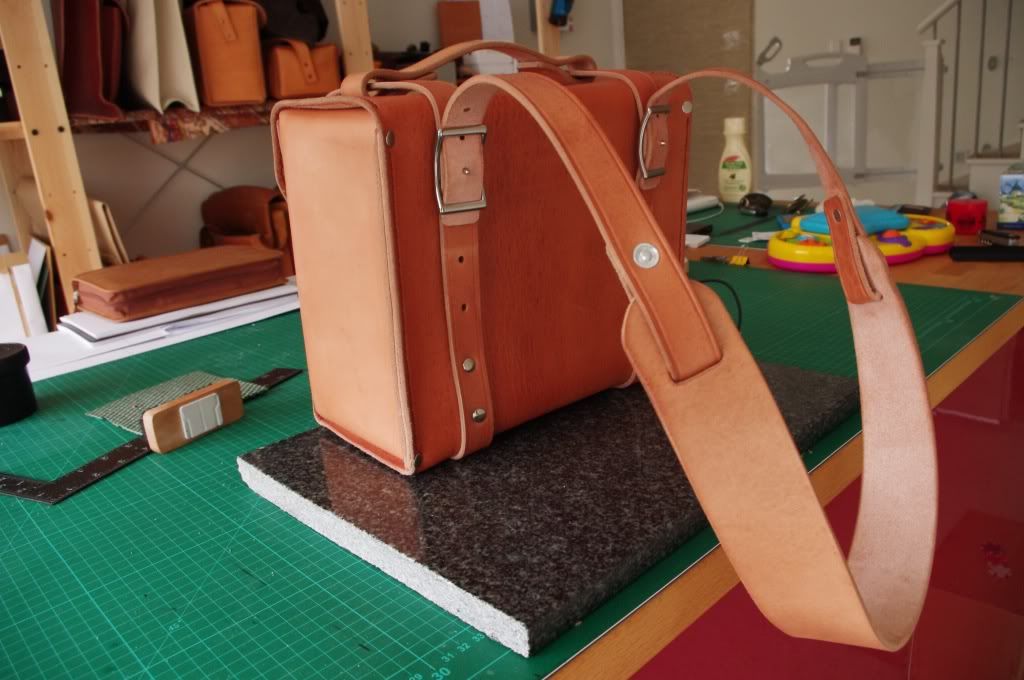 |
| Shoulder strap attached to the bag |
 |
| Artistic Shot #1 |
 |
| Artistic Shot #2 |
 |
| With the 'Shoe Box' bag. Note the differences on the colour tone of the two leathers. |