I found myself doing some smaller projects lately, this is a great way to recycle some of the leftover leather from a bigger project as well as honing attention to detail skill.
I've always wanted to make myself a belt from a vegetable tanned leather. The opportunity arise after completing
Project Messenger/Backpack. I had a scrap cut of perfect length leather suitable for belt. I wanted the belt to be clean and as simple as possible with minimal work done to the leather.
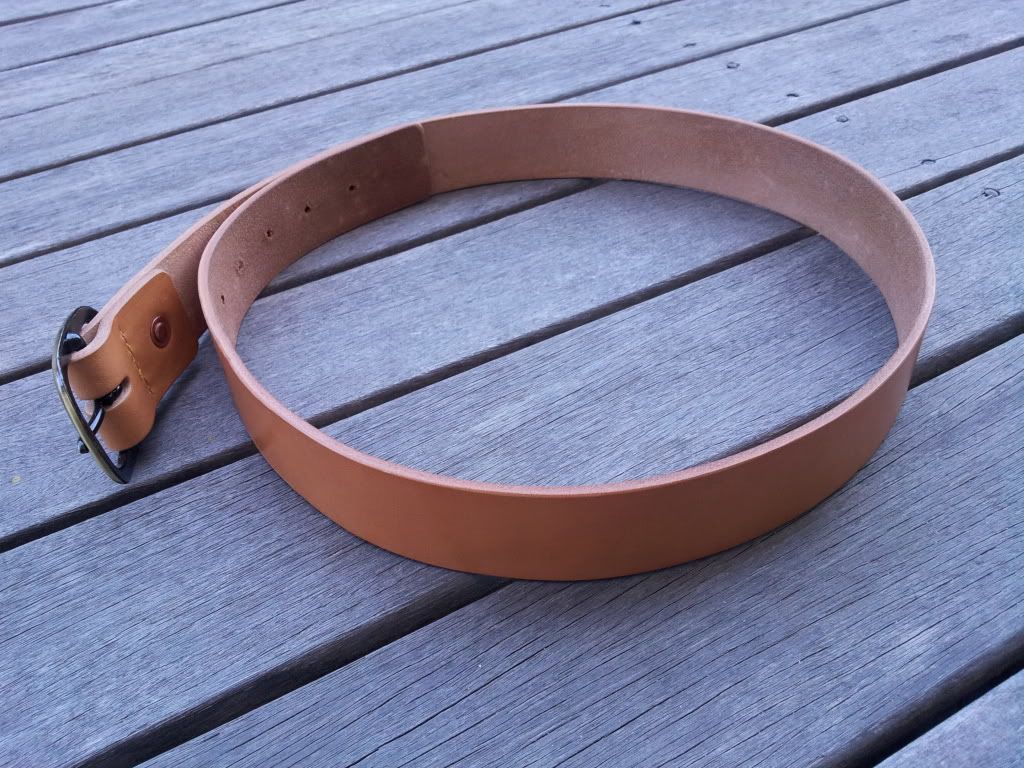
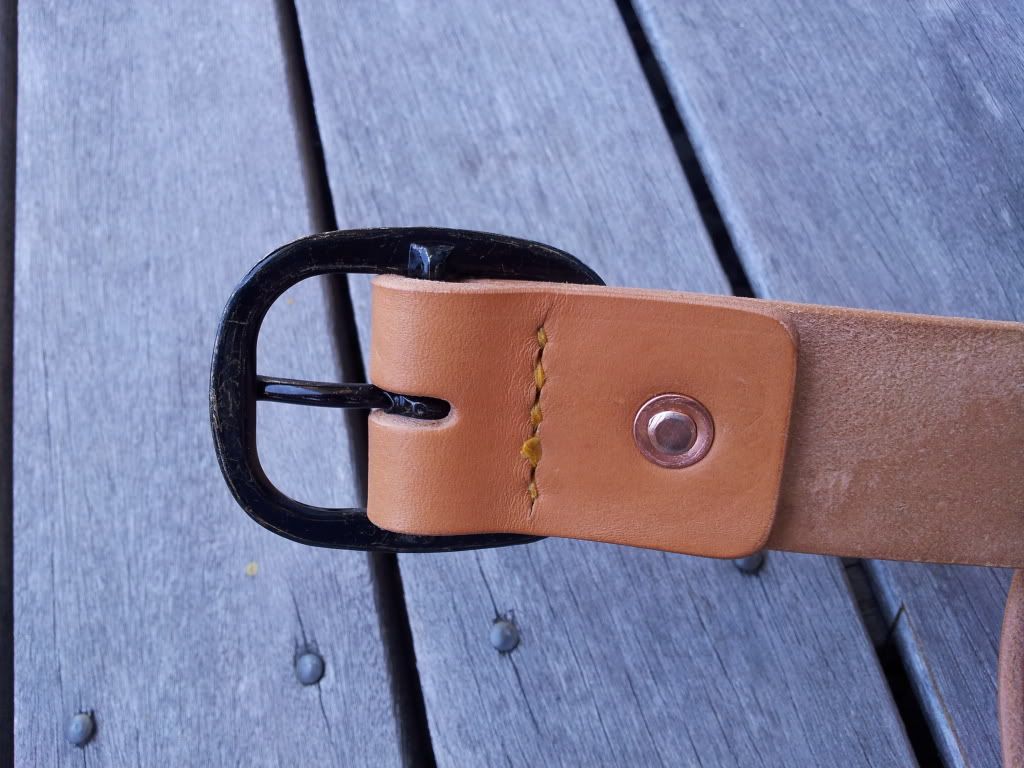
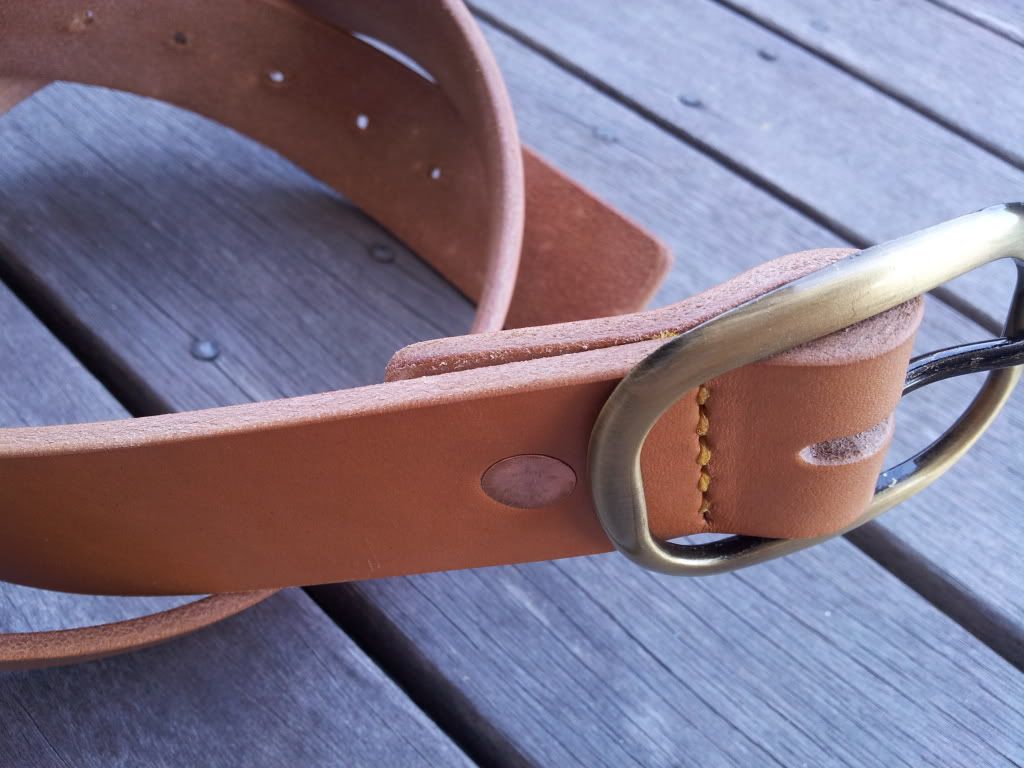
To preserve the thickness appearance I chose to skip the bevelling process, sanding and burnishing the edge smooth is more than sufficient for this purpose. Center bar buckle is chosen so the belt can be worn without keeper. Fastening is done with copper rivet and one line of stitching. Finally to complete the look and increase practicality, I smooth out and burnish the flesh side, this also gives a more uniform look with the edge.
As always, photo of the completed belt:
 |
| The belt |
 |
| Shot of buckle fastened with stitching and copper rivet |
 |
| Rear shot of the buckle |
 |
| Side profile of the belt |


Hey there,
ReplyDeleteI'm curious what your process on smoothing out and burning the flesh side?
Cheers
Just read your comment again, you were asking about the flesh side, sorry my bad. For the flesh side, the leather has a reasonably smooth flesh already. Just use wet cloth to moist the flesh side and use bone folder to burnish it.
DeleteHi there,
ReplyDeleteI use four grade (80, 120, 220 and 320) sand paper to first smooth out the edge. You need to sand at a downward angle to take out the burr or you can edge beveller first to prevent the burr. After that, use water and lint free cloth to smooth out the edge. You have few options after the water step, for this particular belt, to maintain natural look without too much burned look I rub yellow paste saddle soap into the edge and lightly burnish with canvas cloth.
Hope that helps.
Cheers,
Reza