We are currently in the process of moving house and this new activity has taken it's toll on the frequency of the blog post. I'm happy to say that the new place will have a separate garage/workshop which will better accomodate the leather-crafting, this means that I can keep working throughout the night without waking up everyone in the house.
We will also carry out minor renovation around the new place which will be infused with leather elements. Hopefully this will enabled us to look at venturing into an exciting area of leather accessory.
If you are a frequent reader of this blog, thank you and we are still here. We will post something new and exciting very soon.
Ped's & Ro Leather Blog
Tuesday, November 12, 2013
Sunday, September 8, 2013
Kimmi: The classic Satchel
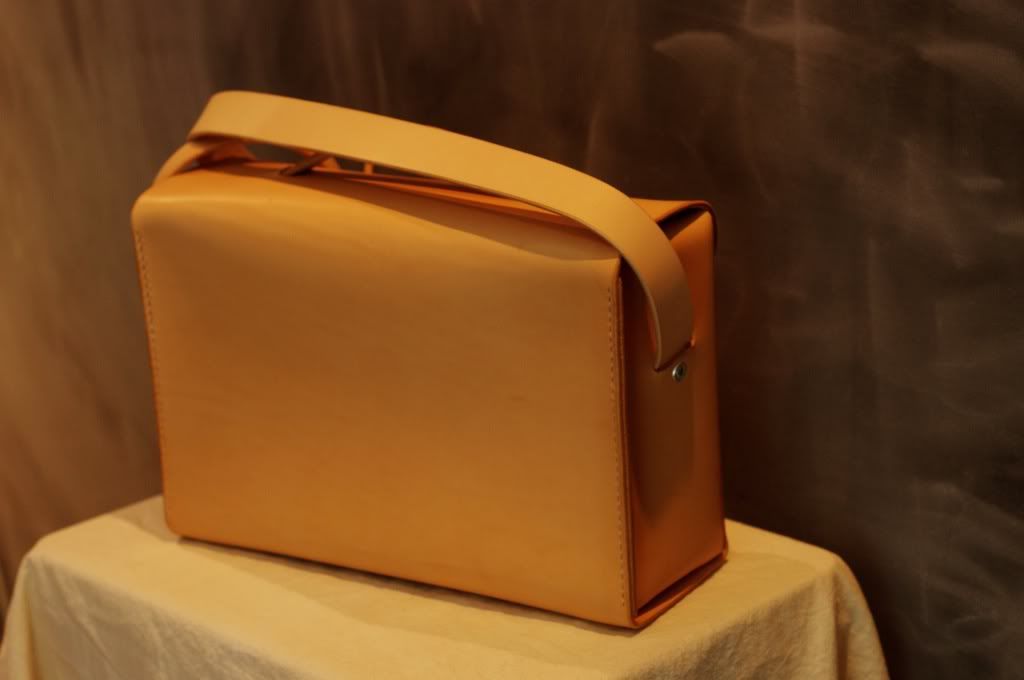
Kimmi is our portrayal of the classic leather satchel. Its design and construction is heavily influenced by minimalist theme.
Entirely handcrafted from natural Scandinavian vegetable-tanned hides, linen thread and aluminium rivet. The colder climate of Scandinavian country and teamed with industry's best tanning practice, the hides has an exceptionally luxurious feel that will get better with age.
As per all our Signature line, it is constructed with 3.5mm /10 oz leather that provides the perfect foundation for the distinctive structure.
The bag is envisioned with urban excursion as its natural environment. Single undivided internal space provides plenty of space for everyday neccesities, be it a laptop, books, tablet, notebook, lunch box, Digital SLR and anything else in between.
Kimmi is distinctively simple.
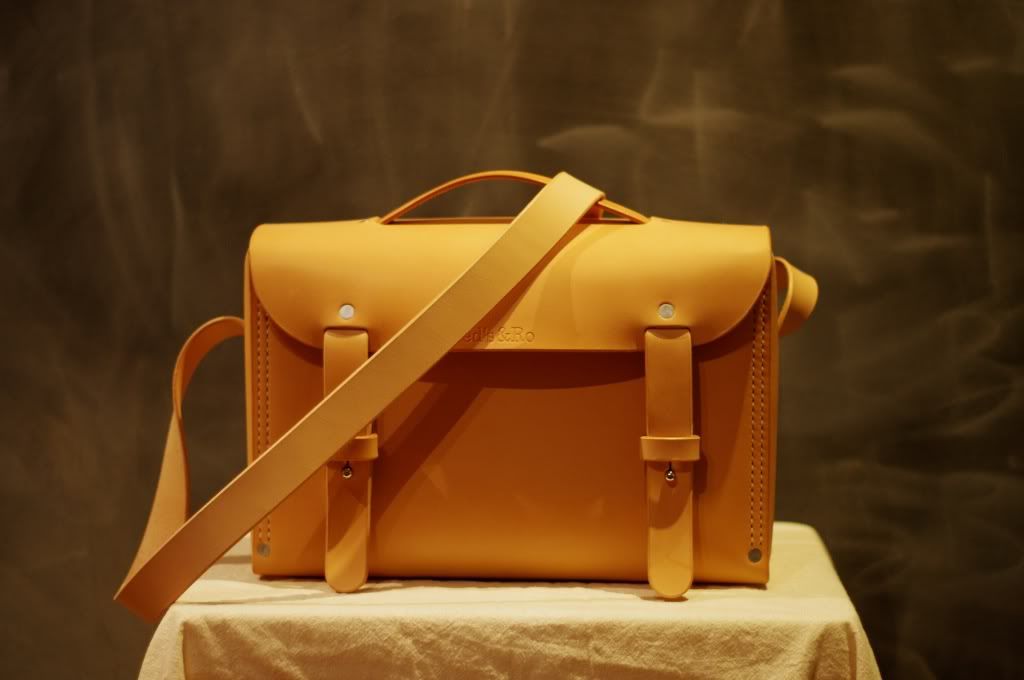 |
| Front look |
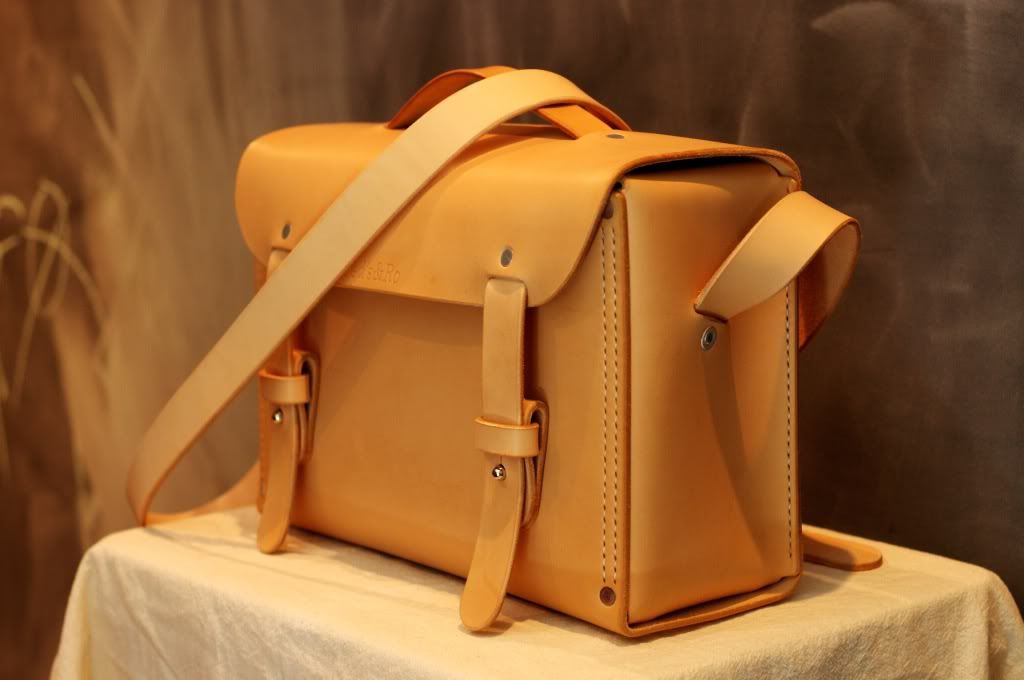 |
| Side look |
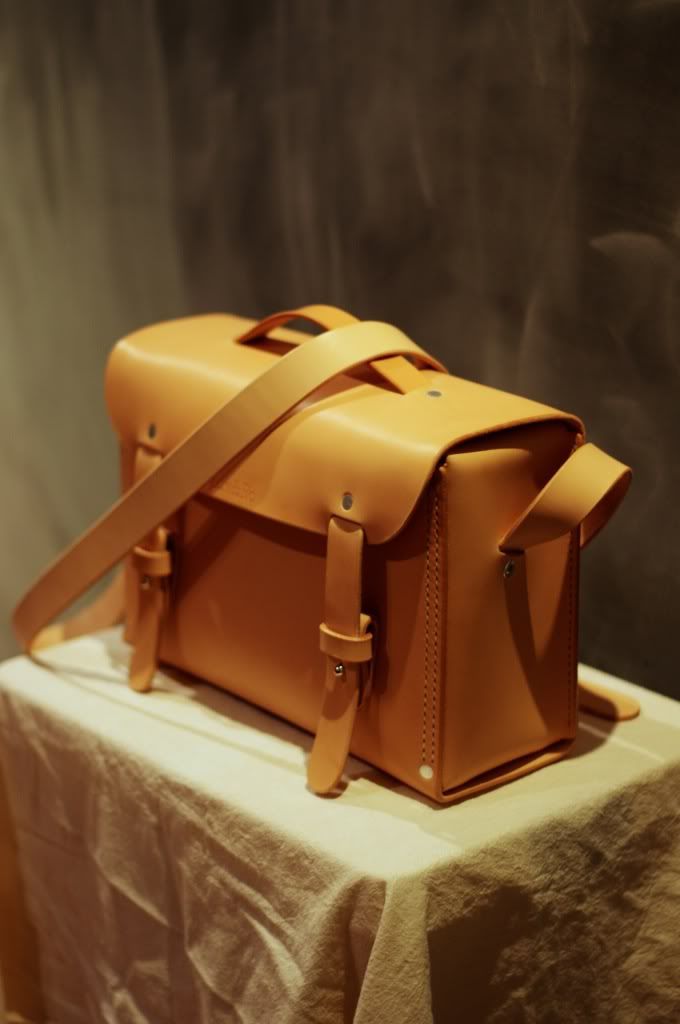 |
| Side look |
 |
| Back look |
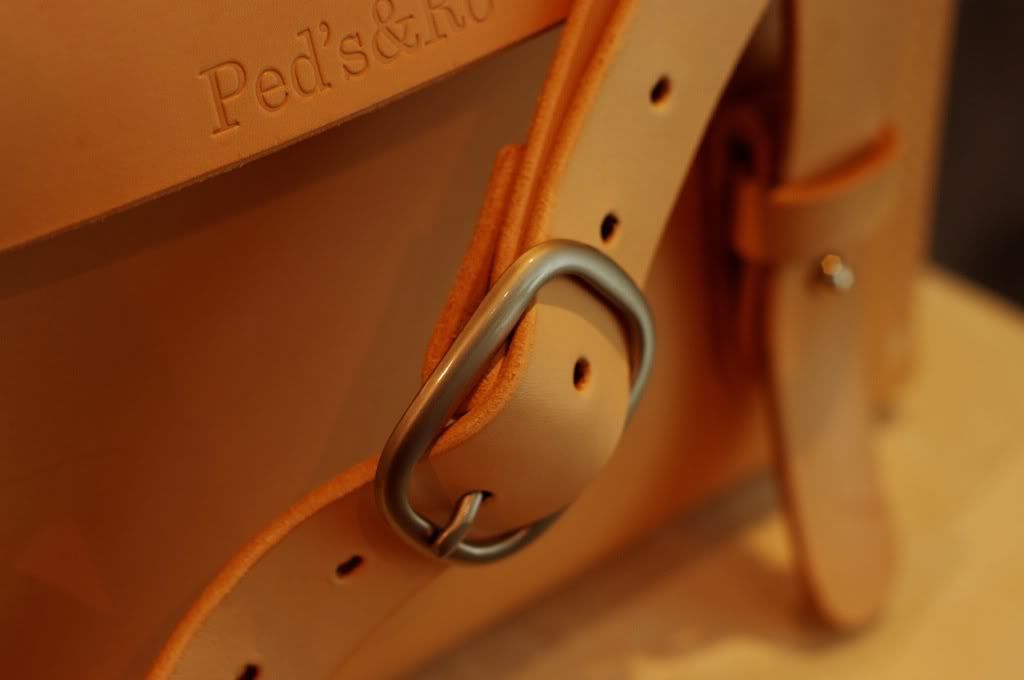 |
| Buckle detail |
Friday, July 12, 2013
Strap for Panerai
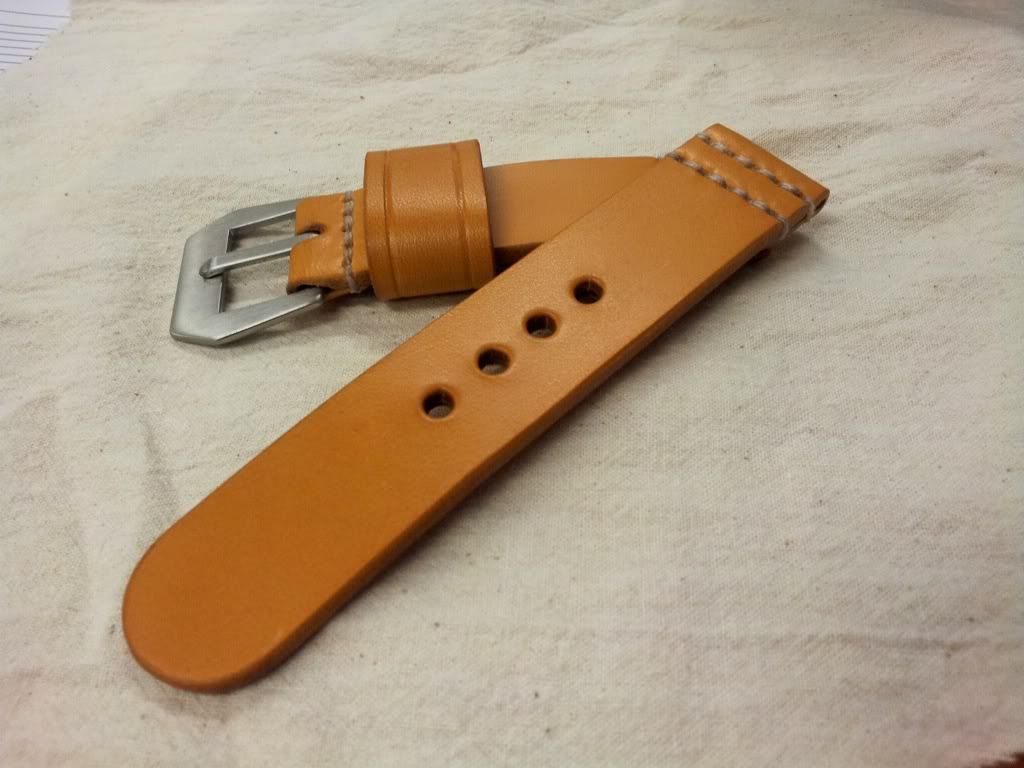
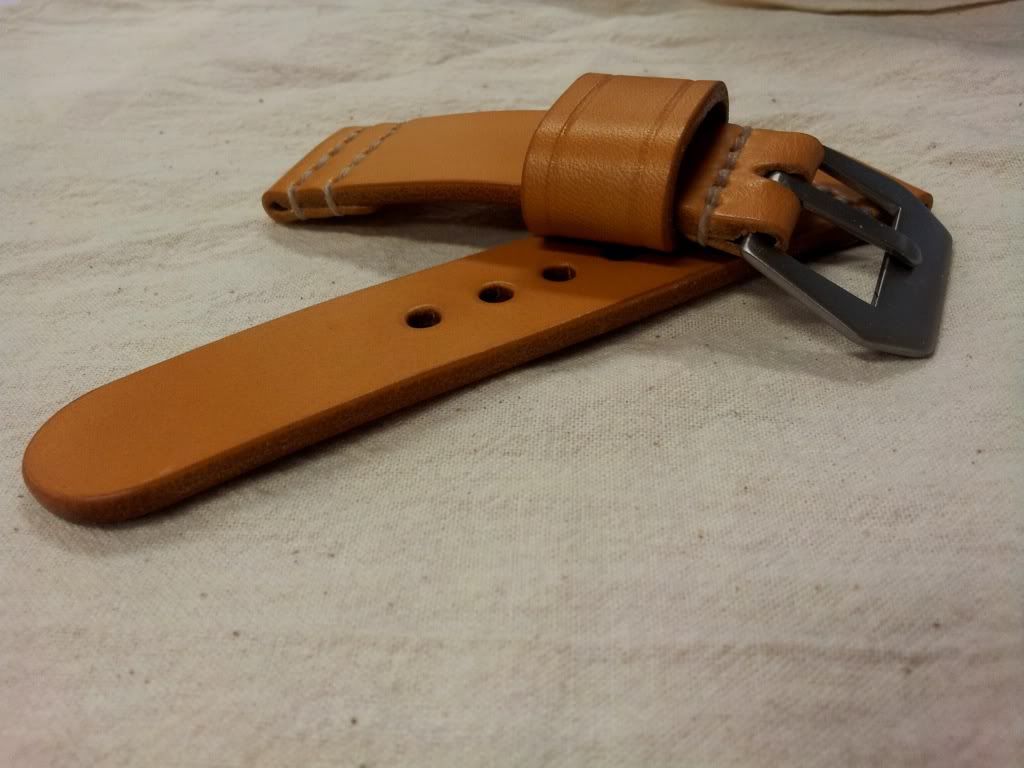
I was recently commissioned to create a strap for a panerai watch. I understand that there are tons of straps for the band in the world wide web. I wanted this to be unique as well as minimalist in style.
My research suggest that most of the straps in the market are thick (5mm and more), usually double layered and somewhat longer to give that long tail effect. There's also a few that's made of vintage leather which is famously known as 'Ammo Strap'. The execution of the 'Ammo' type really resonate with me. Some of these straps is done minimally to really show the character of the leather which would have begin as a typical vegetable-tanned leather.
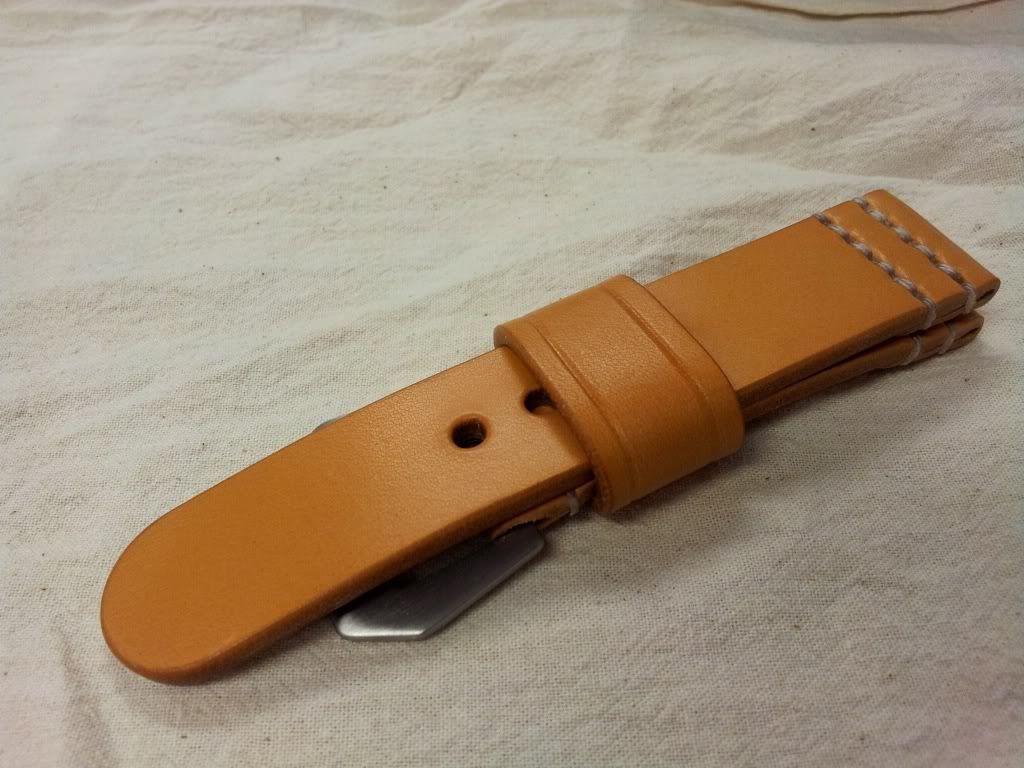
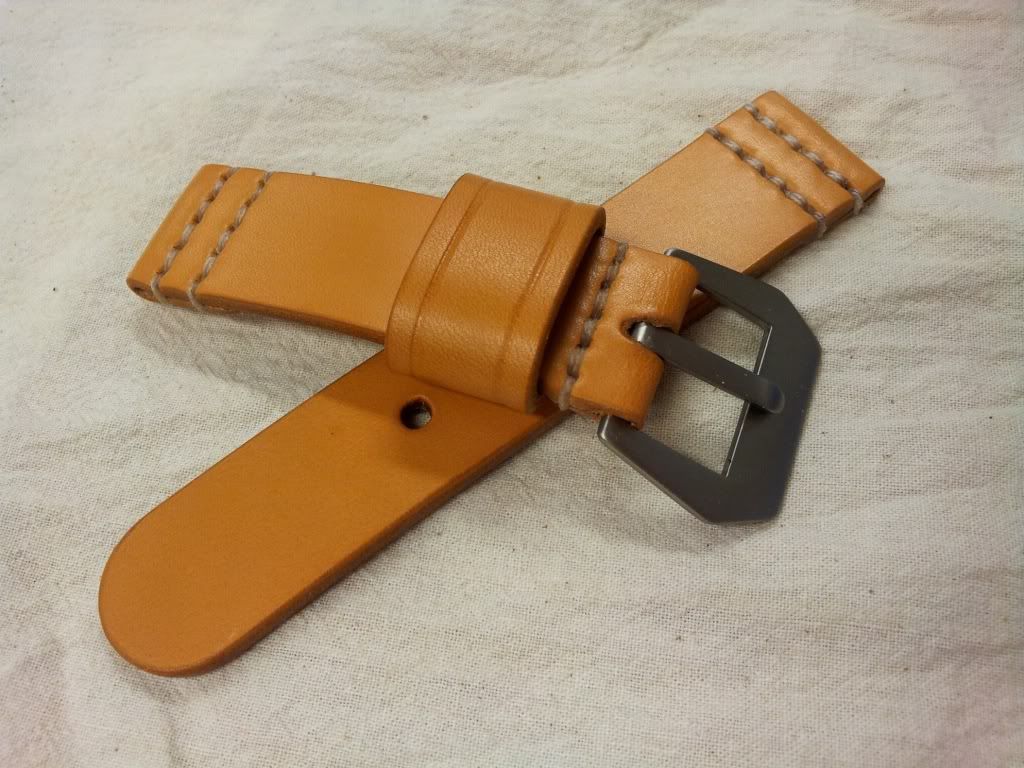
Drawing inspiration from this 'Ammo Strap' I proceed to create the strap. Each part of the strap is minimally constructed from one piece of leather, chemical adhesive was excluded from the process. At 4mm it's far from the thickest strap out there, quite the opposite as a matter of fact. This should make the strap very supple and easily conform to the wrist. Since there will be no lining the flesh side is smoothed. I'm very excited to see how the strap will age with use.
Photos of the finished strap:
 |
 |
 |
 |
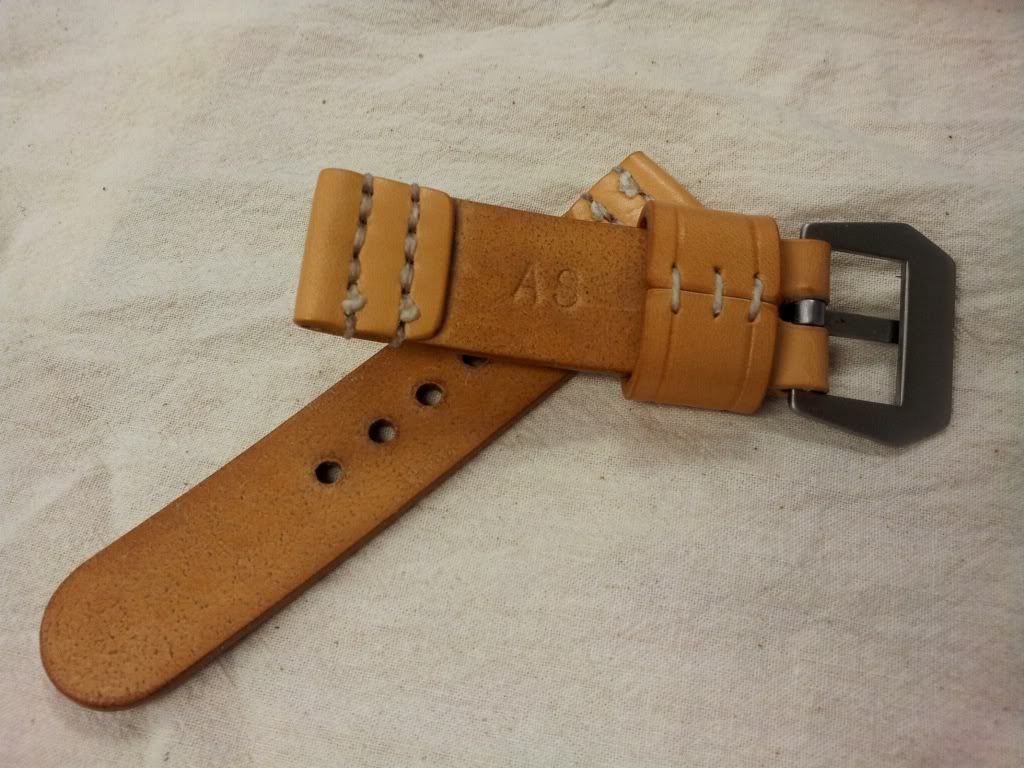 |
| Monogramming on smoothed underside |
Tuesday, July 9, 2013
Website for Ped's & Ro collection
It's been busy few months for me as I'm in the process of creating a website to serve as a storefront for my products. I'm also working in tandem to create a line of bags that will form as the brand's initial collection. I'm hoping to get everything done later this year.
In the meantime I have placed 'Under Construction' page on Ped's & Ro website. I'm starting to use the new logo on the website that will trickle down to the bag itself. Please feel free to have a look and drop a comment or two.
In the meantime I have placed 'Under Construction' page on Ped's & Ro website. I'm starting to use the new logo on the website that will trickle down to the bag itself. Please feel free to have a look and drop a comment or two.
Friday, March 29, 2013
Project: Dog Collar
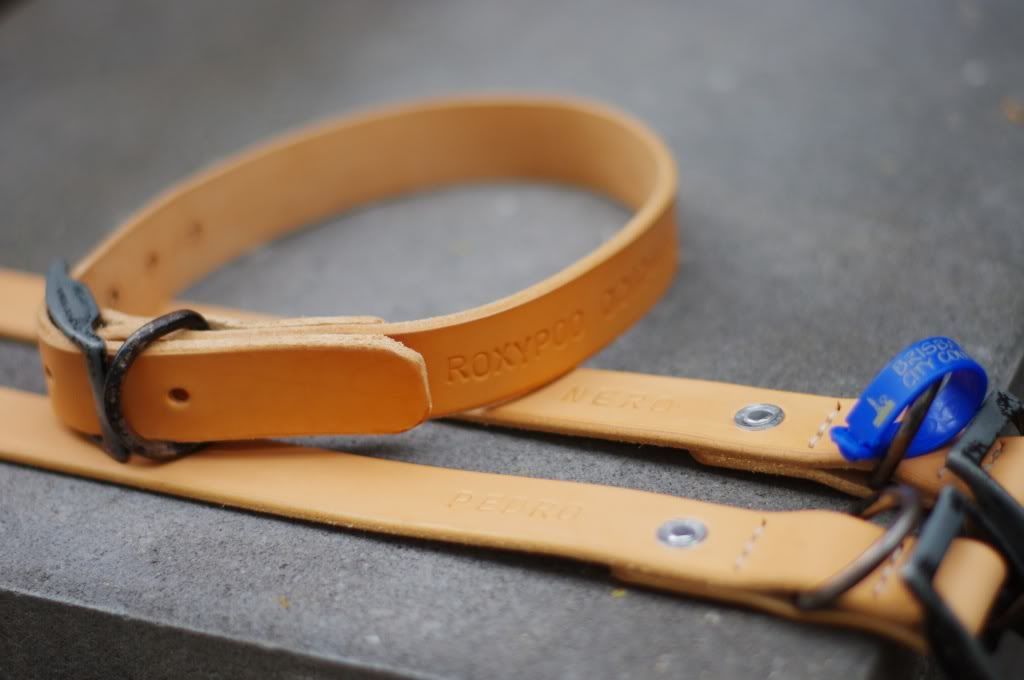
The idea came about after our bubbly husky passed away. I wanted to make something to remember him by and what's better than a customised leather collar. While at it, I also made two collar for my rough collies.
I recycled the hardwares from their existing collar. It's heavy duty and looks very aged which is perfect for the project.
Construction is simple, aluminium rivet and few rows of stitching. To finish it up, I embossed their name on the leather.
As always, some photos of the finished project.
I recycled the hardwares from their existing collar. It's heavy duty and looks very aged which is perfect for the project.
Construction is simple, aluminium rivet and few rows of stitching. To finish it up, I embossed their name on the leather.
As always, some photos of the finished project.
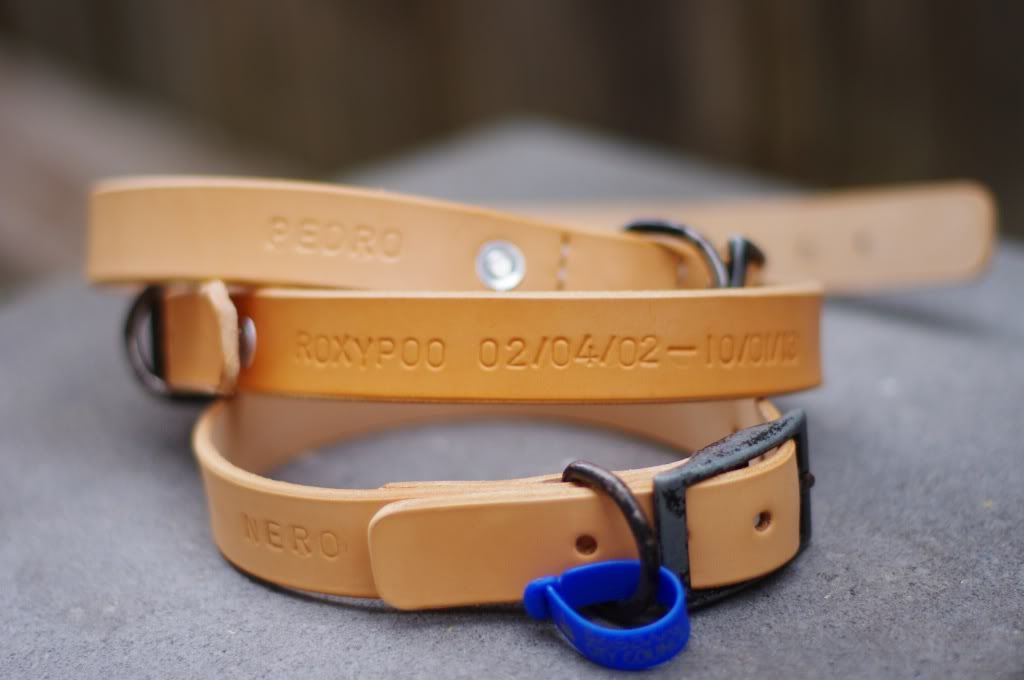 |
| Embossed name |
 |
| The rivets and stitching |
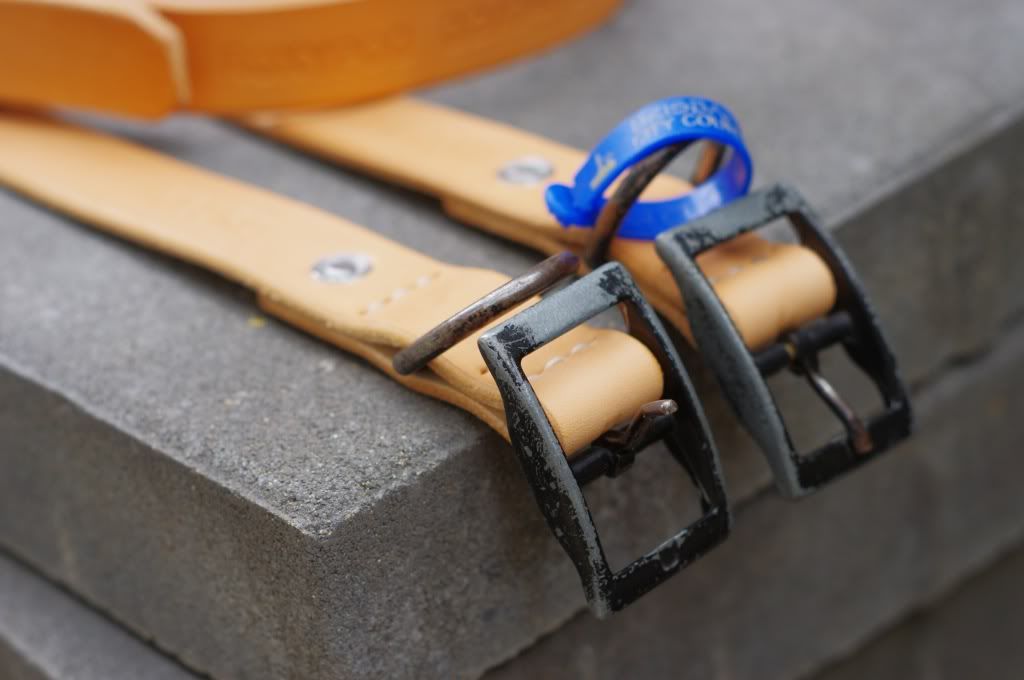 |
| Detail shot of the hardware |
Monday, March 4, 2013
Project: Leather Belt
I found myself doing some smaller projects lately, this is a great way to recycle some of the leftover leather from a bigger project as well as honing attention to detail skill.
I've always wanted to make myself a belt from a vegetable tanned leather. The opportunity arise after completing Project Messenger/Backpack. I had a scrap cut of perfect length leather suitable for belt. I wanted the belt to be clean and as simple as possible with minimal work done to the leather.
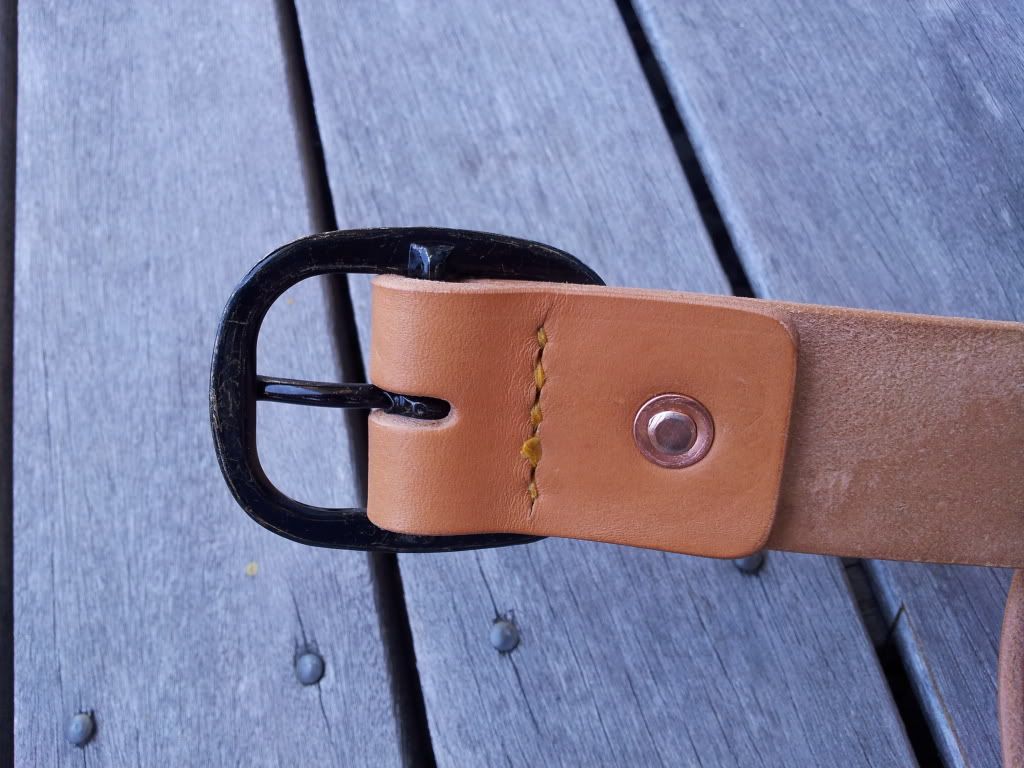
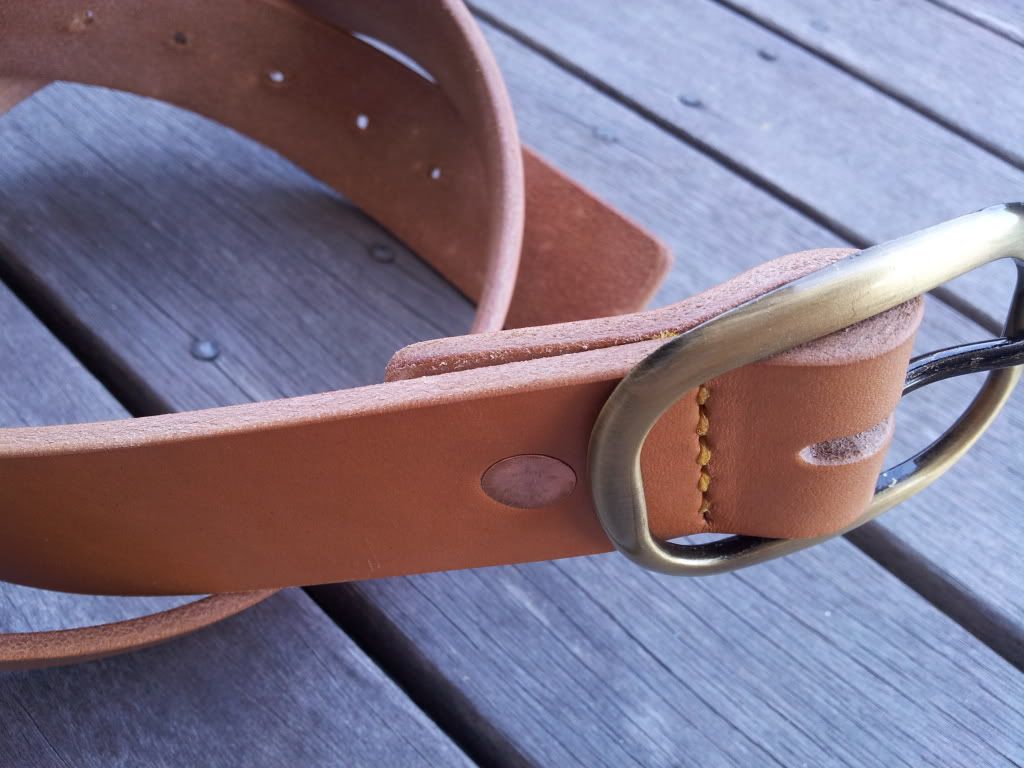
To preserve the thickness appearance I chose to skip the bevelling process, sanding and burnishing the edge smooth is more than sufficient for this purpose. Center bar buckle is chosen so the belt can be worn without keeper. Fastening is done with copper rivet and one line of stitching. Finally to complete the look and increase practicality, I smooth out and burnish the flesh side, this also gives a more uniform look with the edge.
As always, photo of the completed belt:
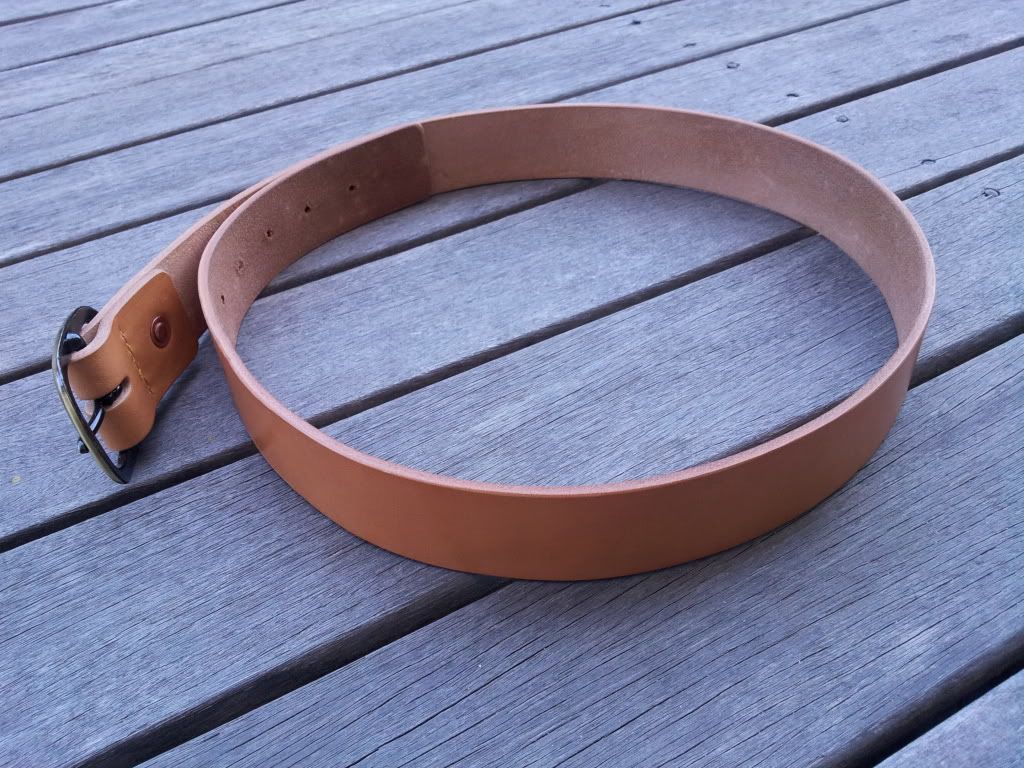 |
| The belt |
 |
| Shot of buckle fastened with stitching and copper rivet |
 |
| Rear shot of the buckle |
 |
| Side profile of the belt |
Monday, February 25, 2013
Project: Messenger/Backpack
I was recently commissioned to built a messenger style bag that can be double duty as a backpack.
The bag is to have a center strap wrap-around with buckle closure. The strap is removable for carrying both messenger-style and backpack. To achieve this, I've used square ring on each gusset for messenger style and D-ring incorporated in the center strap for backpack.
The strap is one very long piece, looping is done with two conway buckle. For comfort, I also built two shoulder pad.
Handle is added for carrying as briefcase and finally Internal divider with two pockets and pen holder is sewn inside the bag.
As always, photo of the completed bag:
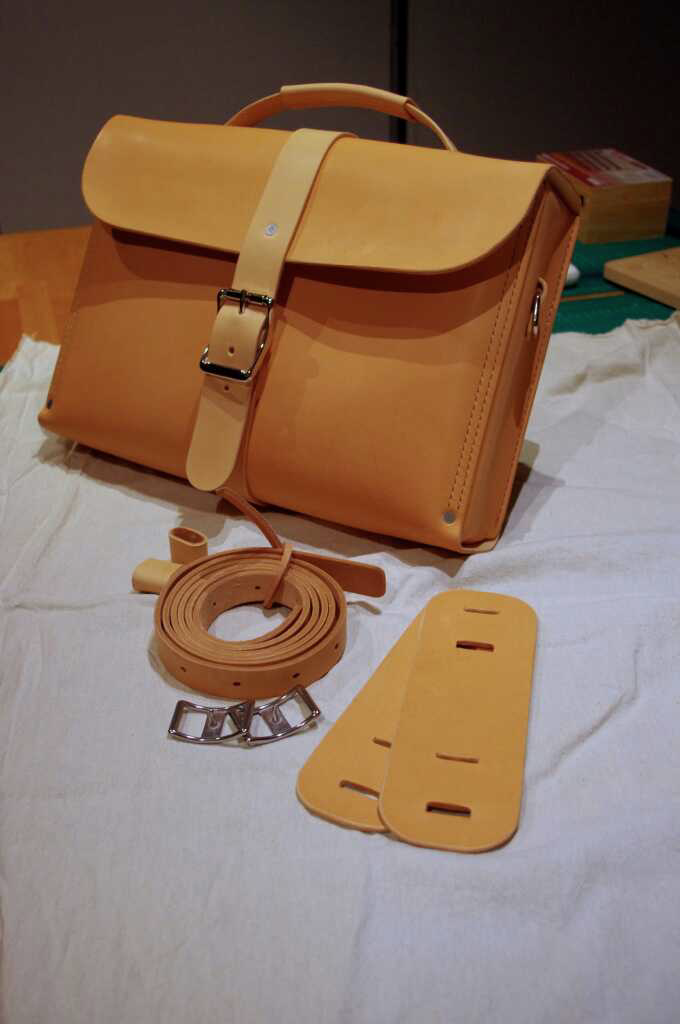 |
| The bag with the straps part |
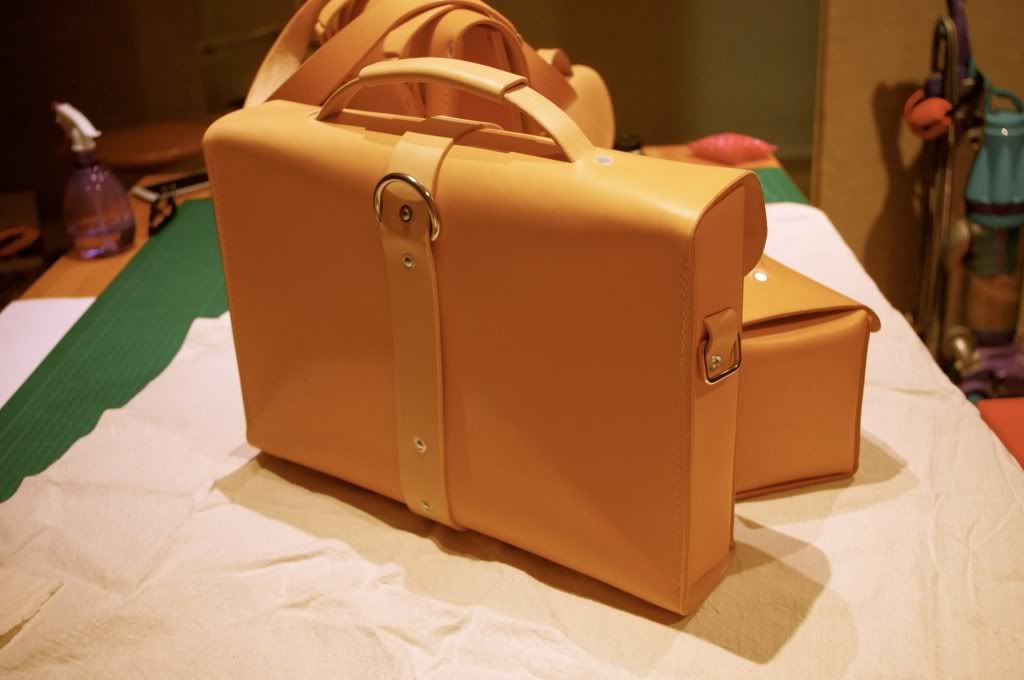 |
| Rear section of the bag |
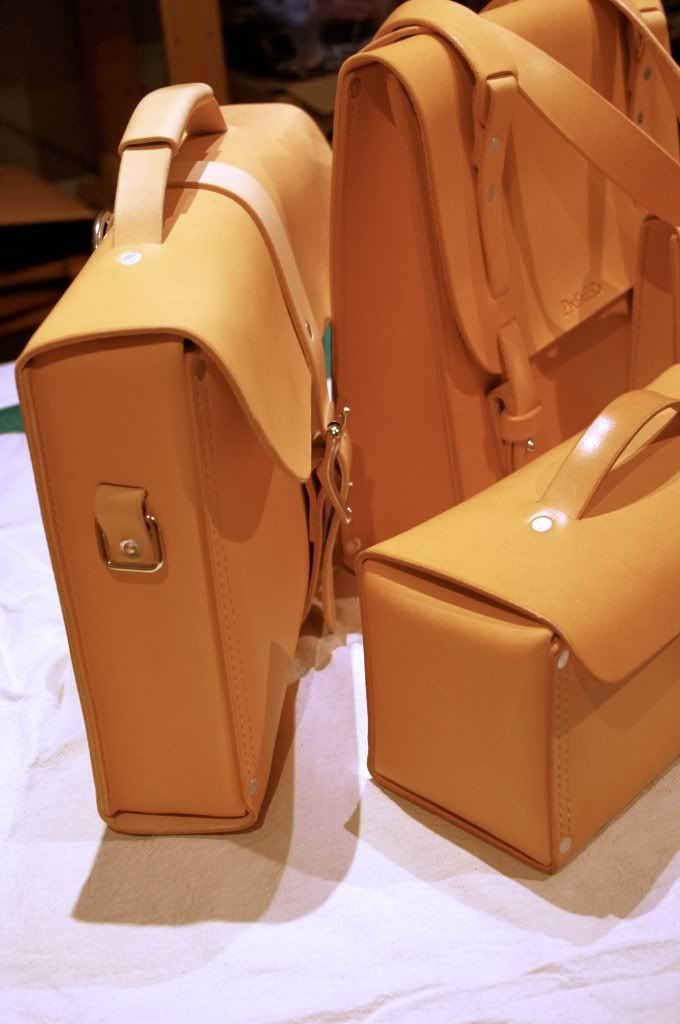 |
| Side shot |
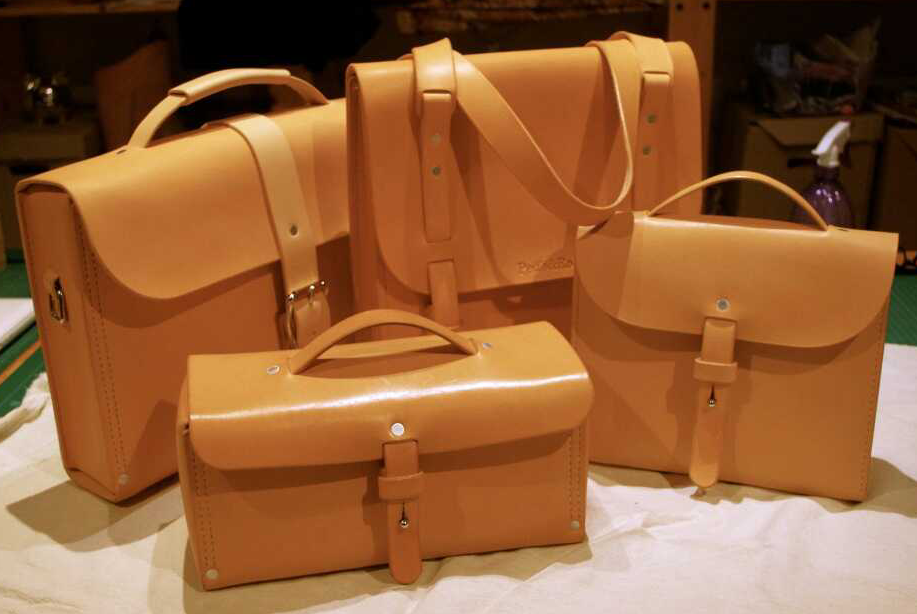 |
| Family photo :) |
Subscribe to:
Comments (Atom)