Ped's & Ro Leather Blog

Ped's & Ro Leather Blog

Saturday, July 14, 2012

Tutorial: Removing 'Quick-set' Rivet

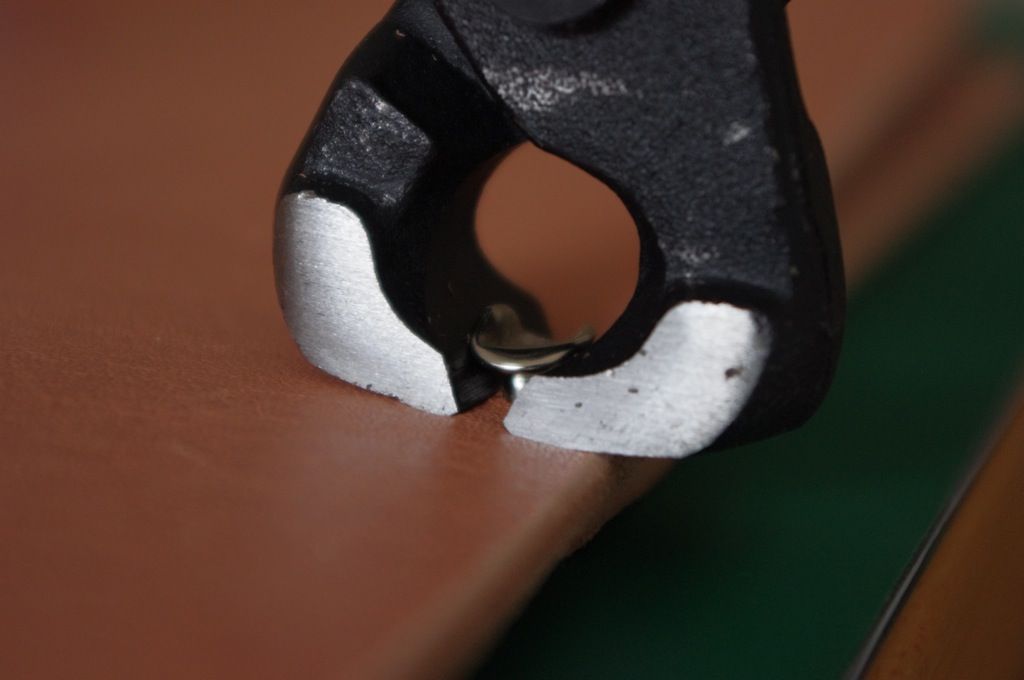
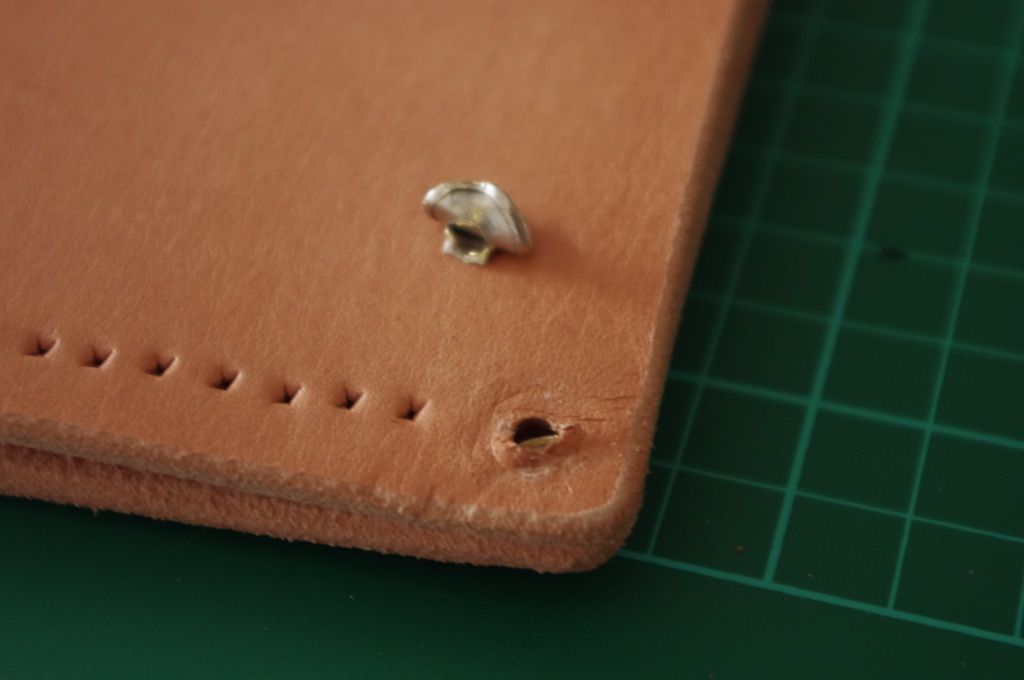
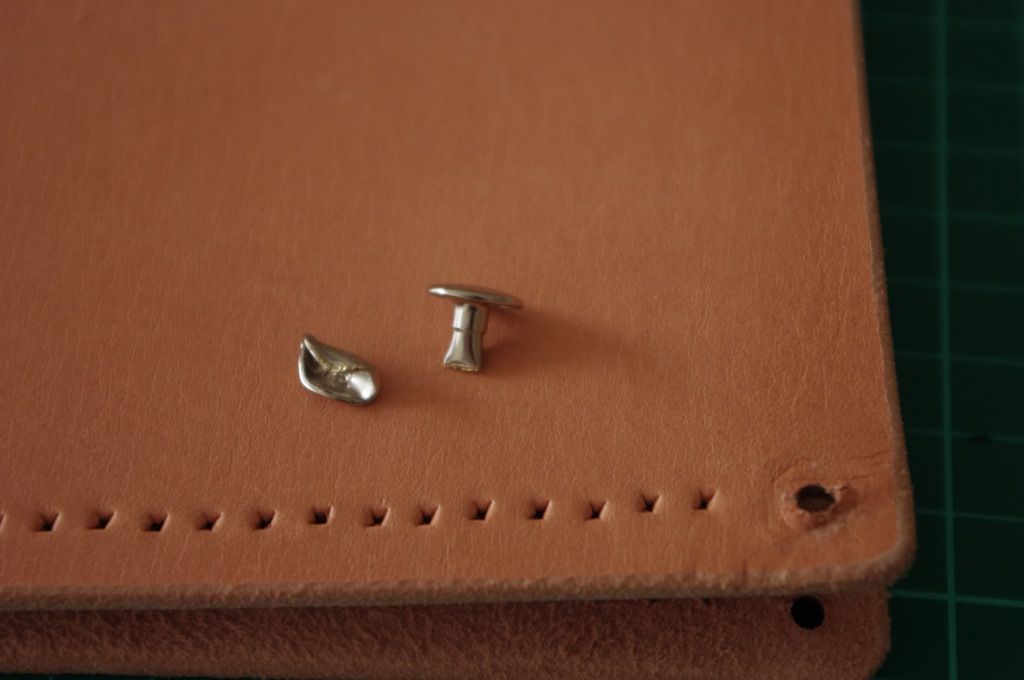
In this section I would like to show how to remove Quick-set/rapid/double-cap rivet. As the rivet is fairly soft, it's actually quite possible to remove them once they are set. This method wouldn't work with solid rivet.

The tools needed is fairly simple:

1) A flat headed screw-driver, with blunt edges
2) A Plier
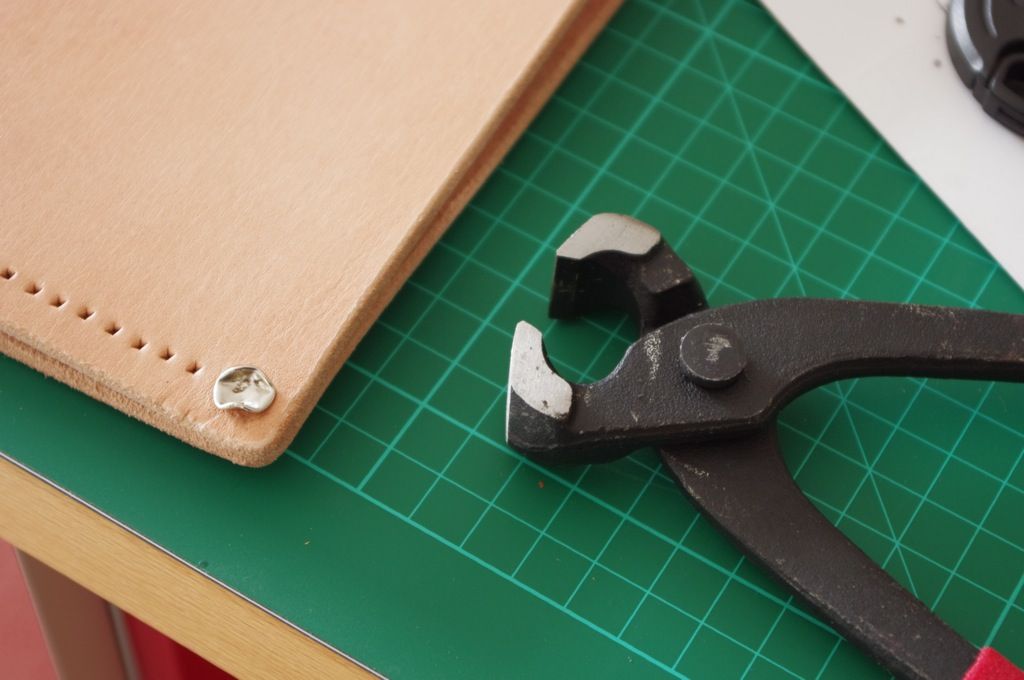
3) A Pincher tool

Here's the photo to illustrate the steps:

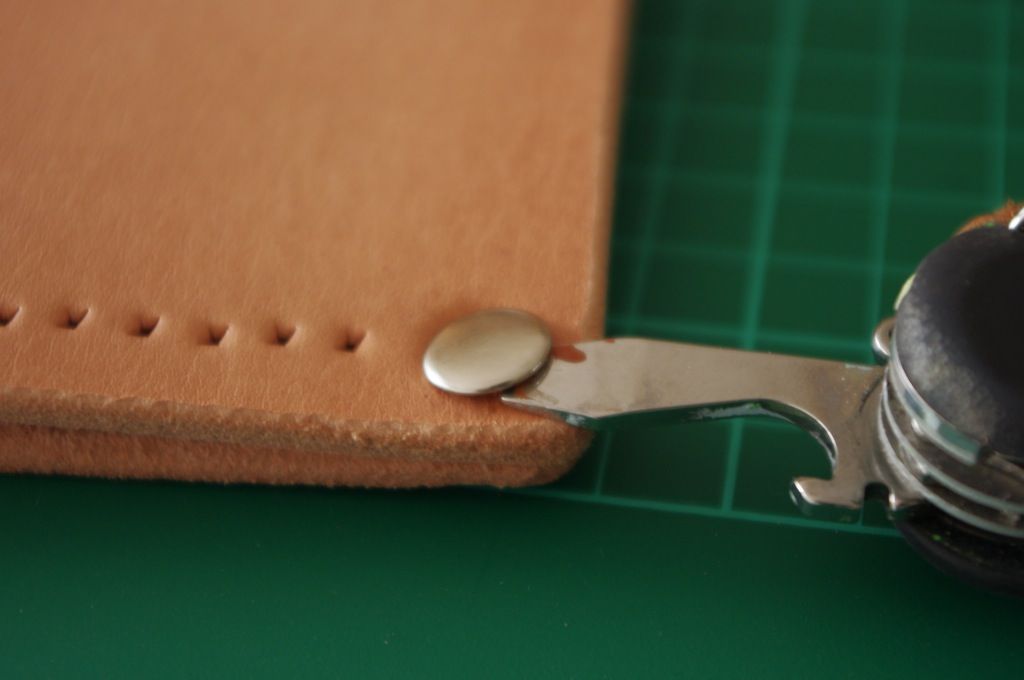
Already fastened rivet securing two leather pieces


Insert flat headed screw-driver to create space


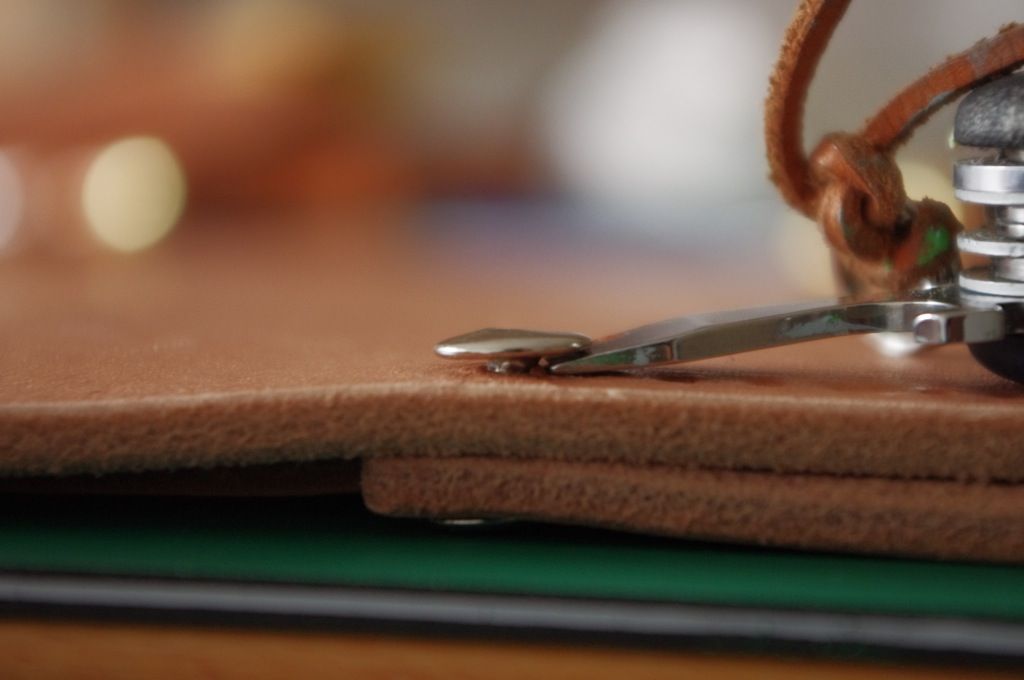
Side view of the screw-driver in action


Space created for the plier to do its job


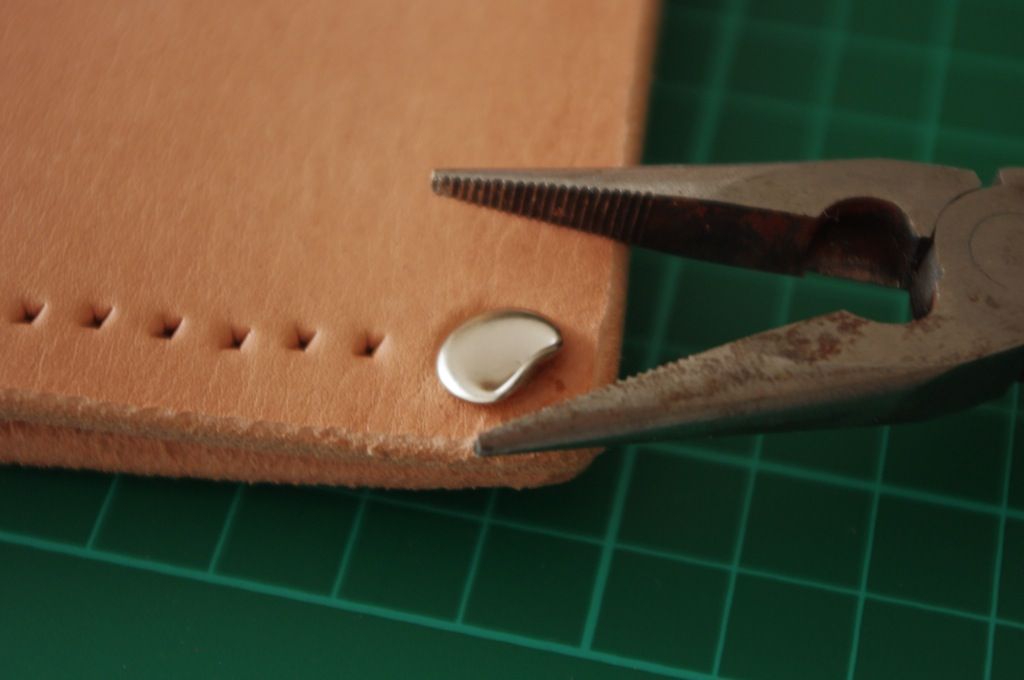
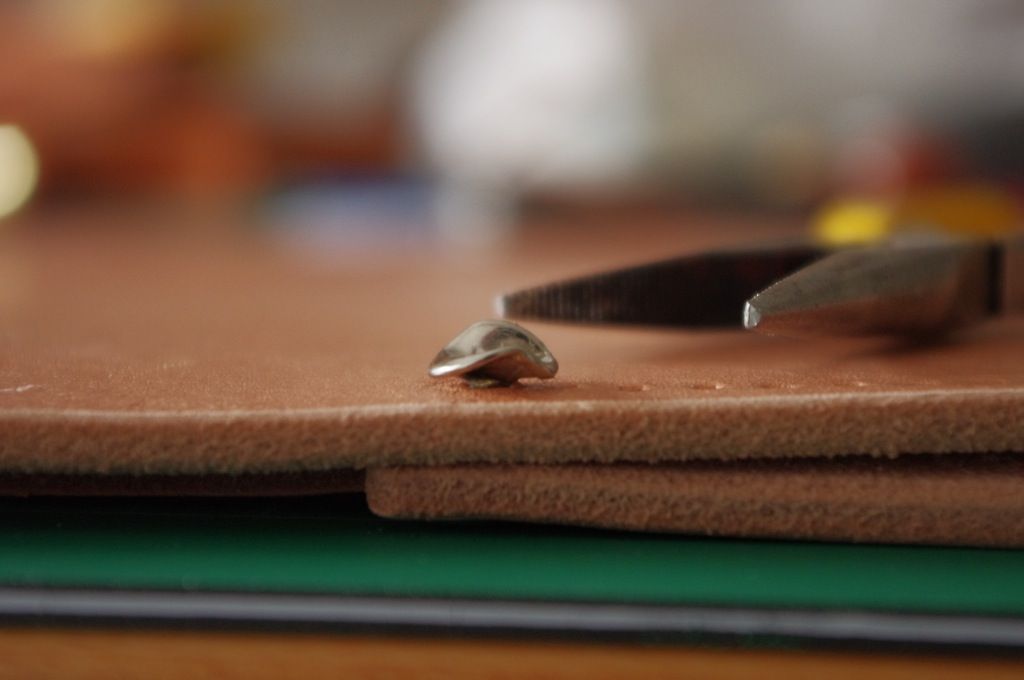
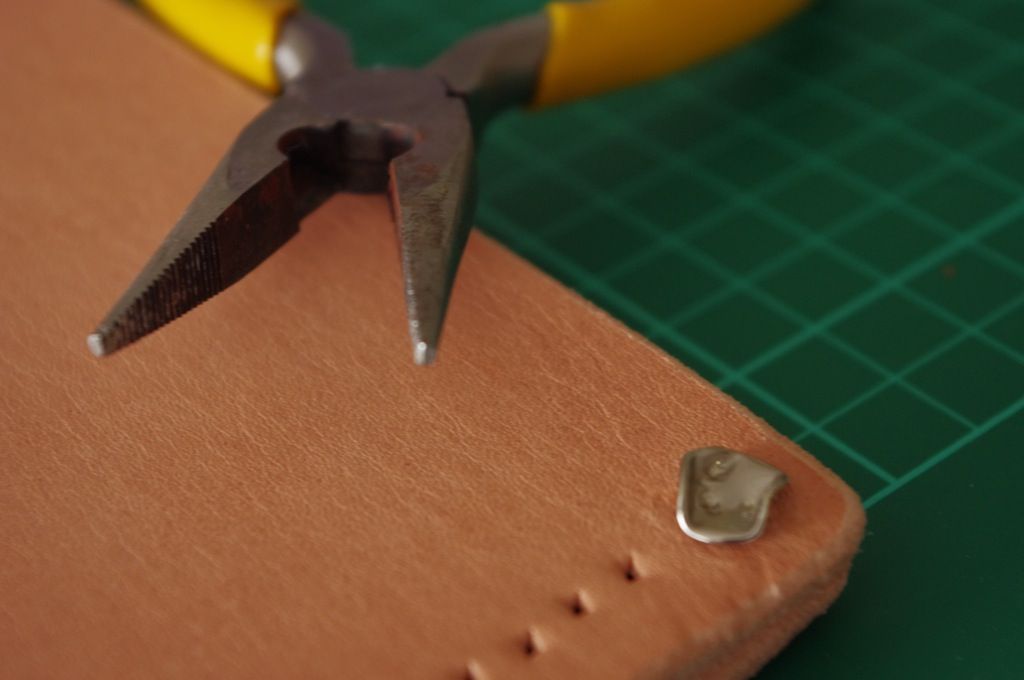
Bend the rivet head with a plier


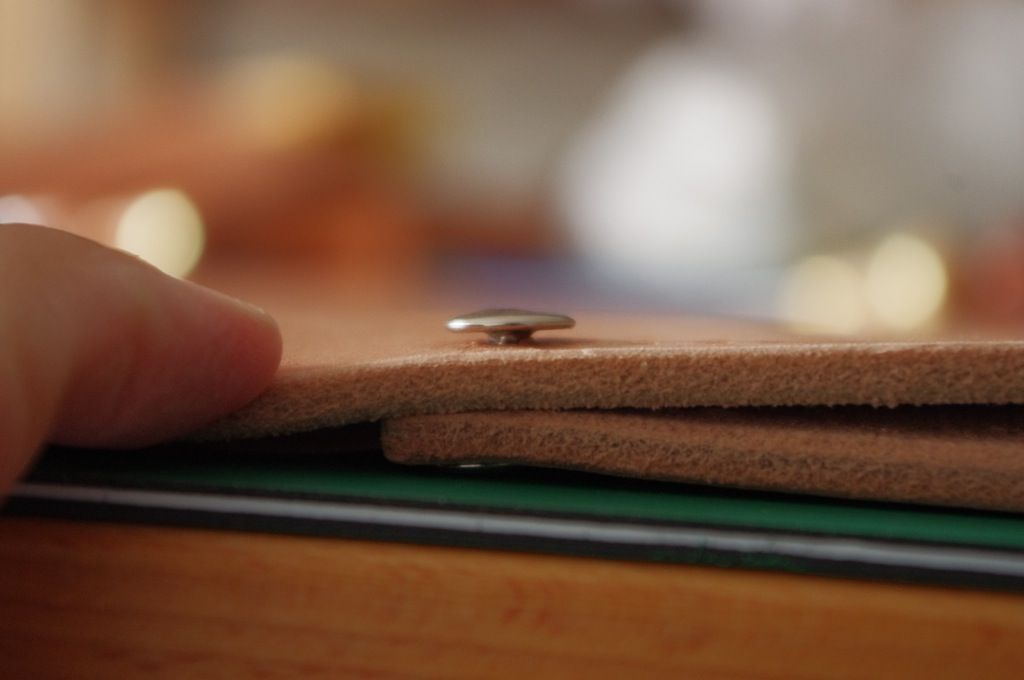
Side view of the bend rivet


Bending completed


Pincher is ready to do its job


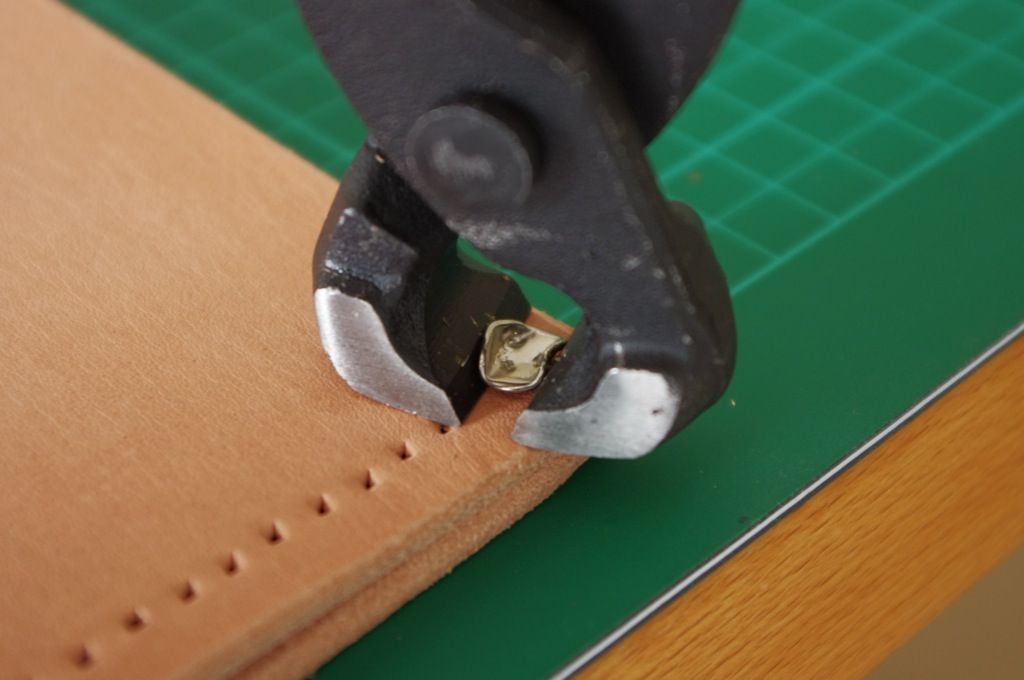
Position the pincher around the rivet


Ensure no leather is on the way


Rivet head removed


Job done!


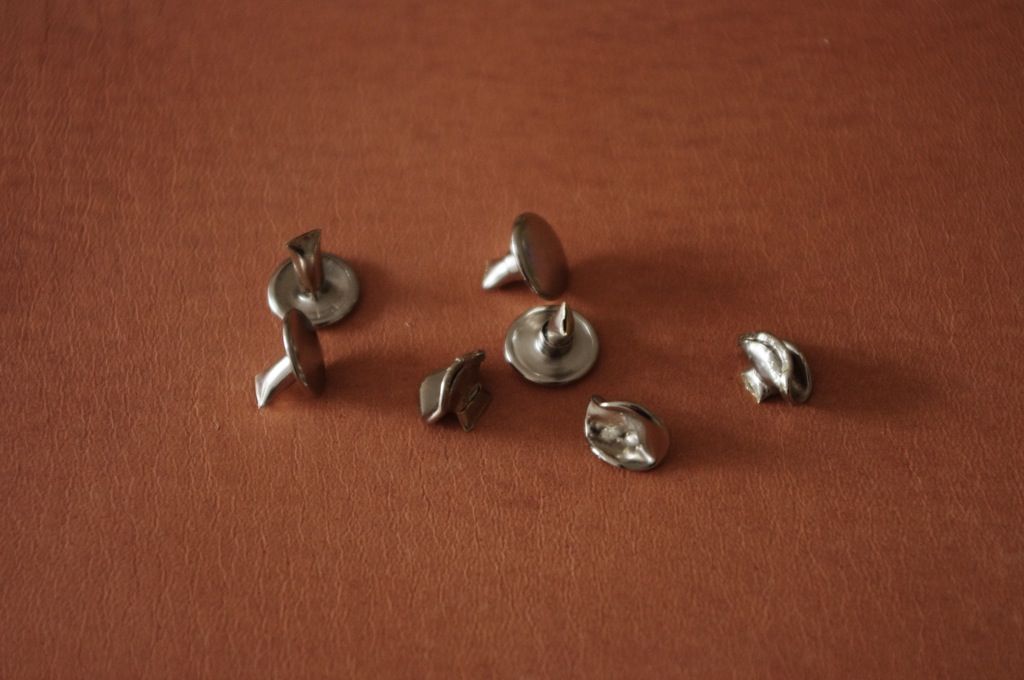
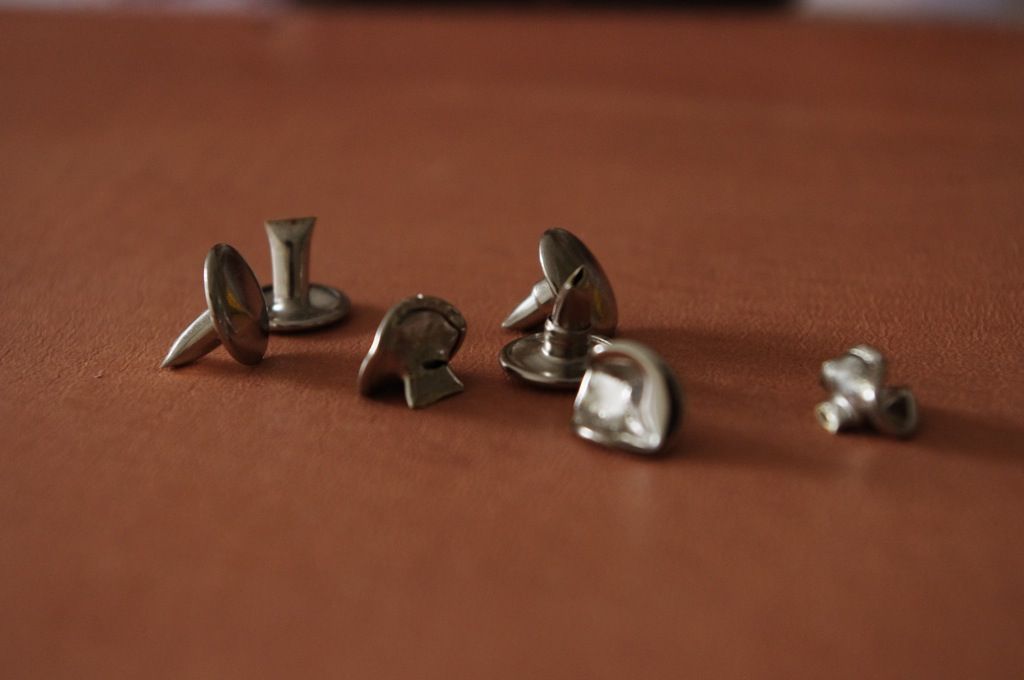
Rivet pieces


Close-up


It's a fairly simple process to remove the rivet, it's also one of the reason why this type of rivet is my second preference for fastening leather.

Thursday, July 5, 2012

New Leather...

I have always admired the way Scandinavian design and produce a product. Their minimalist approach is so refreshing yet functional. It speaks high quality in many ways. 

Vegetable-tanned hides coming from Scandinavian tannery is no different. They are regarded as one of the best leather you can get your hands on, partly due to the colder climate (less insect and parasites).

This was confirmed during my visit to Sweden few years back, I discovered one of such tannery. I went to a major department store (PUB) that stocks their own line of bag. I must say, the leather is nothing like I have ever seen, exceptionally smooth, distinct grain growth, super clean and smell really good too.
This tannery is none other than Tarnsjo Garveri.
On another note, their in-store concept is very unique as well. Client is able to view the leather, hardware and even see their product being made. Something that I would definitely entertain in the future.
I have since sent them a request to send me some sample with a view to purchase hides. I do realise though that procuring hides from them this way is going to be an expensive excersize due to the shipping cost.

Fast forward few years, I received a flyer on the mail from one of the biggest leather supply in the world. On the front page it was selling a Premium European leather. The description on the website mentioned Scandinavian hides, I was sold at this stage. This could be my ticket to Scandinavian leather at a reasonable price. I ordered two hides to see how this compare to the Tarnsjo leather. They quite different in character, Tarnsjo has more pronounced grain and different smell, whereas the Tandy one is very very smooth and soft (you can definitely see the grain growth). Pliability is almost the same (exceptional for hide this thick). They even share similar smell, with Tarnsjo being more neutral. I classify both leather in the same class, PREMIUM. I couldn't tell if the leathers come from the same tannery, but I'm not complaining.

How does the leather compare to the locally sourced one? The one that is tanned locally has different characteristic. They reflect Australian outback a lot, rough, rugged and honest. It's a lot stiffer which in turns harder to tool but is less delicate. I wouldn't put them in the same class as the one from European tannery one since there's a lot of inconsistency in quality of the hides (first ordered hide is really good, plenty of smooth, blemish free area. Second and third hide is average). Also, the European one is 'Bend' cut which is back and butt area (the best part), this is all you need for making a project, even-though you get less for your money. Whereas locally source one is a side cut.

I will still keep my option open and always looking out for the next best leather. This alone is a very exciting journey. I've tried taking some photo but this does not capture the beauty of the leather, hopefully word alone is enough to describe it.

Tuesday, April 17, 2012

Phone Pouch Refurbishment

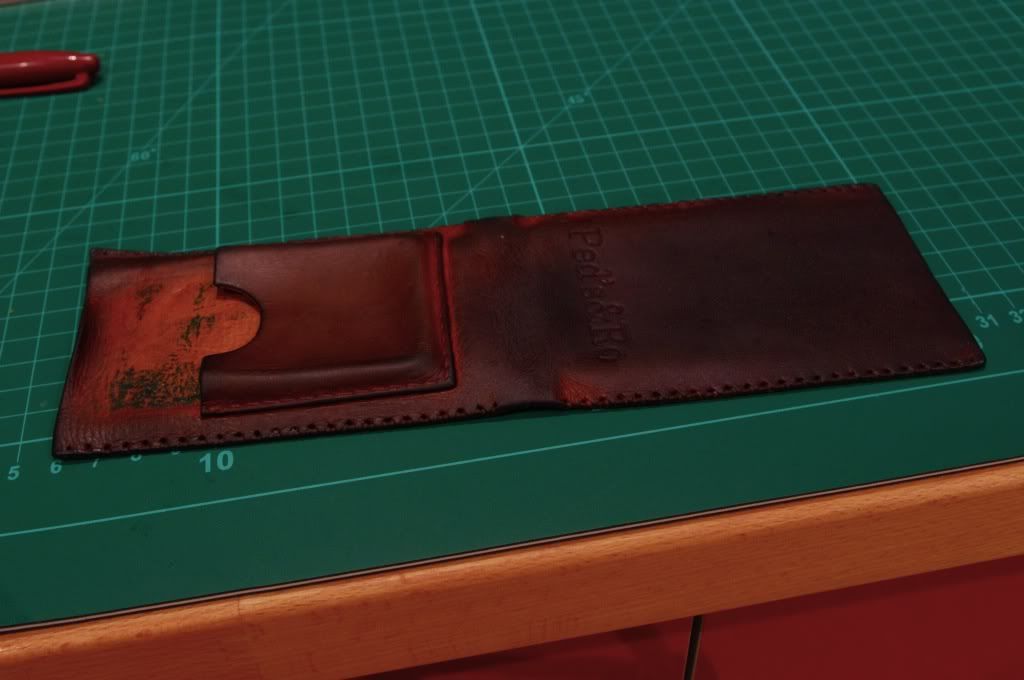
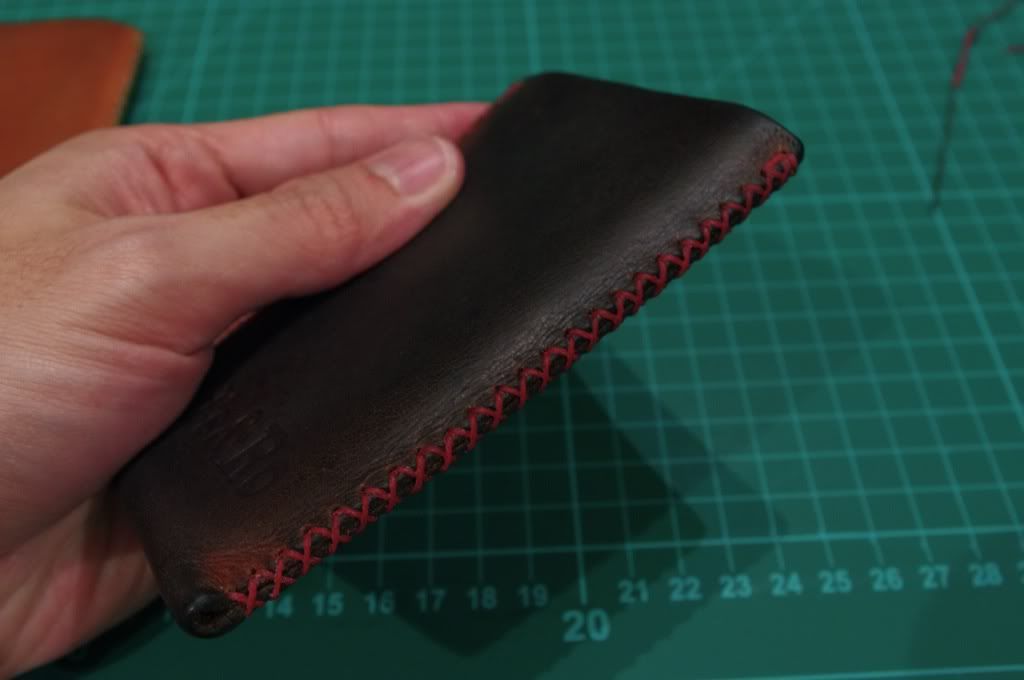
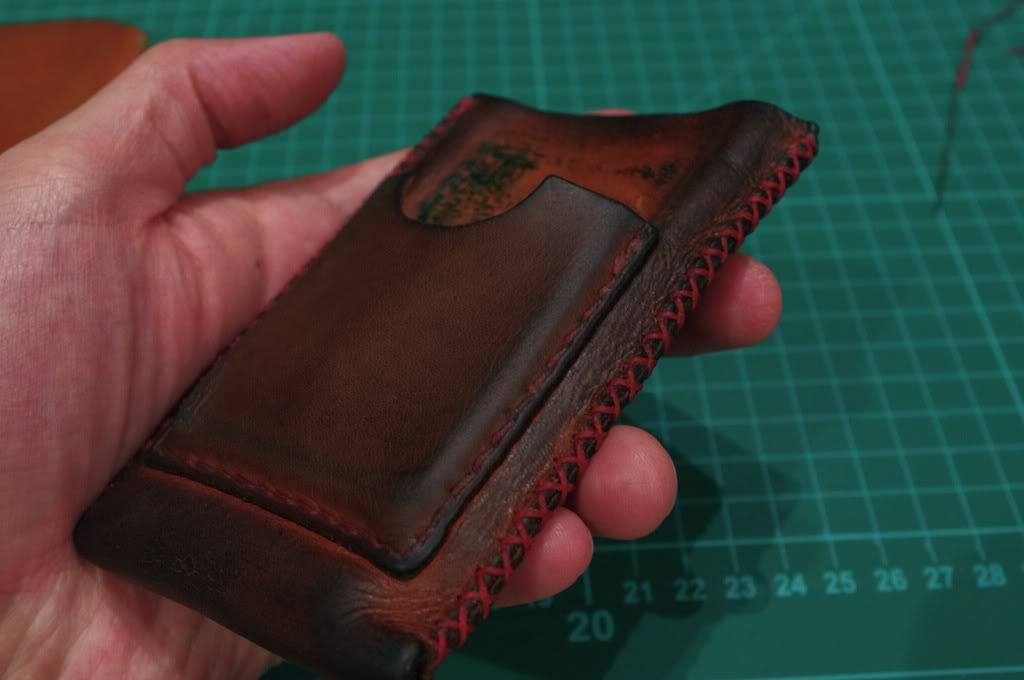
I was given the opportunity to refurbish one of the earlier phone pouch. The owner used this on daily basis and it's safe to say he gives it a workout. This is the phone pouch in this review.

The pouch has gained what I refer to as 'Dirty Patina'. As opposed to a normal patina, the oxidation has gone through out the leather and turned the leather into a much darker colour than normal, similar to a vinagrooned leather.

The leather itself is in a fairly good condition, no cuts or tear on the surface. It has softened considerably and molded into a particular shape. The edges has been burnished naturally and is very smooth with no visible fraying. I'm quite happy with the leather condition.

The side stitching on the other hand is a mess, this is in line with the fact that natural thread will not resist prolonged abrasion. Only half the pouch still has the stitching intact but to my surprise this still hold the pouch together remarkably well. Stitching on the card pocket is still holding up well with no visible damage, i'm leaving this alone. 

So what I did was:
1. Inspecting the pouch to see if there's any considerable damage to the leather.
2. Remove side stitching carefully.
3. Clean leather with saddle soap.
4. Reconditioned inside out using Obenauf Heavy Duty LP
5. Restitch with fresh thread.

It's really good to see one of my product is being used in the real world and actually has the opportunity to inspect it later on. This provides me with an immense knowledge about the leather and the component that is used for constructing the product.

As always some photos of the process:

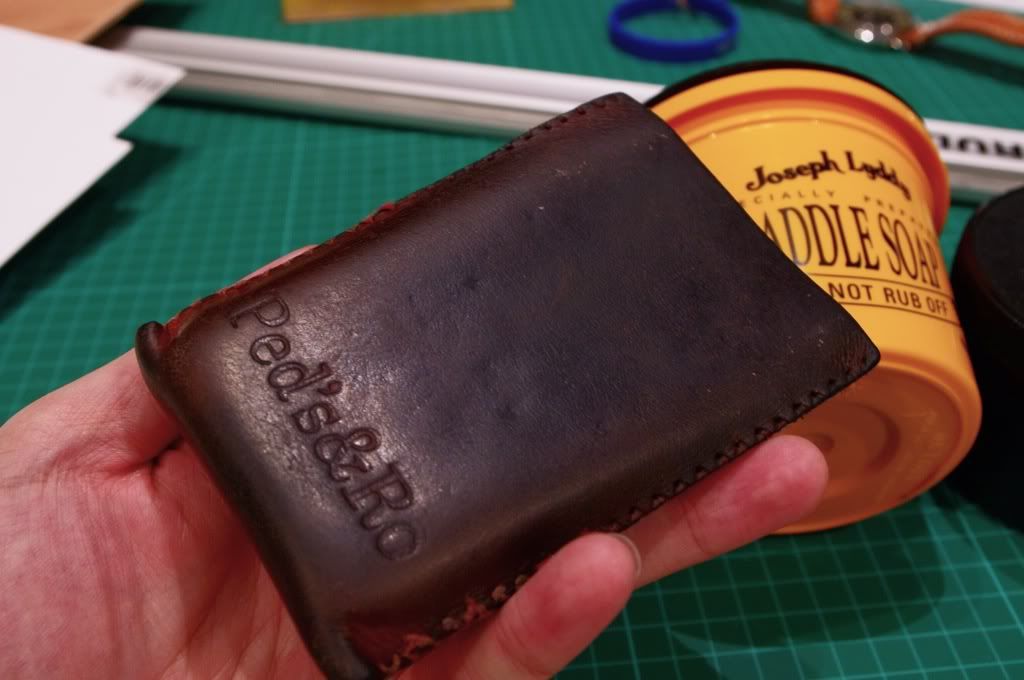
Front condition when received. Notice the shiny look on the leather.


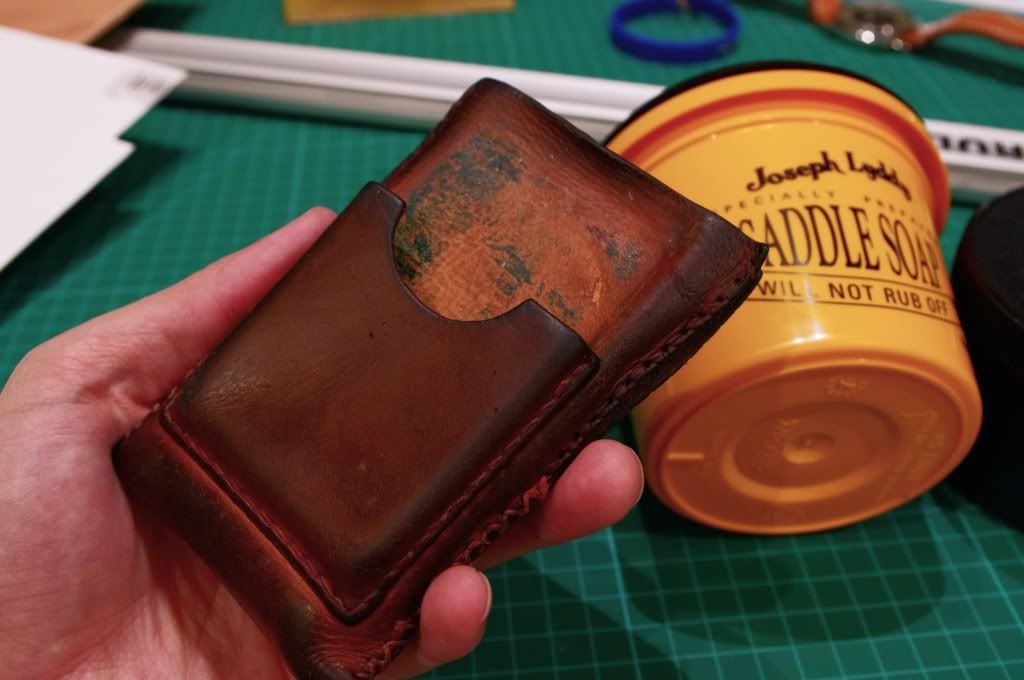
Back part


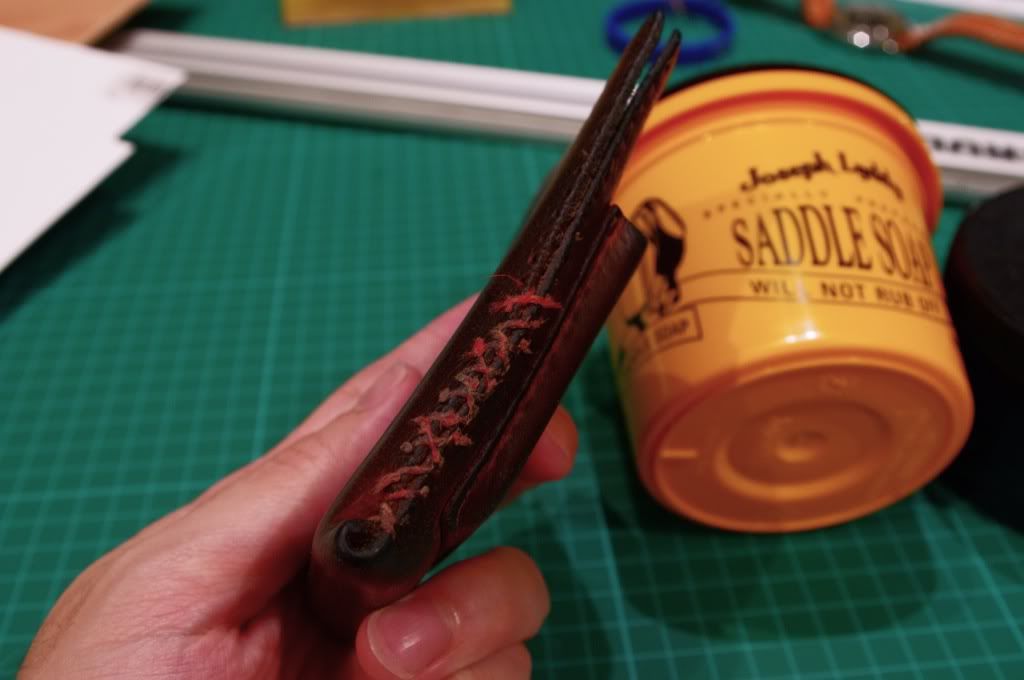
Side Stitching condition


Dismantled


Inside condition


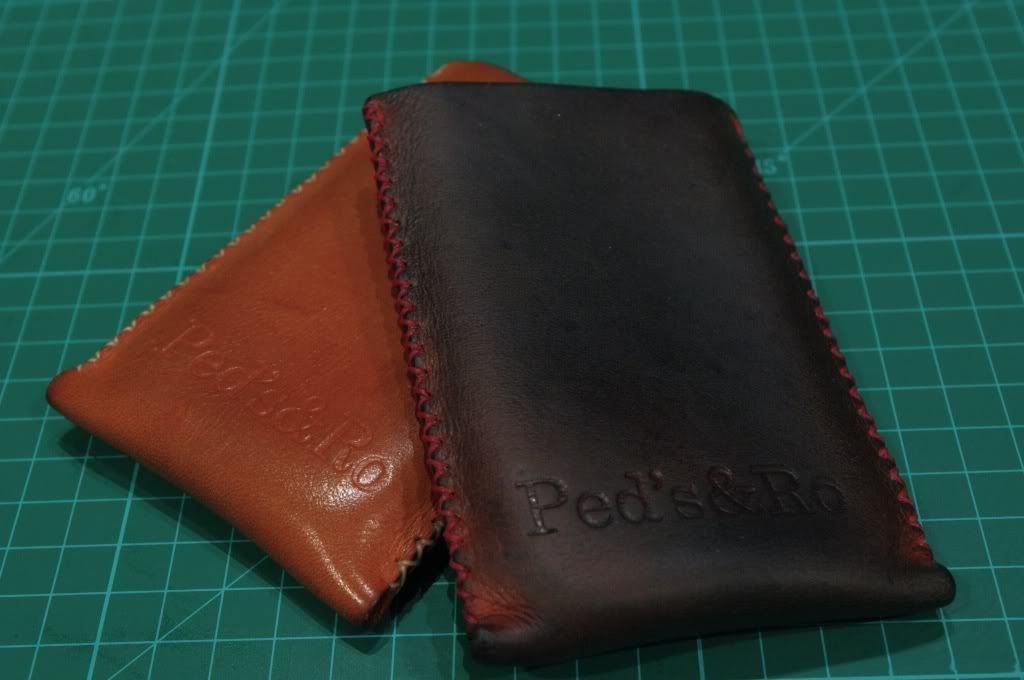
Cleaned and reconditioned. The sheen no longer apparent on the surface.


Fully restitched


Back view


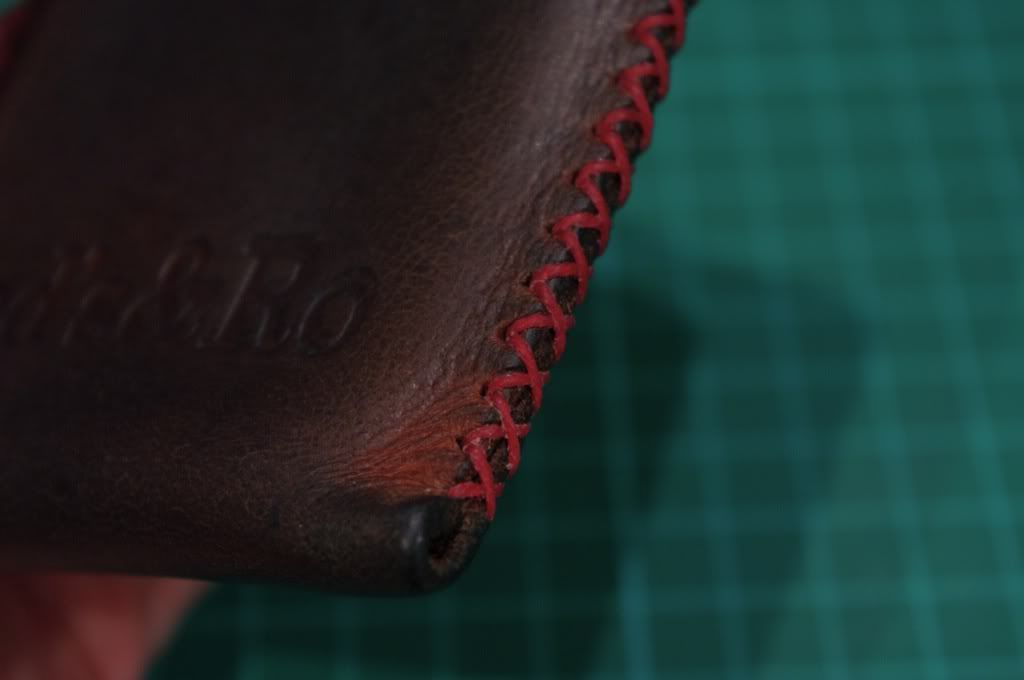
Close-up view


Showing natural burnished edge


Side by side with 'Clean Patina'. Both pouches have the same age

Thursday, March 1, 2012

Project: Tote bag

Just finished this tote style bag for a good friend of mine. She wanted a simple 'dumping-bag' for all her work-related items. The bag is fairly large in size for this purpose.

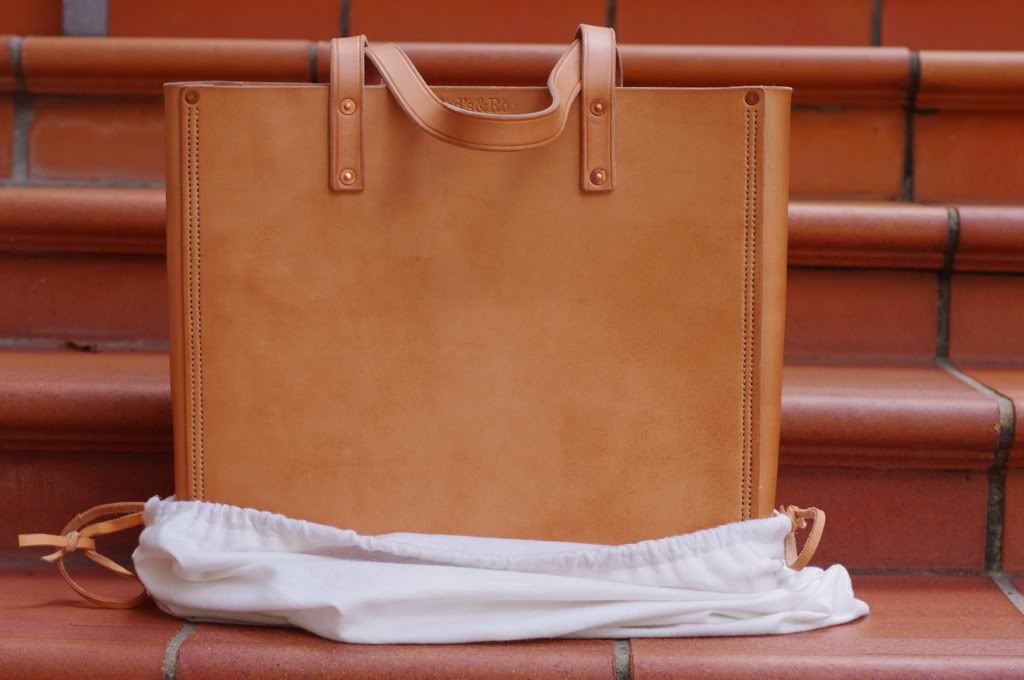
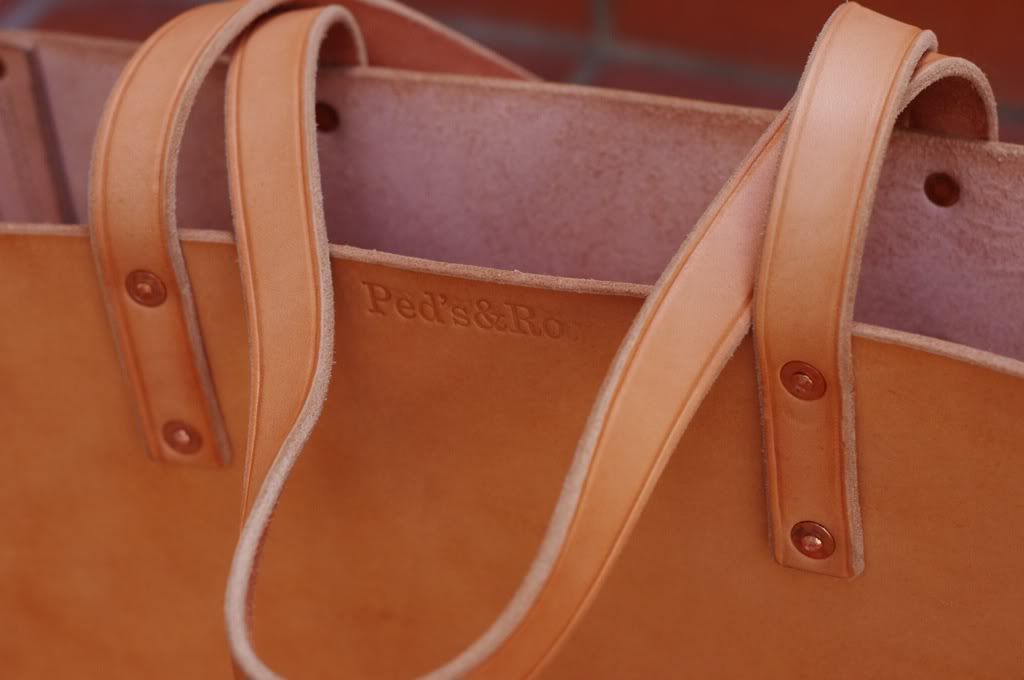
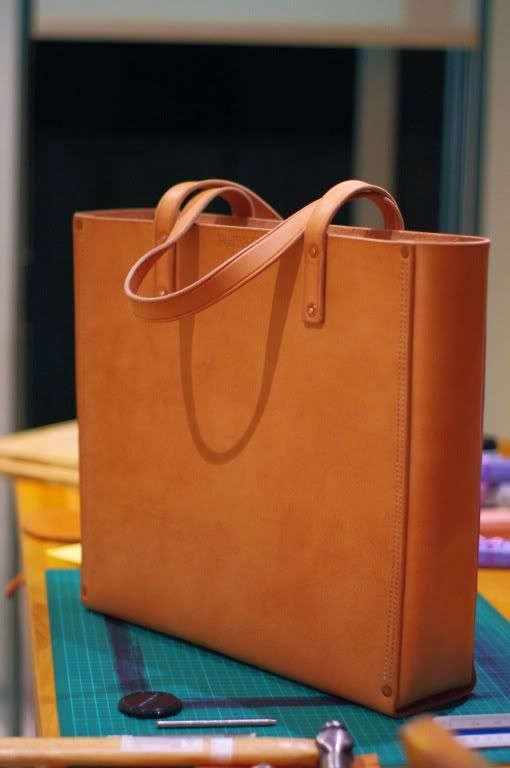
It's constructed using 10oz (4mm) bridle leather in natural colour. Construction method is simple, the main body of the bag consists of three components and is secured with copper rivets on the bottom and each corner of the bag. Stitching is done in natural colour. The handles are made from one long piece leather, secure with two copper rivets on each side. All exposed edges was rounded and smoothed out. 

Although it is a very simple bag, stitching the rear portion of the bag was quite a challenge due to the limited space, it had to be done very slowly. I've also shaped the bottom rivet so that it can act as a feet for the bag, this is to reduce the wear on the grain of the leather. The shaping was done with different size riveting tool and finishing up with 'ball and peen' hammer.

Overall, I'm very happy with the way this bag turn out. The uniformity of the material gives the bag minimalist elegant look.

I really am looking forward to see the patina in person on the bag after few months of usage.

As always, some photos of the completed bag:

Complimentary cloth case with leather draw-string


Logo


Side profile


Wednesday, February 8, 2012

What's coming in 2012

As the title says, I have few fresh ideas and projects on mind that I hope to implement this year. 

At the moment I'm working on a simple Tote bag project, it's designed to be a 'dumping ground' for files and folders. It will be built using 10oz bridle leather in natural colour. Solid copper rivet will be used on the corner for strength. I will also attempt at making legs from the copper rivet with different method of rivet peening.

I'm also collaborating with canvas as raw material. It's still on the early days and I have yet to source the canvas that I have in mind. In my opinion, thick waxed canvas and vegetable tanned leather are made for each other, they complement each other in a very hard to describe ways.

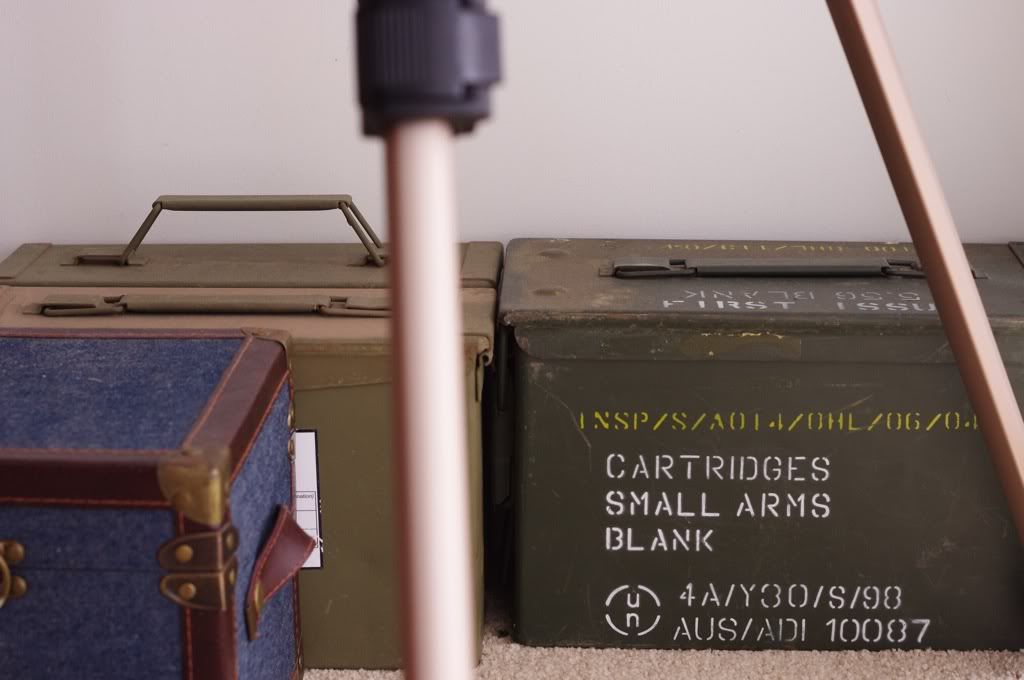
Another project that I'm keen on starting is recycling metal ammo boxes as a bag. I found this metal box rather interesting and intriguing. First, the size, it's perfect to carry around everyday stuff (for the small one at least). Secondly, the durability, it's made from sheet metal, enough to withstand everyday abuse and more. Finally, utility factor, it has rubber gasket on the lid which make the box moisture and dust proof. With a little bit of work, this can be the ultimate camera bag.
Adding few leather bits on the otherwise industrial looking metal box should add some aesthetic and functional value.

Picture of Australian ammo box:
Small ammo box on the left vs the larger one on the right


And lastly, I'm hoping to roll out a collection of bags later on this year. I have pretty much decided on the styling and sizes, just need to find the time to make them all!

Wednesday, December 28, 2011

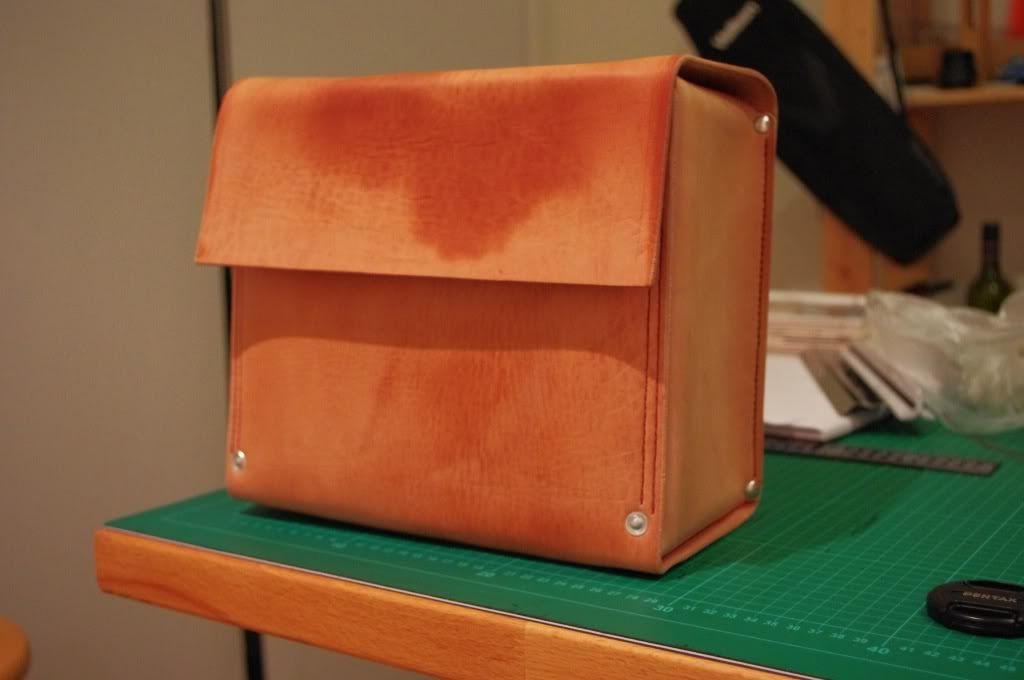
Project: Gadget Bag

I commissioned this bag for myself to carry all the gadgets I own, from an Ipad to a DSLR camera with its accessories. I used the leftover leather from Project: Messenger Bag.

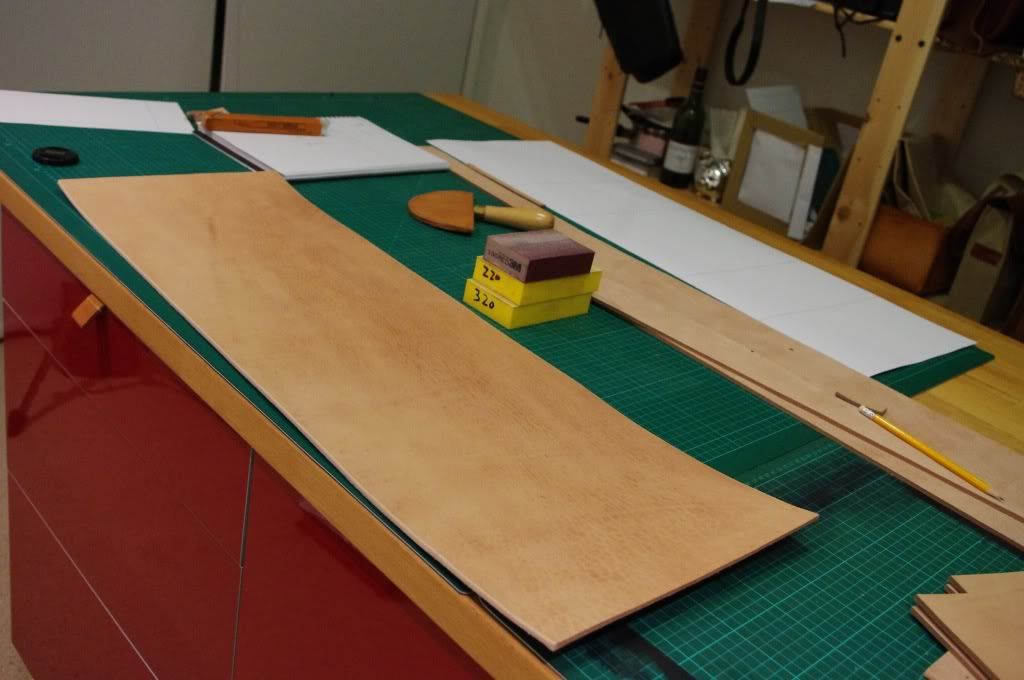
Naturally, all the best part from the hide has been used, what's left is some shoulder and lots of belly part. I don't normally like working with the belly since it tends to have a fuzzy underside and is the least dense part of the hide (stretchy and thin). Fortunately, it's a 4mm thick leather, so stretching is not going to be a major issue and the fuzziness can be smooth out with the trusty sanding block plus some elbow grease. Also, this belly has tons of character!! It's a shame if it goes to waste.

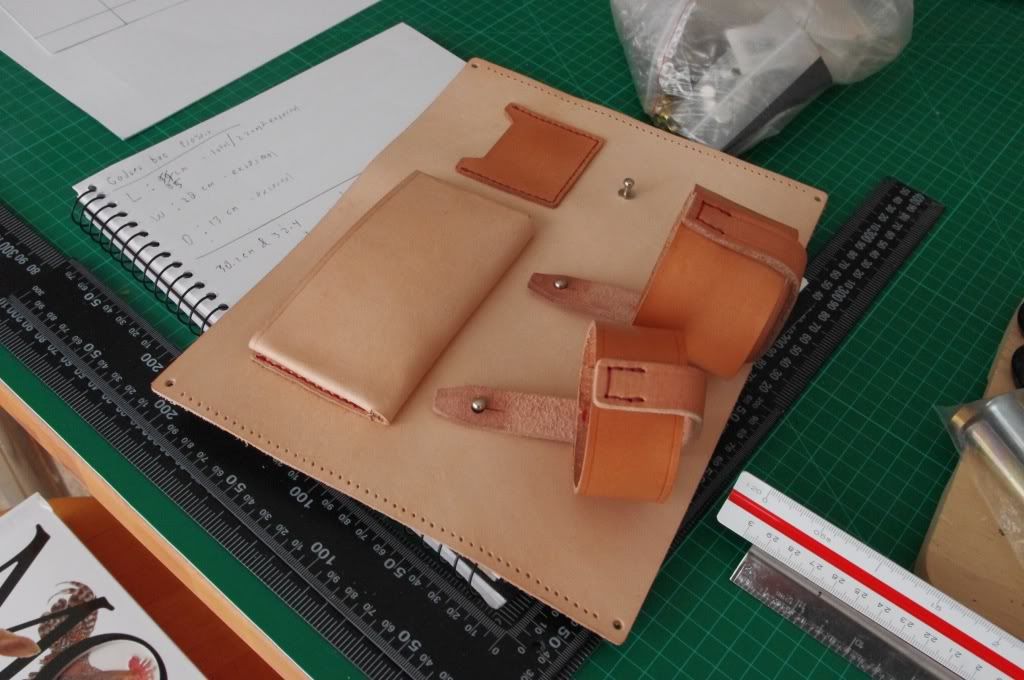
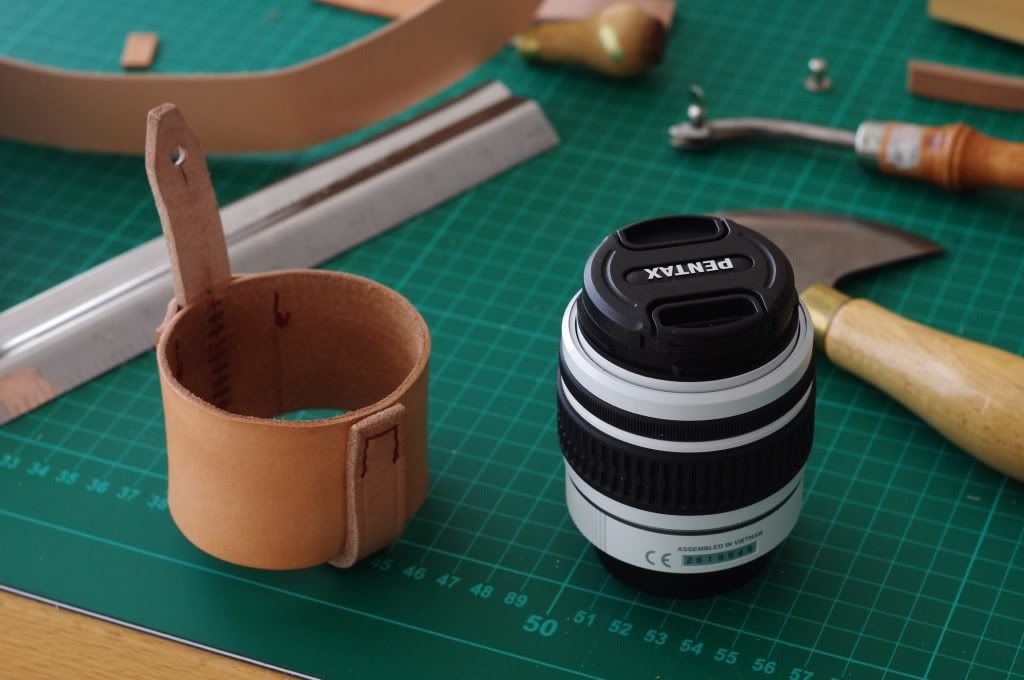
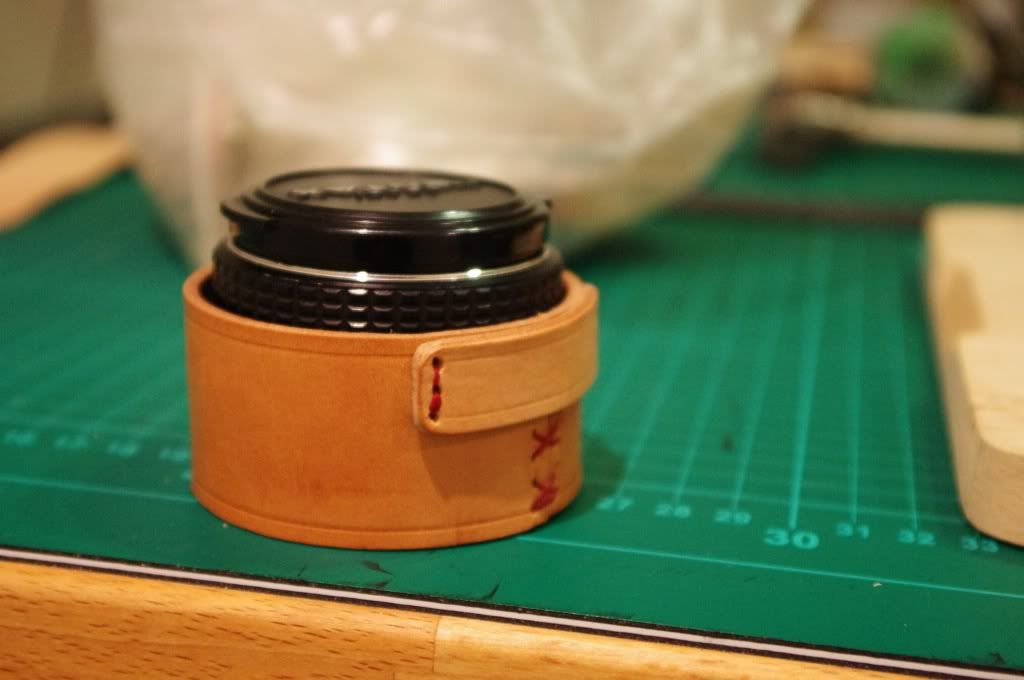
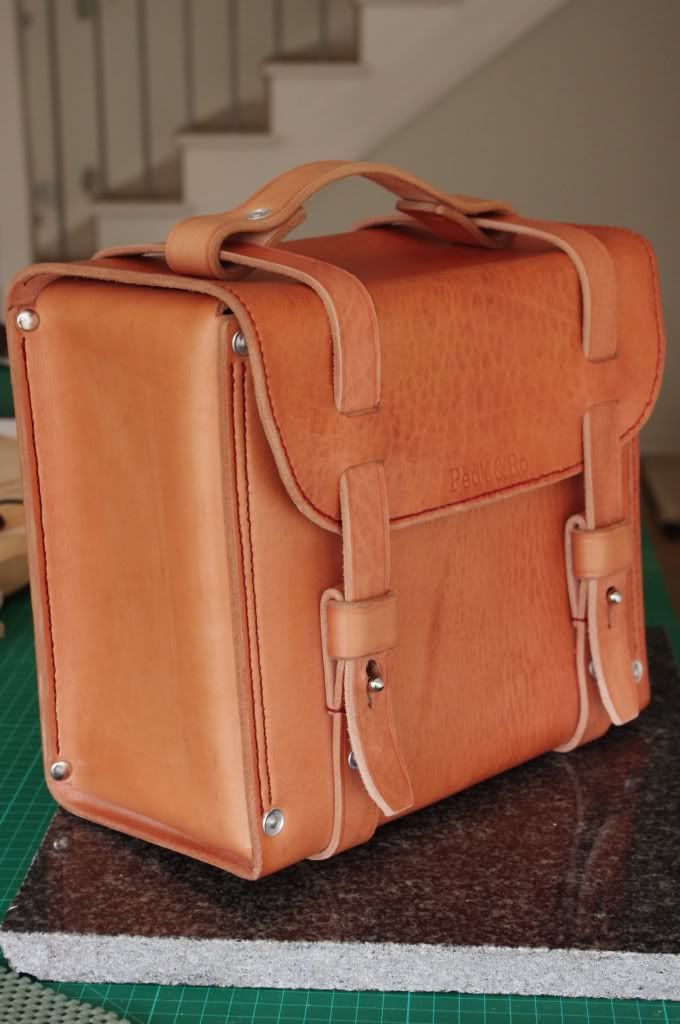
Construction method is similar to to the Messenger bag with the exception of the shoulder strap placement. Instead of attaching it to the side of the bag, it's integrated into the wrap around strap and is removable. I also included a divider, complete with a small pocket, a card holder and provisions to attach camera lens pouches (which I made specifically for the camera and the bag). The space behind the divider can be lined with some foam for extra protection.

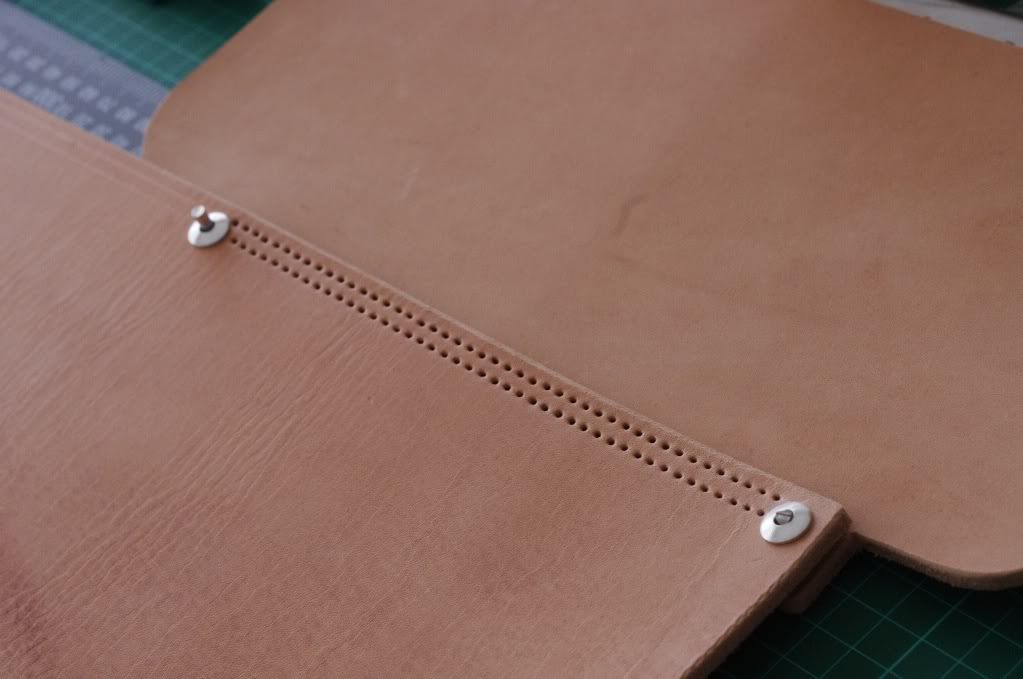
I used nickel coloured brass rivet supplemented by solid aluminum rivet wherever possible for added strength. Stitching is done in red to give the bag extra character.

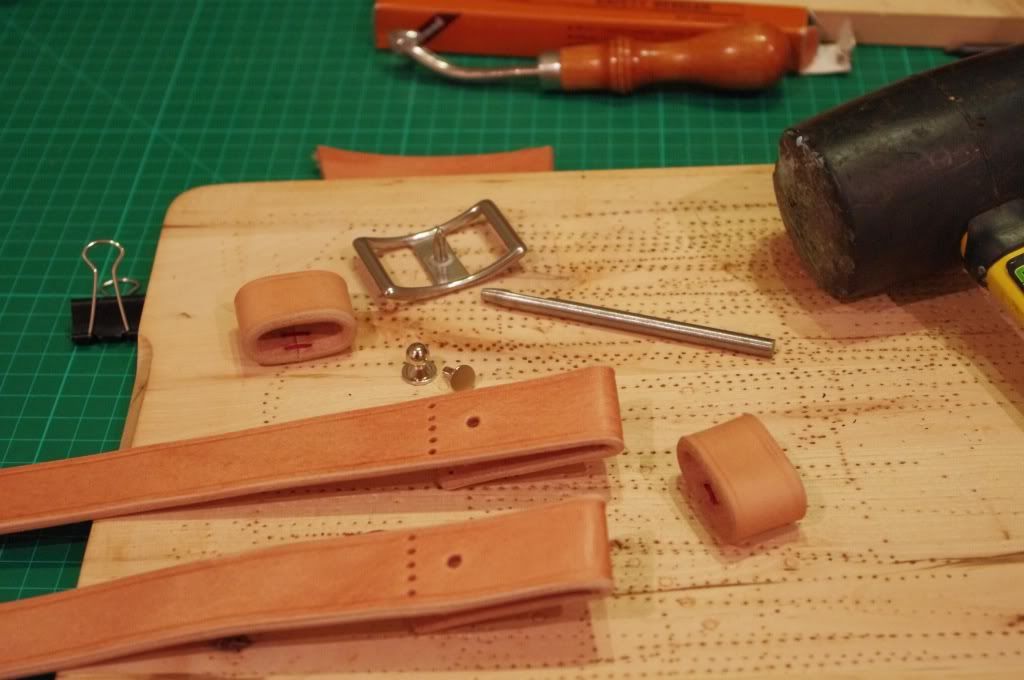
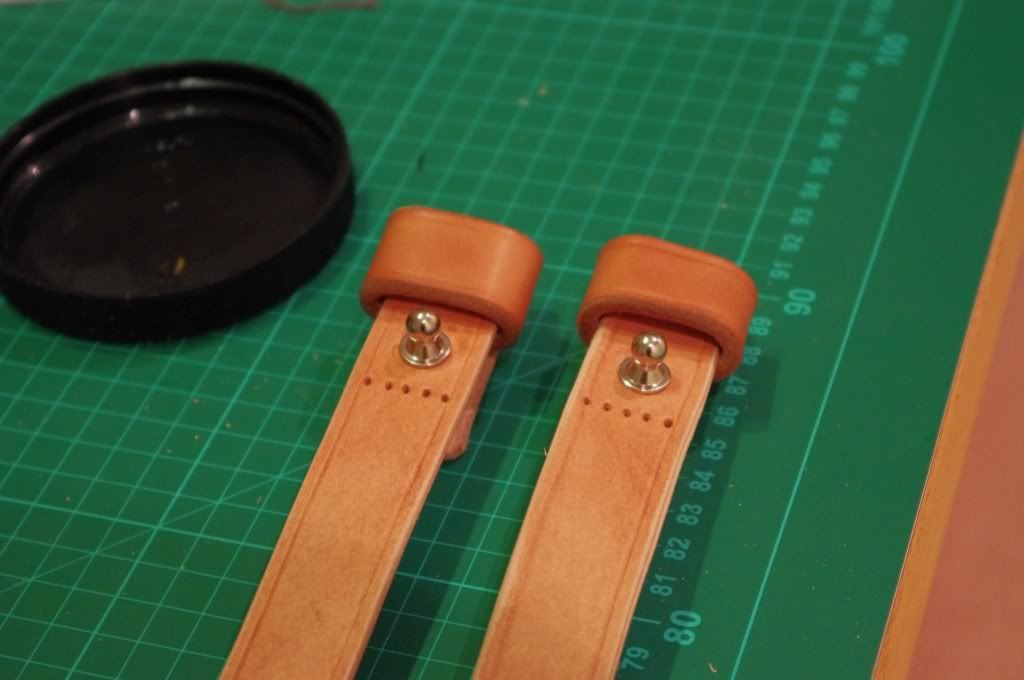
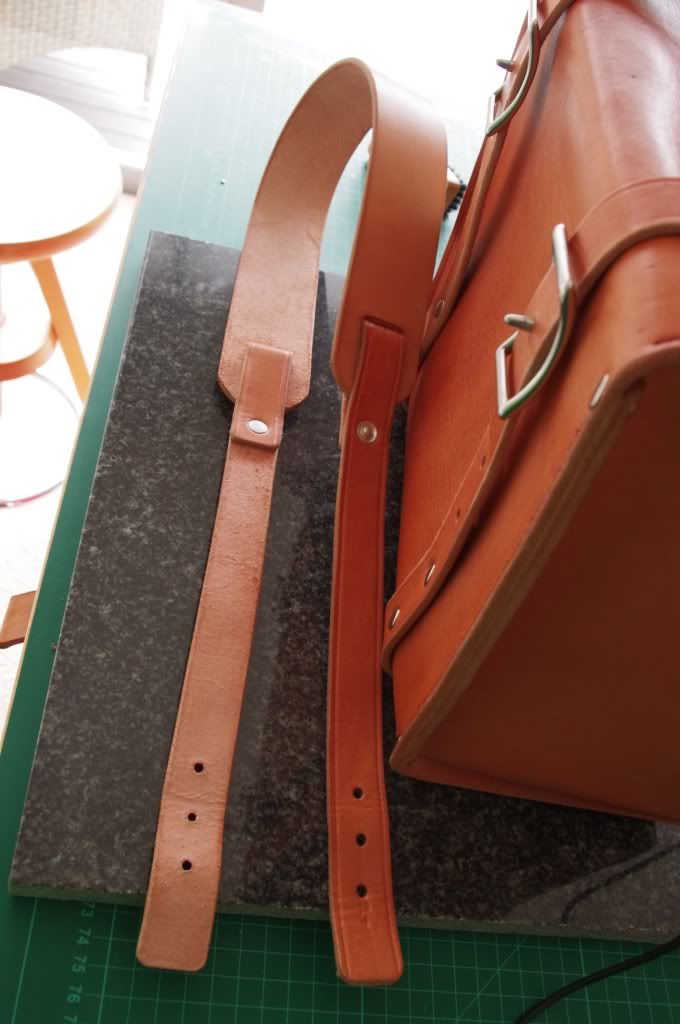
The shoulder strap is simple and constructed from 3 pieces of leather secured with solid aluminium rivet. It is attached with a Conway buckle on each side to give the bag an extra clean look and is easily adjustable on the attaching point. The strap turns out to be shorter than I would like it to be. It wears fine with the furthest adjustment hole but can do with extra length. 

Overall, I absolutely love the way the bag turns out, the size is perfect. The proportion is spot on, it has that cute chubby look to it. The marking on the leather really give the bag it's character. I did notice that the stitching on the lid of the bag need to be redone. I think I'm going to use a totally different colour thread when redoing the stitches to further experiment with colour. In the meantime, I'll be using this bag for my daily duty which is a good way to develop patinas on the leather. 
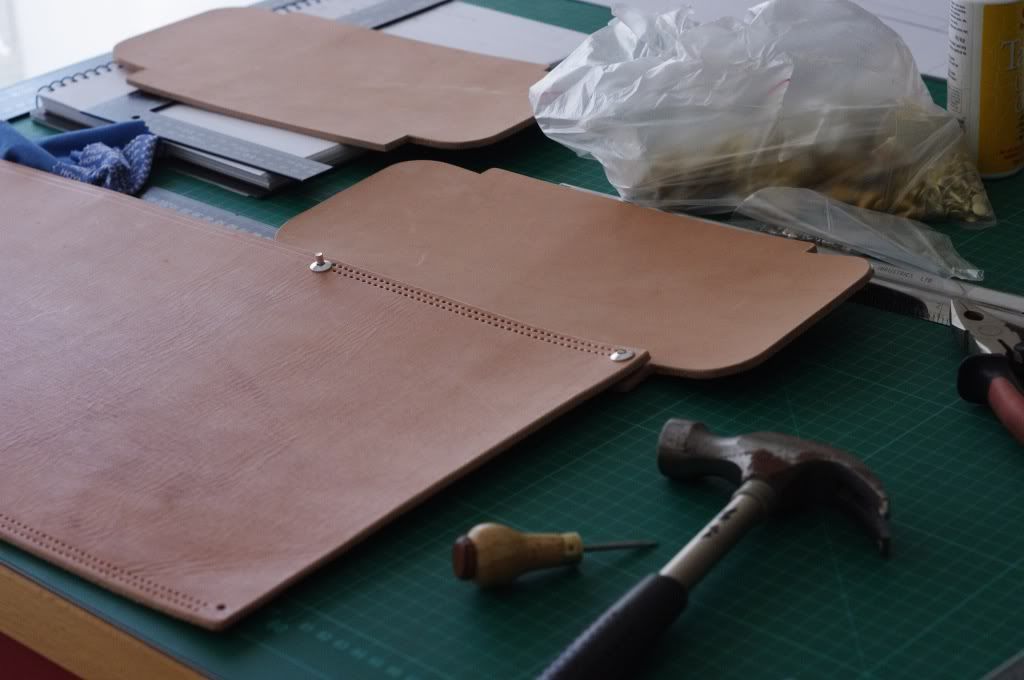
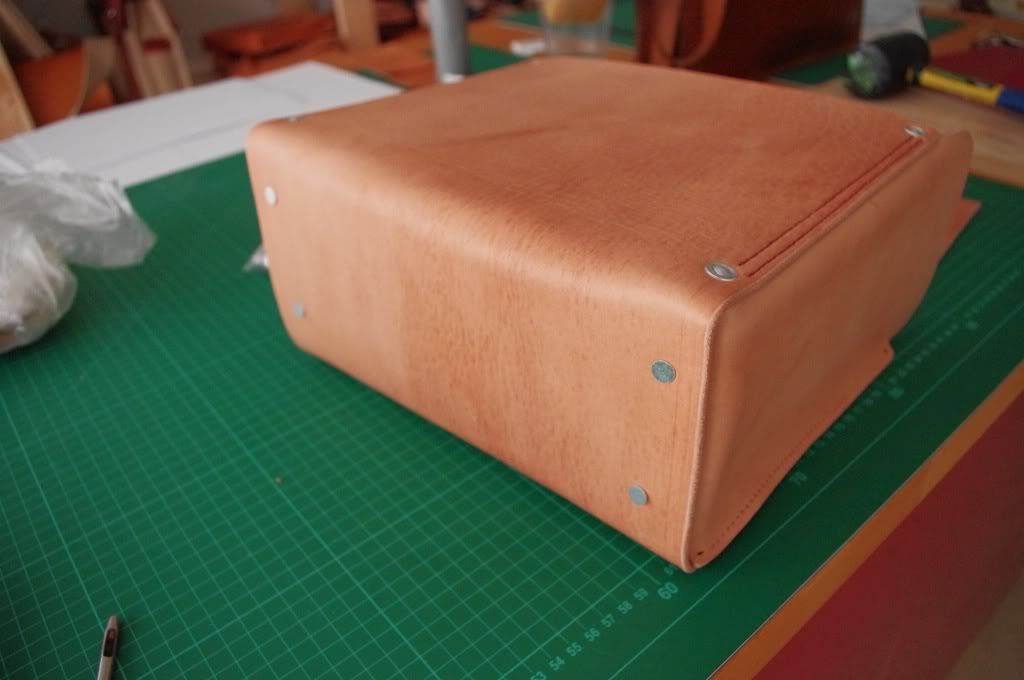
As always, some photo of the built process and completed bag:

Main body of the bag


With gusset on the process of being attached


Close up photo of Aluminium rivet
Riveting the base
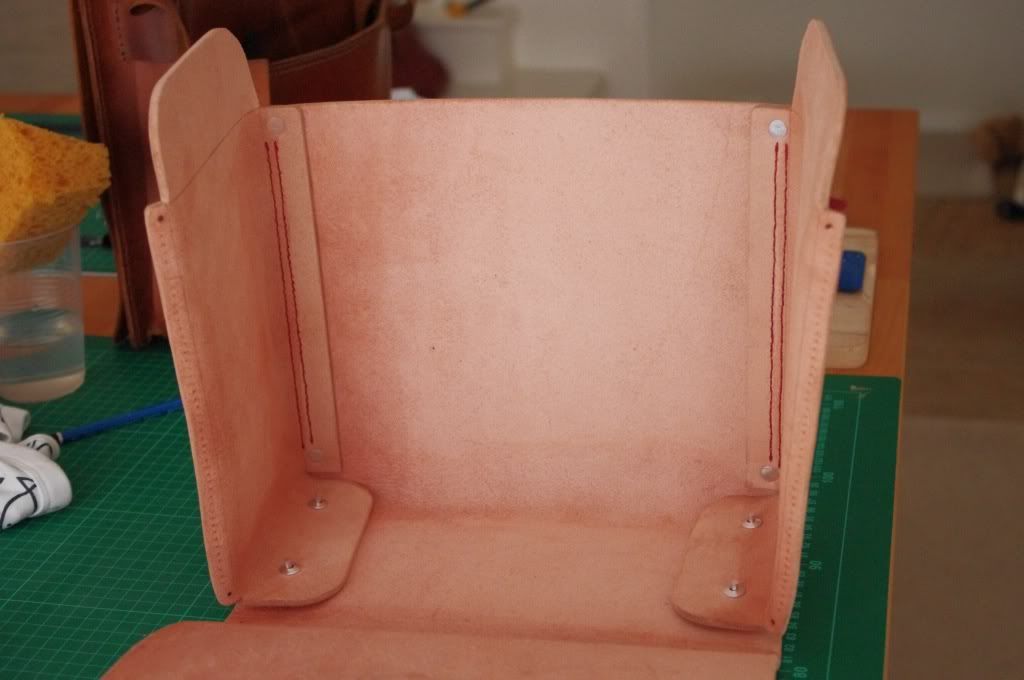
Forming the bag into shape
The divider inside the bag
Lens pouch #1
Lens pouch #2
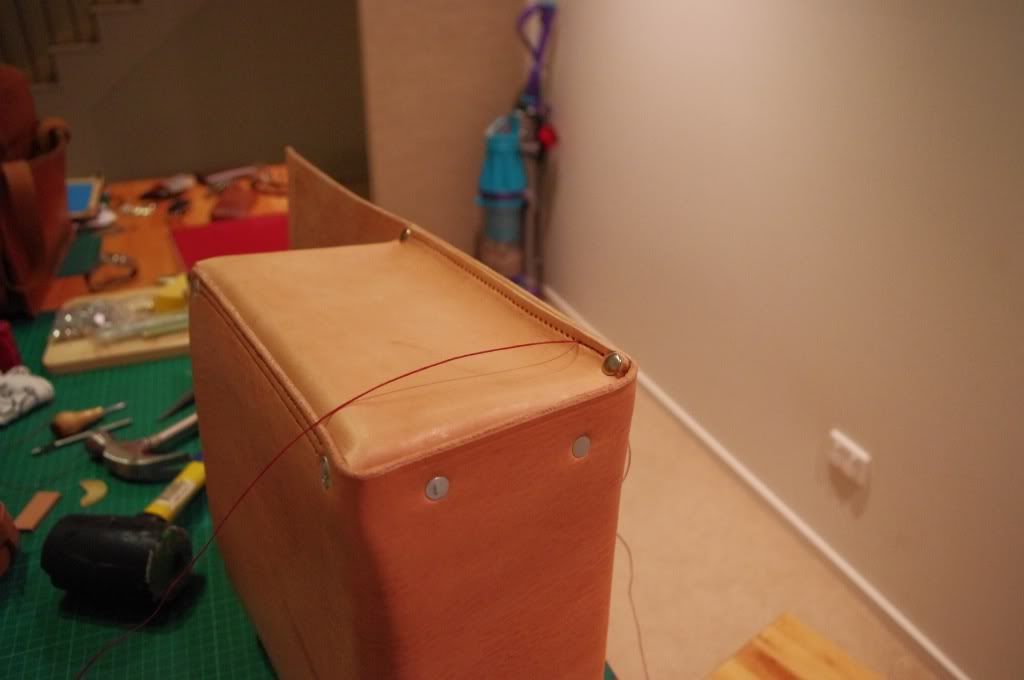
Stitching rear part of the bag with the divider sandwiched in between
Starting to resemble like a bag
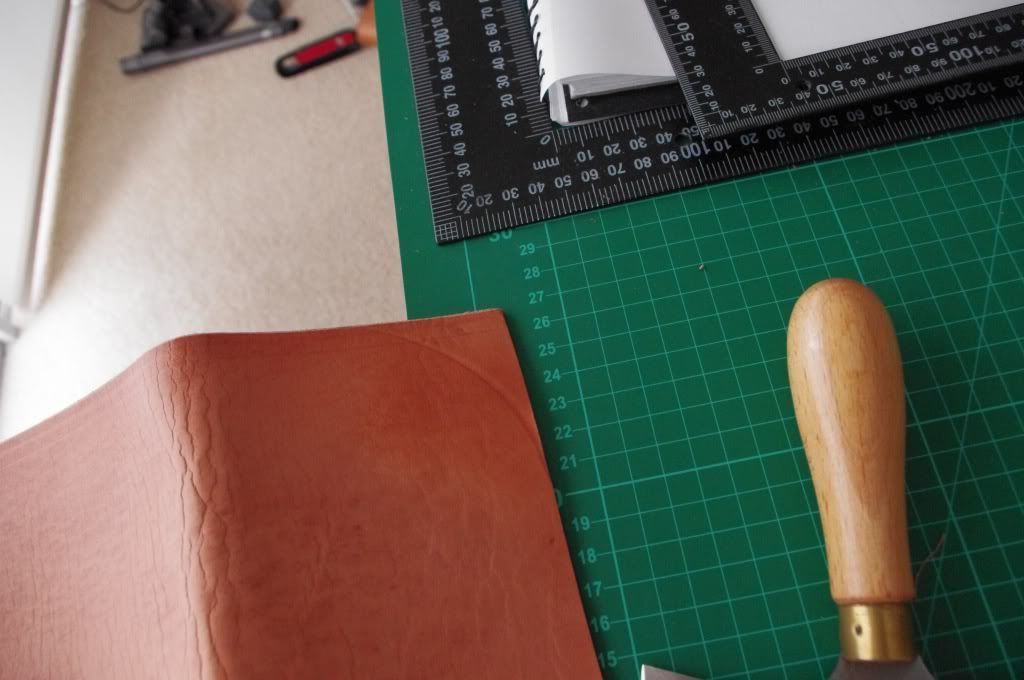
Rounding the corner - Marking the line
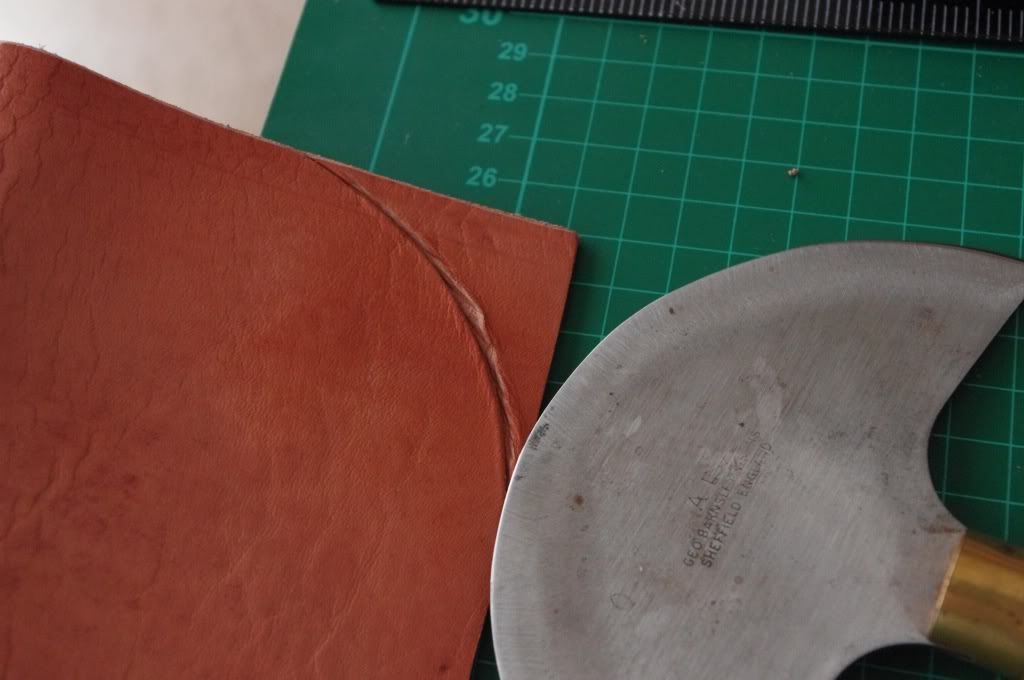
Rounding the corner - Cutting into the leather slowly and steadily
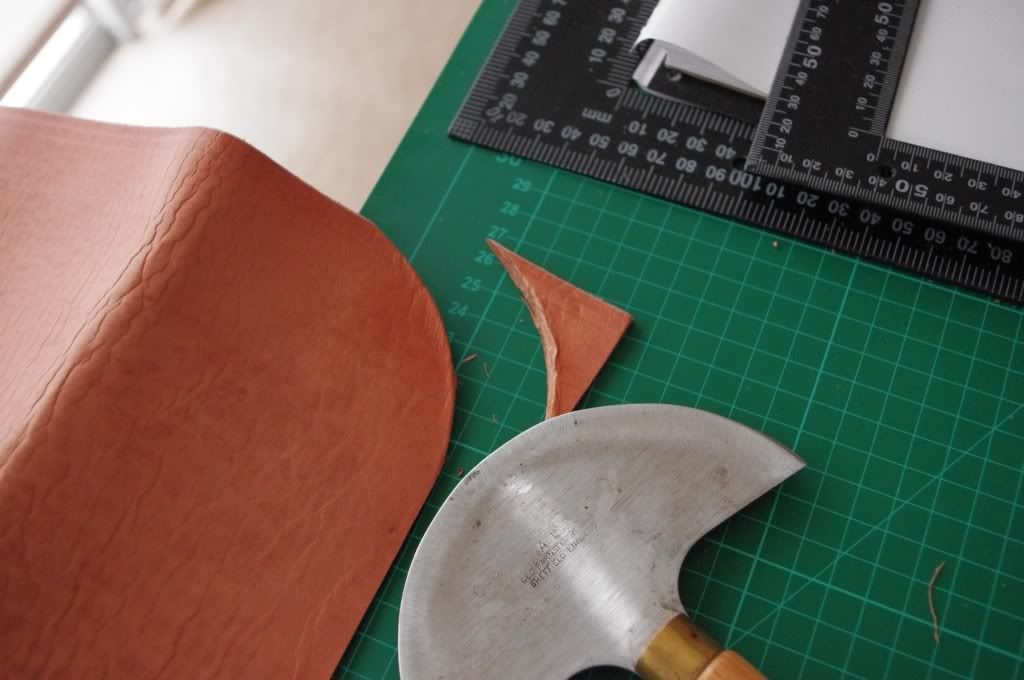
Rounding the corner - Done
Wrap around strap components
Wrap around straps - Done sans stiching
Completed bag


Shoulder strap


Shoulder strap attached to the bag


Artistic Shot #1


Artistic Shot #2


With the 'Shoe Box' bag. Note the differences on the colour tone of the two leathers.